TerraMaster F2-210 2-Bay NAS Installation
The TerraMaster F2-210 uses TerraMasters TOS disk operating system, in this case, TOS 4.0.15 comes installed and after updates. Setting up the F2-210 is exactly the same as the other F2-220 and F2-221 which we went over on the TerraMaster F2-221 review so feel free to read that as well. We will sum up the installation procedure before starting performance testing.
After turning on the NAS, connecting it to your network, type in “start.terra-master.com” in your browser to bring up the Quick Installation Guide. We recommend using Chrome as we did have a few issues with Windows 10 Edge.
To manage your TerraMaster F2-210 over the network, you can use the desktop application TNAS. We downloaded and installed the Windows version and continued.
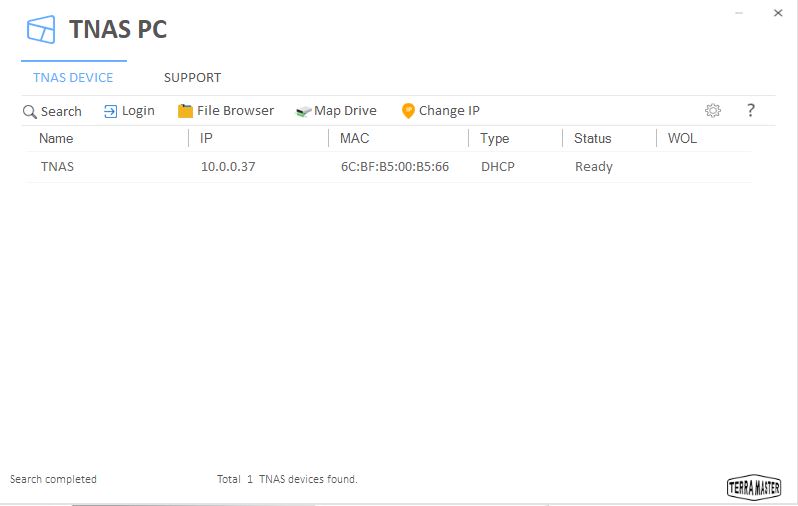
Using the TNAS application, we find our F2-210 on our network from which we can log in to the F2-210. We did have issues with this and found that entering the IP address of 10.0.0.37 in Chrome allows us to continue.
During the installation process, the system completes a hard drive check which ours passed.
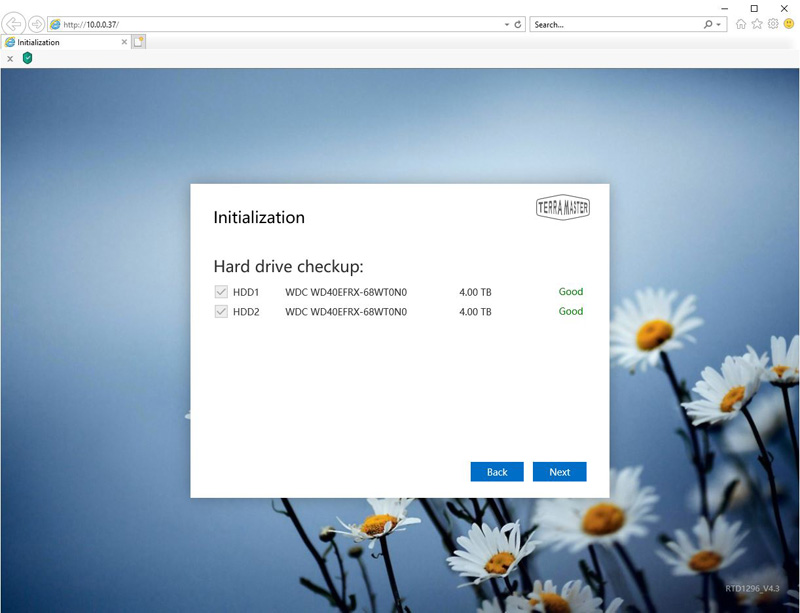
Installing TOS is very simple and takes a few minutes.
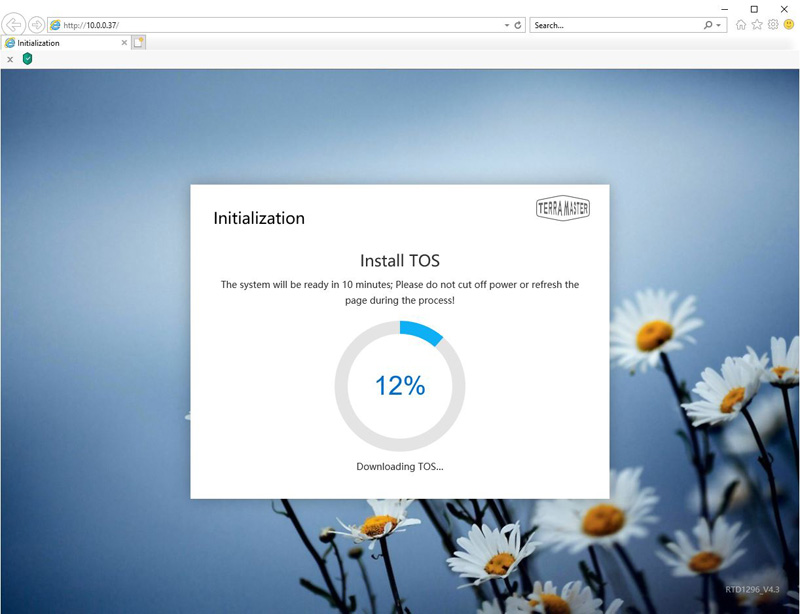
Once the installation procedure is complete we find the TOS Desktop where we can manage the F2-210.

Here we show what RAID types are available on the F2-210, these are typical RAID 0, RAID 1 and JBOD setups that we would expect from a 2-bay NAS.
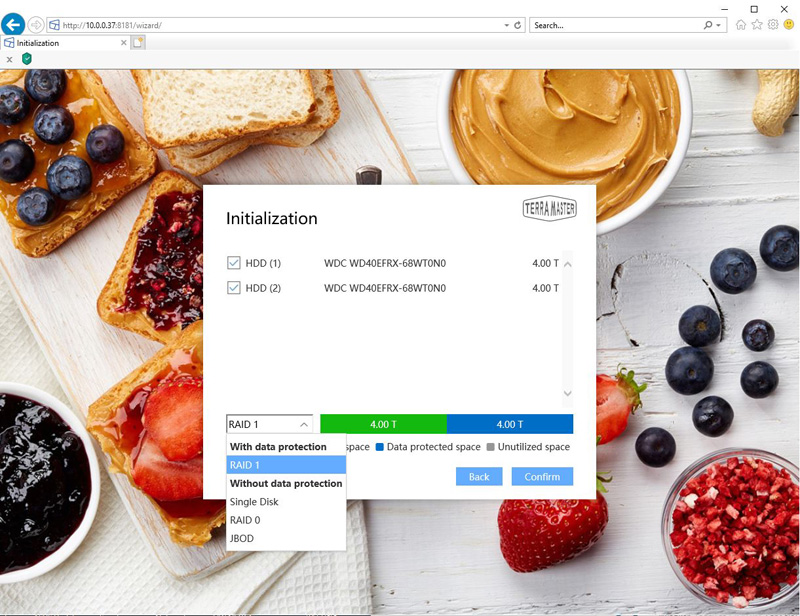
Our sense is that most users will want to use RAID 1 to keep data safe and redundant on the NAS.
TerraMaster F2-210 2-Bay NAS Specifications
Here are the key specs for the TerraMaster F2-210:
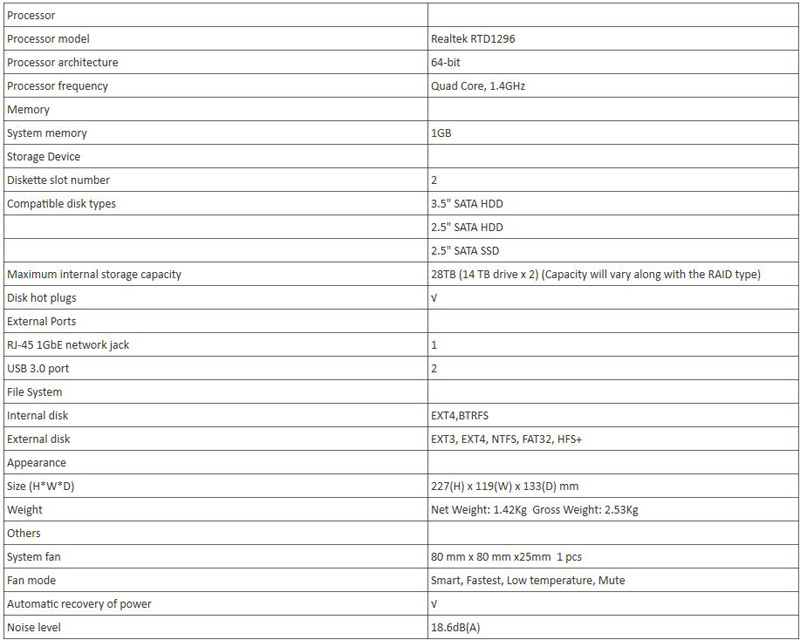
At 1GB of non-expandable RAM, and with a lower-end CPU, this is not designed to run an enormous amount of applications. There are other, more costly NAS units that can do that. Instead, the specs are designed to get two drives online at a low cost.
Next, let us take a look at the TerraMaster F2-210 performance.

