
Few topics have captivated the industry this year more than the Deepseek-R1 announcement. When it was released, it was a state-of-the-art reasoning model that can break down tasks and generate very useful output. The challenge with the 671B parameter LLM is that it takes a lot of hardware to run in the data center, given the FP16 model takes almost 1.3TB of memory to hold. For some reference, that is more than an 8x GPU NVIDIA H200 141GB system has in HBM (only 1.128TB), but it can fit into an 8x GPU AMD Instinct MI325X 256GB (2TB total HBM.) As a result, most folks running the 671B model are using a quantization that, while reducing memory requirements, also reduces the output quality. Over the past few weeks, we have been using a solution to run that model and a few other applications on the same machine without requiring a $400,000 GPU server. What is more, the same methodology can be used to run smaller models successfully, even on less capable hardware.
Since this one took a lot of work, we have a video for this as well.
As always, we suggest watching this in its own browser, tab, or app for the best viewing experience. As a full disclosure, we used both the AMD Volcano platform and chips from AMD to make this work. We need to say this is sponsored by AMD. With that, let us get to it.
Getting Started with Deepseek-R1 671B FP16 On a Virtualization Server
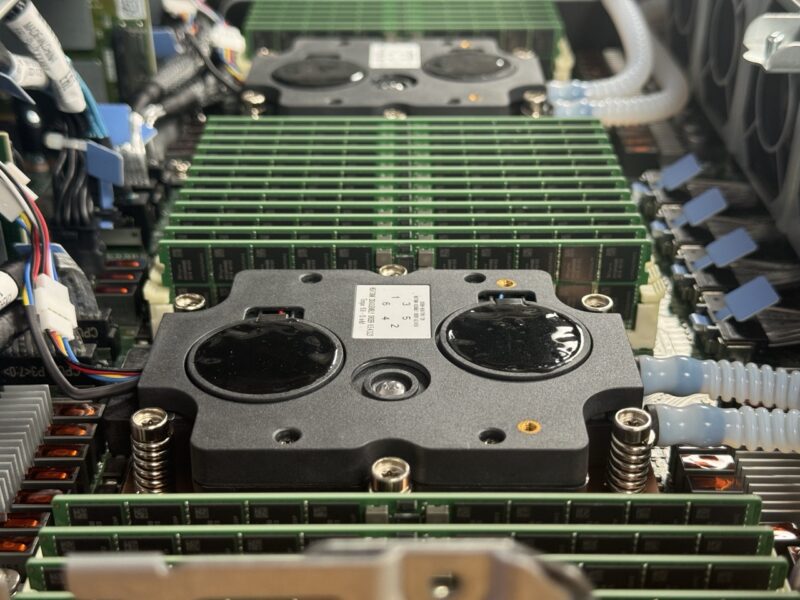
For this, the test setup is important. We are using the AMD Volcano platform with two liquid cooled AMD EPYC 9965 192 core/ 384 thread CPUs and 24x 64GB DDR5 DIMMs for 1.5TB of RAM. While modern GPUs have a lot more memory bandwidth with several co-packaged HBM stacks, this setup is specified for over 1TB/s of total memory bandwidth making it a very different platform from consumer systems. With lots of memory capacity, solid memory bandwidth, and 384 cores/ 768 threads, this platform has the capacity to run big AI models.
To make it easy to test both bare metal, plus KVM virtualized environments, we are using Ubuntu 24.04 LTS as our base OS. To be clear, there are many opportunities to tune this setup for better performance. We will show one easy example in the performance section, along with some pitfalls to avoid. We will also discuss how one can move workloads to run them alongside the giant model we have here. Take this as the easy-mode setup guide, not the performance tuned setup guide.
Step 1: Make Life Easy and Use Docker
While one can run the model in various ways, keeping with the theme of making things easy, we want to have a web GUI that we can work in. We also want to make the deployment easy. Docker is the easiest way to get started. Almost every OS has a straightforward way to deploy Docker. If you are doing this in a Ubuntu or other VM, then the methodology is simple. Docker also has a convenience script that you can use:
curl -fsSL https://get.docker.com -o get-docker.sh

sudo sh get-docker.sh
Most folks using that script will also want to do a quick sudo usermod -aG docker <username> then logout and back in so that you can run containers easily.
Once Docker installed, there are many different options for running models. We are going to, again, keep everything easy and deploy Open WebUI as our front-end with Ollama. Luckily, the Github page has the easy way to do this for a CPU-only setup which is currently:
docker run -d -p 3000:8080 -v ollama:/root/.ollama -v open-webui:/app/backend/data --name open-webui --restart always ghcr.io/open-webui/open-webui:ollama
That is going to take a bit to download, extract, and get up and running. In the meantime, you might want to think about how you will access the server. In the video, we had Tailscale installed so we could go directly to the machine or VM that was running the model. Your setup may be different, but that is easy given I knew I would have to do six flights in three weeks.
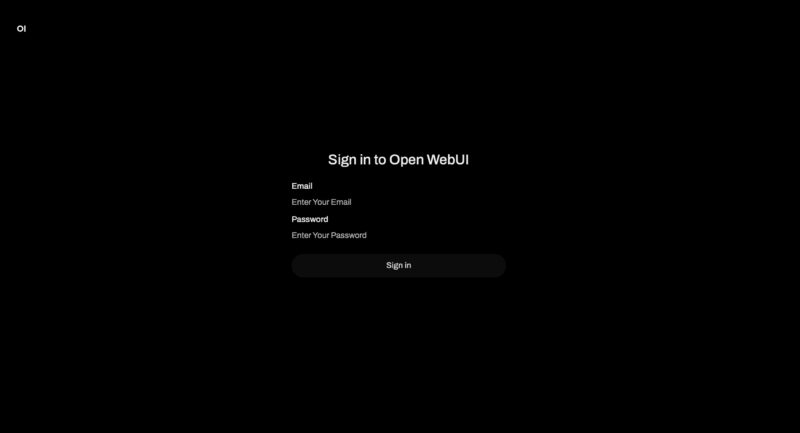
Once that is done, we pointed a web browser to the host at port 3000 and then went through the create an admin user. We used our lab standard sthuser as the account and then we were done.
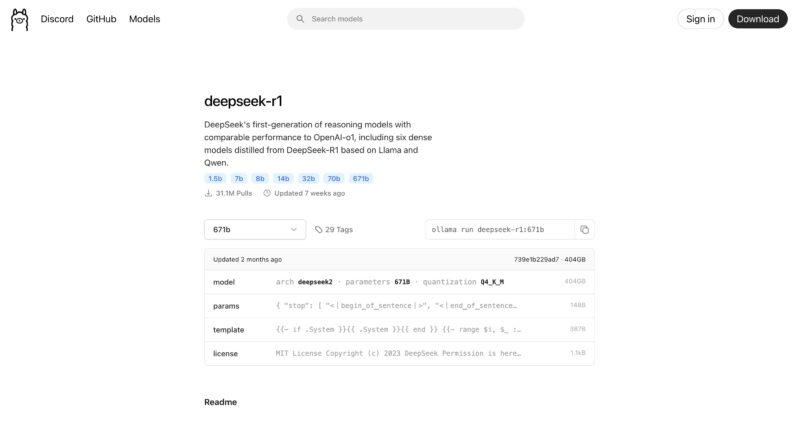
The next step is to download a model. The Deepseek-R1 671B FP16 model is not the easiest to get to. If you browse the Ollama page to Deepseek-R1 you will see that the model you are defaulted to is the deepseek-r1 7b model that is qwen2 and using Q4_K_M quantization. That works well on desktop hardware, but we have a big server so it is not what we want.

The dropdown menu on the left has 671b as an option, but this is only the 404GB Q4_K_M quantization model, not the big FP16 model.
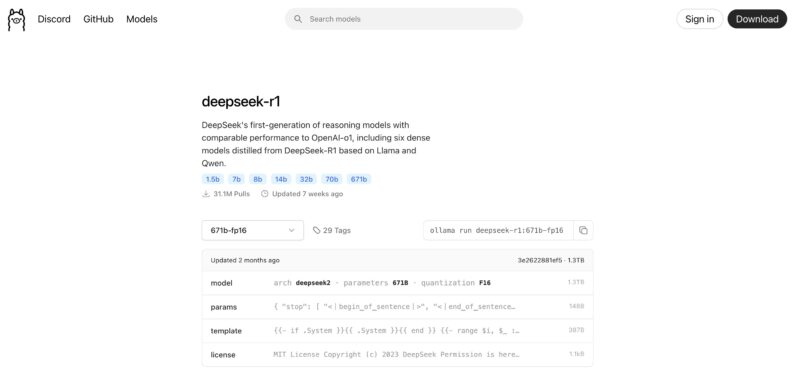
Instead, we want the FP16 model that is found under the “View All” in that dropdown menu, then selecting the 671b-fp16 option (or you can just go here.) Doing so gets you the roughly 1.3TB model. Make sure you have enough storage space to download this as well.
Now that we know the model is called the deepseek-r1:671b-fp16 we can go back to the Open WebUI frontend and download this. Alternatively, you can just be ready to copy and paste that name, but for many reading this they may not have a full 1.5TB server to use, so using a smaller quantized model can make sense. Going through the above to find smaller models like Meta’s llama3.3, Google’s Gemma 3, Microsoft’s Phi-4, QwQ 32b, and others is as simple as navigating the Ollama site. If you have a lower-end server like the HPE ProLiant DL145 Gen11 sitting at the edge at a low utilization rate, then you can use this same methodology with smaller models to better utilize that hardware.
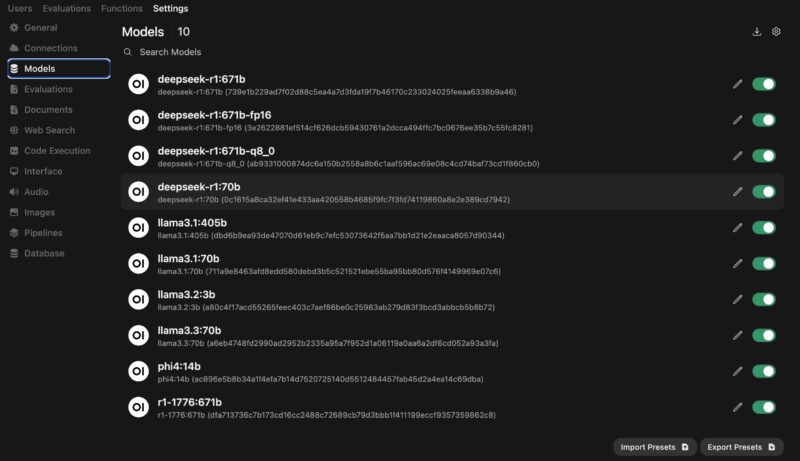
In the Open WebUI front end, you will want to go to admin -> settings -> models where your local model store is located. When you first setup the system, this list will be empty, but as you try this, you will likely end up with a few different options. You can even see we have Perplexity’s r1-1776 671b model here.
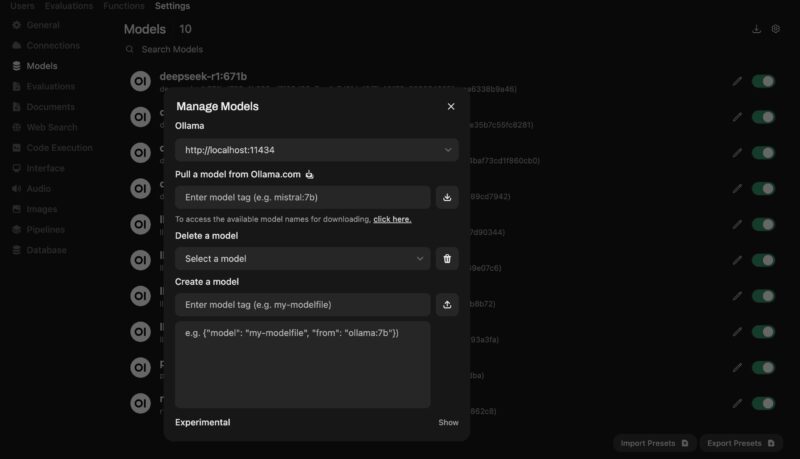
At the top corner, there is what looks like a download icon. You can click on that and it brings up the Manage Models box. Here we can pull a model from Ollama.com which is where we input deepseek-r1:671b-fp16 and the download begins. Depending on the speed of your WAN connection, this can take a few minutes.
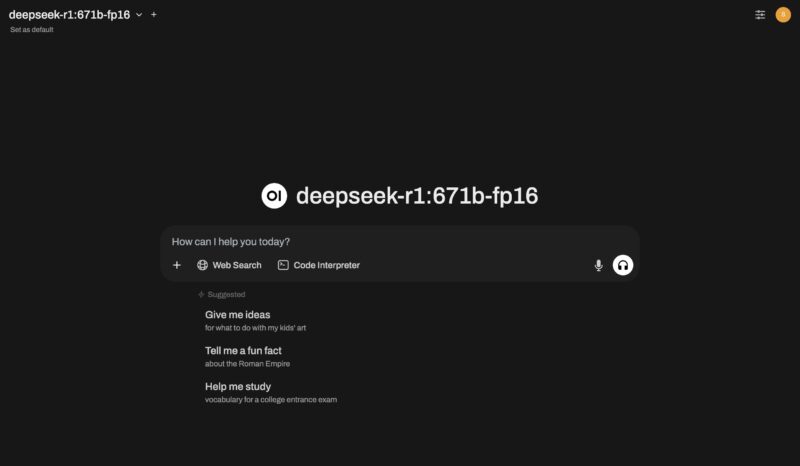
Once the progress bar gets to 100%, you can go back to the new chat dialog and select deepseek-r1:671b-fp16 at the top left and you are ready to go.
We are not going to cover it in this article, but you can also add web search capabilities for RAG functions in Open WebUI’s settings as well. You can also setup text to speech capabilities. At this point, however, you have a basic setup and are ready to go.
Let us next get to the performance of a setup like this.


With the stock market crash today, I’d wager that there’s lots of us who will only experience high-end AI like this….. at least in the near term
Excellence STH
I don’t think you’re grasping just how big this is. I wish AMD did AMX too, but I followed the same steps just running llama3.3 instead and it took exactly 4m 21s. Now I can say I’ve built an AI tool by using our ESXi virt cluster
count me in for the newly minted dozen vms with 70b models going head2head now
good work
Well done guys!
STH is and has been for a long time my absolute favourite Tech Site!
I love hardware so this is my cup of tea!
Run an FP8 on one CPU and its memory, that would have been interesting to see performance wise.
For a setup like this you one could use QEMU’s ability to map physical characteristics of the underlying CPU including L3, and to pass NUMA structure along. With this the OS in the VM will be able to make sensible decisions with thread placement.
This requires digging into QEMU’s commandline, which can be easily achieved with Proxmox’s VM configuration files (args:).
SMT needs to be correctly mapped by passing in the relevant SMP configuration: -smp 128,sockets=2,cores=64,threads=2,maxcpus=128
The above requires binding each vCPU to the host thread, and it has to be done after the VM starts up. For Proxmox the hookscript: directive can achieve this. Unfortunately it takes quite a bit of digging to get the exact QEMU process ids. Example scripts can be found on Proxmox’s forum.
Topology needs to be translated, together with host CPU physical bits and hugepages, while host should pass all of the relevant flags it needs to be verified in the VM (stuff like mitigations): -cpu host,phys-bits=0,topoext=on,+pdpe1gb
Unfortunately QEMU is not able to directly map NUMA to the guest. Even if presented with a single socket the underlying configuration might still utilize NUMA via NPS or SNC. For this it’s optimal to hard-reserve memory in each NUMA node and bind it to the range of CPUs, for example bind 128GB for first 16 vCPUs: -object memory-backend-ram,id=ram-node0,size=131072M,host-nodes=0,policy=bind,prealloc=on -numa node,nodeid=0,cpus=0-15,memdev=ram-node0
The above has to be repeated and adjusted to the host NUMA configuration. If using multiple sockets the distance between NUMA nodes also has to be specified once per direction: -numa dist,src=0,dst=1,val=11
It’s best to just use what numactl -H shows.
Sadly that’s a lot of manual tuning, which could be theoretically introduced into Proxmox or QEMU itself (but that is a really hard problem to get right for every configuration). There’s also further advanced tuning like moving interrupt handlers, kernel threads and other processes onto dedicated host CPUs that won’t be used by the VM, as to minimize cache thrashing from irrelevant (from the VM’s perspective) uses. QEMU IO threads should also be bound to the NUMA node containing underlying storage. If possible networking should be done with a NIC VF passed directly to the VM, also bound to VM NUMA configuration (via -device pxb for PCI birdge bound to VM NUMA node, and -device vfio-pci for the NIC VF attached to said pxb device).
With this I was able to achieve ~ 95% performance for running huge LLMs in a VM at the price of the VM having a rigid configuration, as scaling resources isn’t trivial and requires recalculating parameters.
Hope this wall of text can be useful for someone to tinker with, or even a more advanced STH article :)
1.9 token/s? Why bother…
DeepSeek is natively trained at 8 bit, 16 or 32 bit versions of the model are just for compatibility in case you accelerator/tools only support that format.By doing so in this case you just waste half the RAM capacity and memory bandwidth for no gain in quality like a natively fp16 trained model would have
I really appreciate the “all CPU” approach, but it’s possible to use LM Studio, FlexLLMGen and Genv with a single consumer graphics card; like a 5090, to get much faster performance.
I’d go with one CPU and 12x96GB RDIMMs (holds 8bit model) or the 12x128GB (holds the 16 bit model) if you can afford it. Dual CPUs slow down a fundamentally sequential inferencing process substantially. Using a relatively small 48GB GPU for kv cache / context buffers and letting the CPU and RAM handle the model layers should improve performance a bit.
On older Epyc servers default ollama performance can suffer when badly crossing a NUMA zone. On some tests I’ve seen more than a factor 20 speed improvement by launching the server as “numactl ollama serve” where refer to a well thought out arrangement of physical cores and memory interleaving. Then restrict the number of threads in the model file using num_thread to one or two less than the number of cores specified by numactl.
Oops. My previous message was mangled. That should be
numactl [magic options] ollama serve
where [magic options] use -C and -i to specify cores and interleave.