QNAP TVS-951X 9-Bay NAS Management
Getting our QNAP TVS-951X up and running is the same as previous QNAP products we have reviewed.
First, head over to QNAP Utilities and select the Windows version. Once installed we see the next screen.
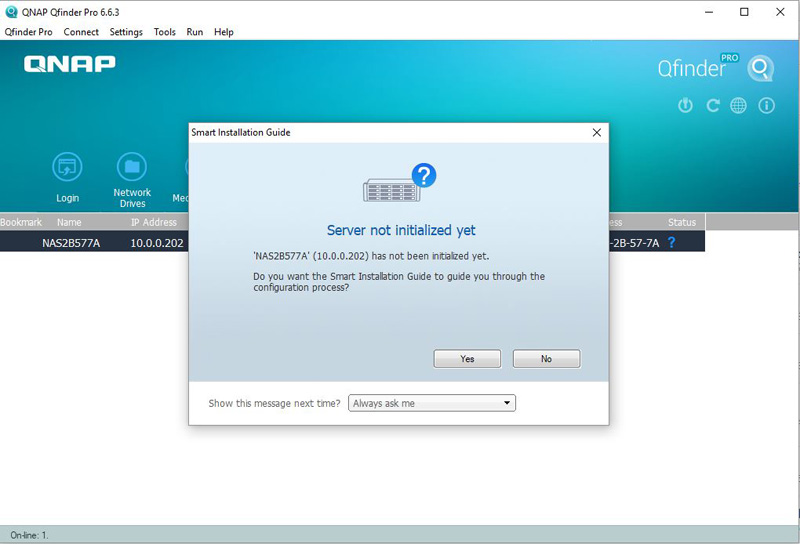
Qfinder finds our QNAP TVS-951X and notes it is not initialized yet, click “Yes” to continue.

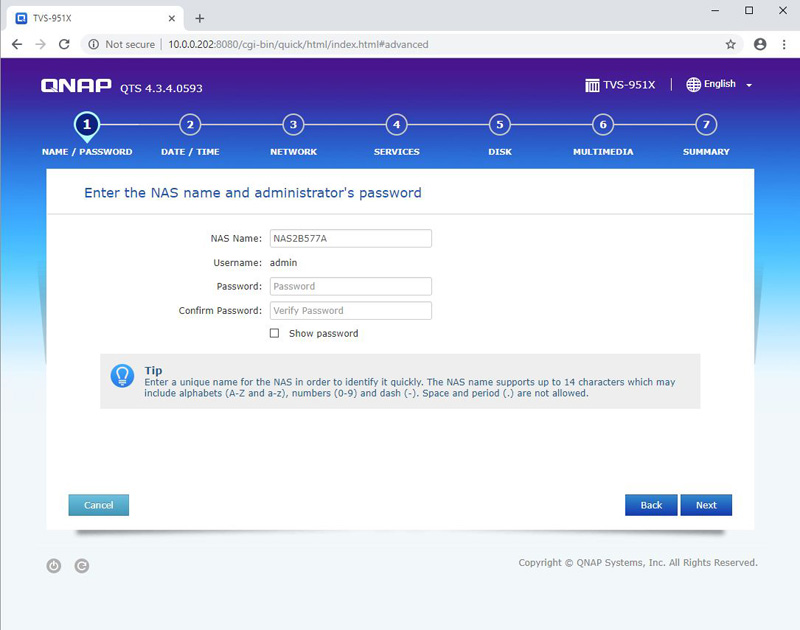
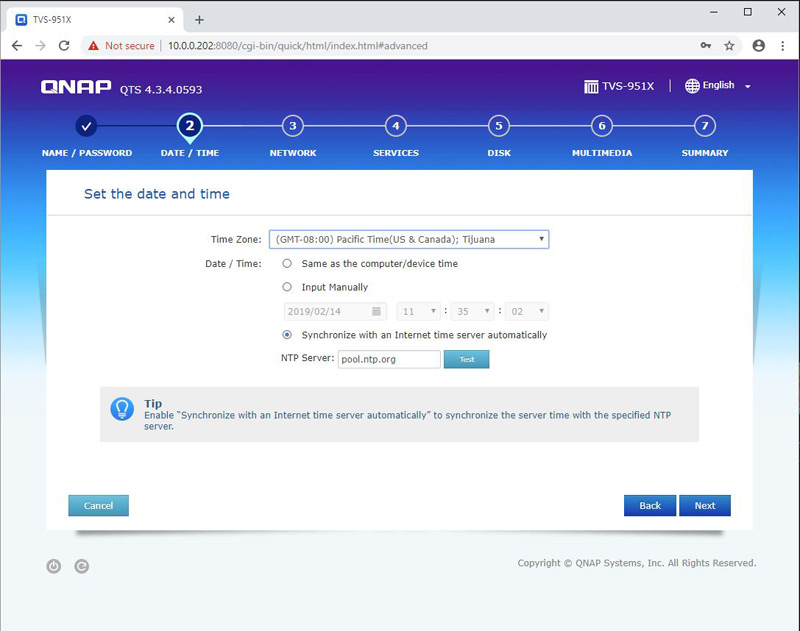
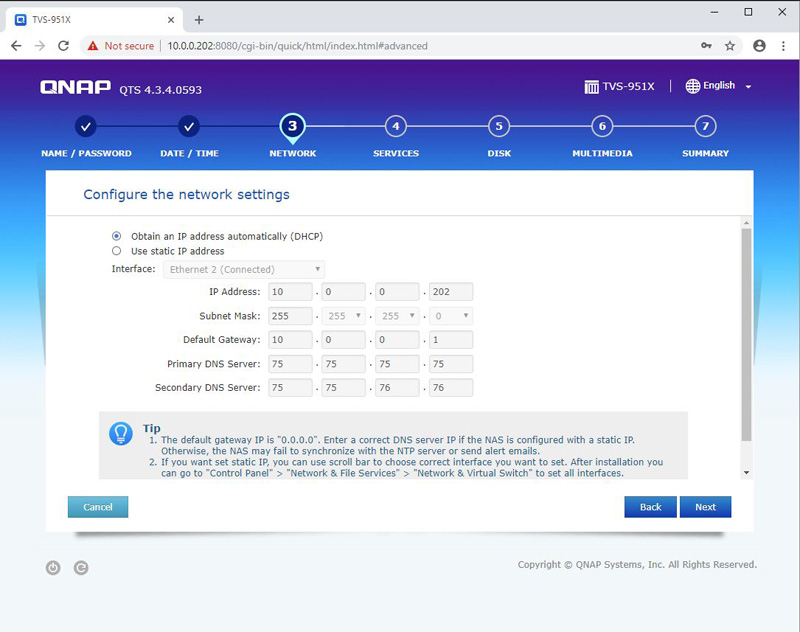
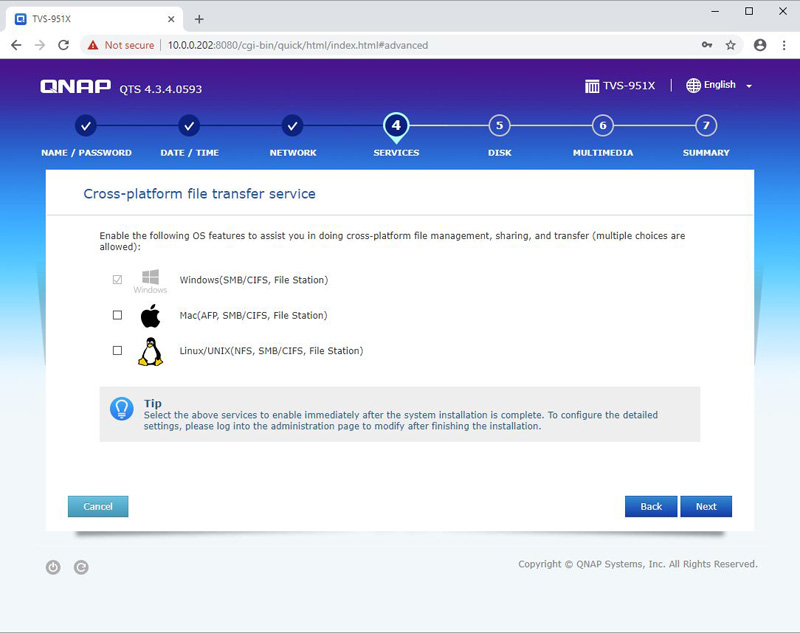
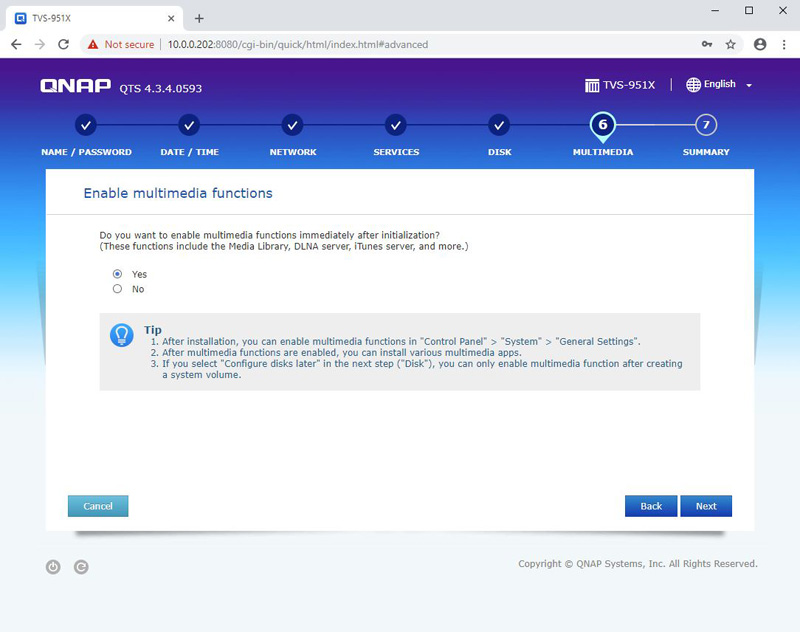
In the next seven steps, fill out the required information and continue.
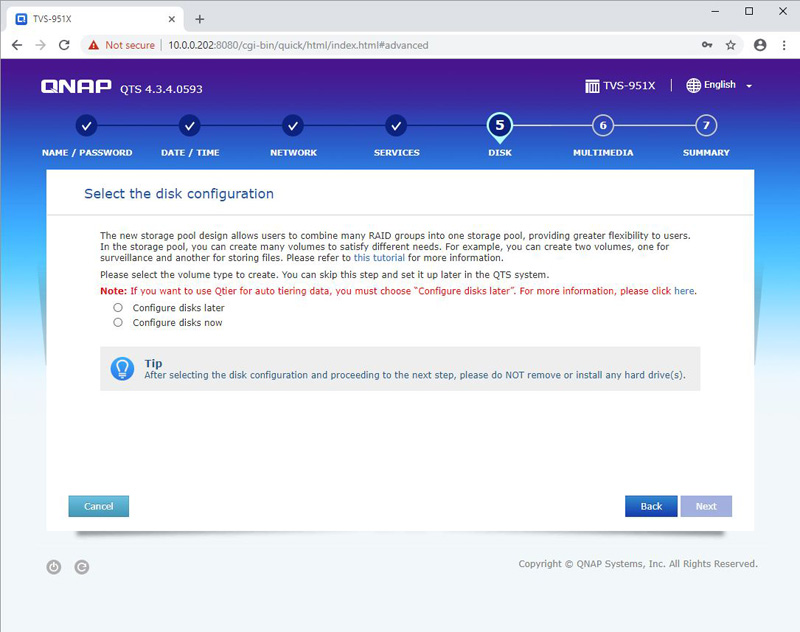
If you are planning on using Qtier, you can configure the drives now or later. In our tests, we configured Qtier later.
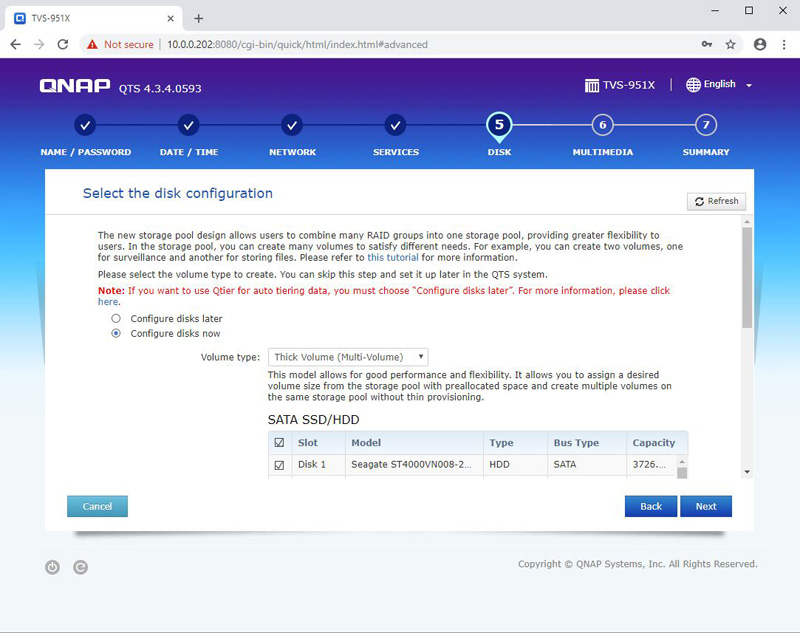
In this step, we select all five of our Seagate Ironwolf 4TB drives.
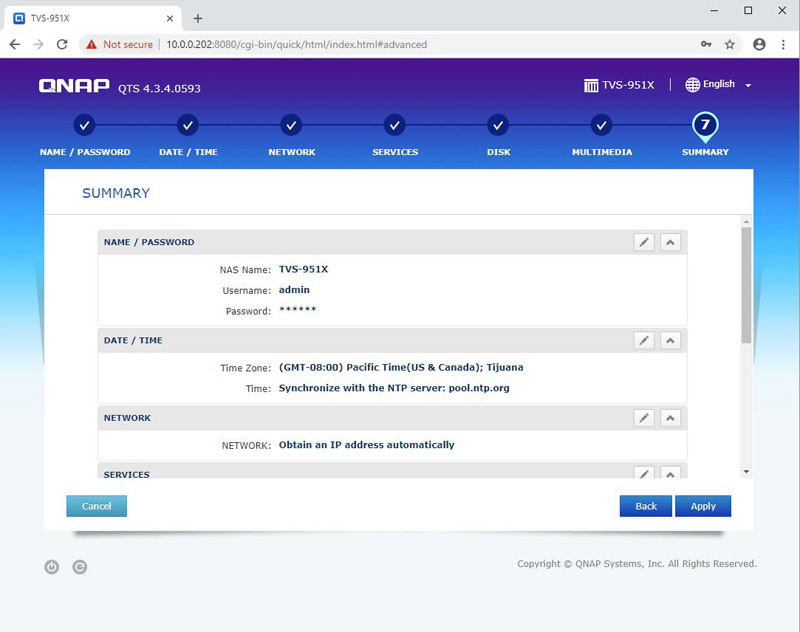
After clicking “Apply,” the system will start configuring our TVS-951X.

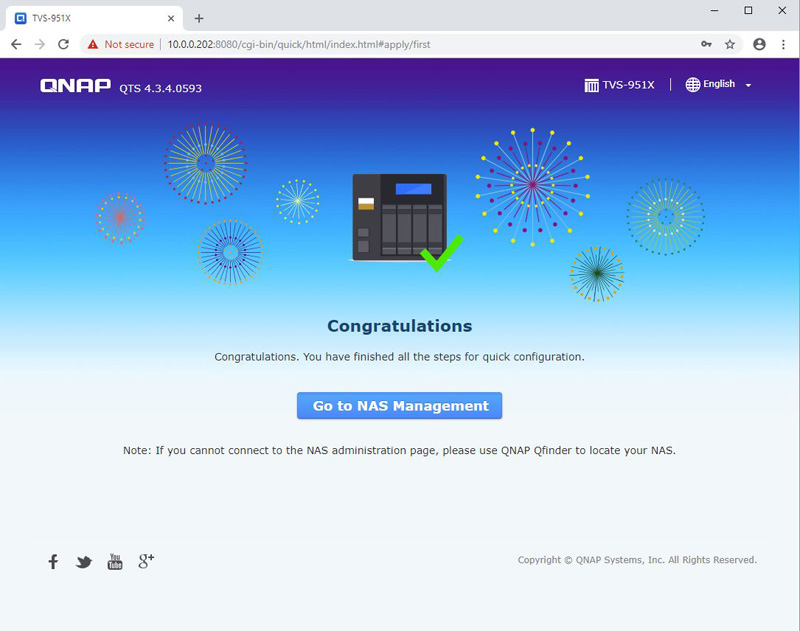
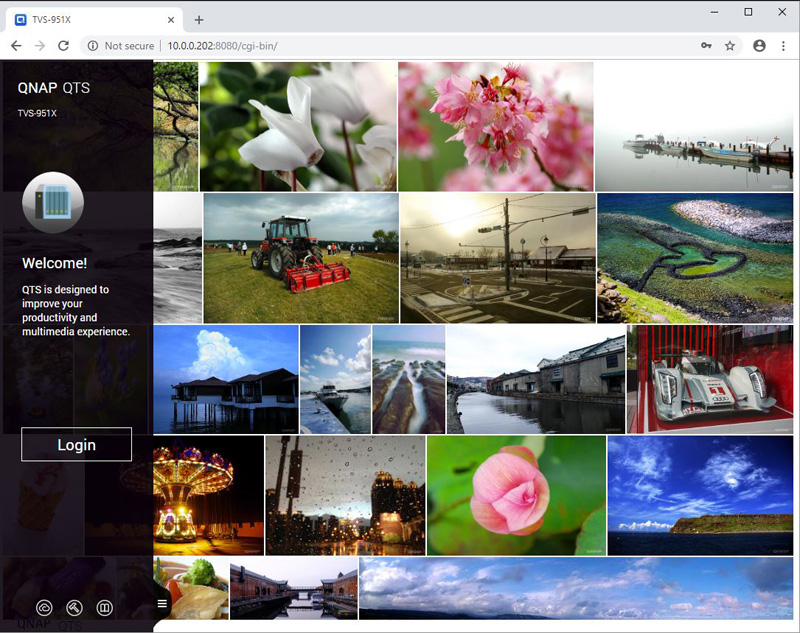
Now we have the QNAP TVS-951X configured and all ready to go. We need to Login and enter the QTS desktop.
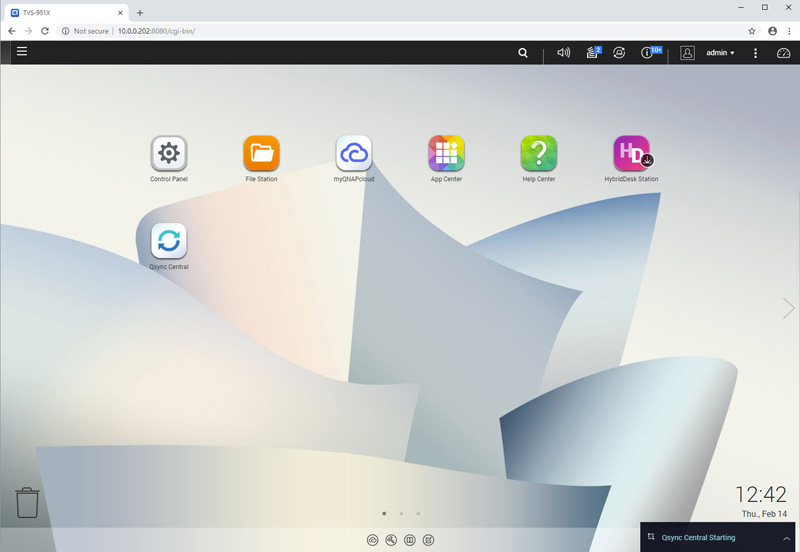
Now let us look through several features of QTS 4.3.
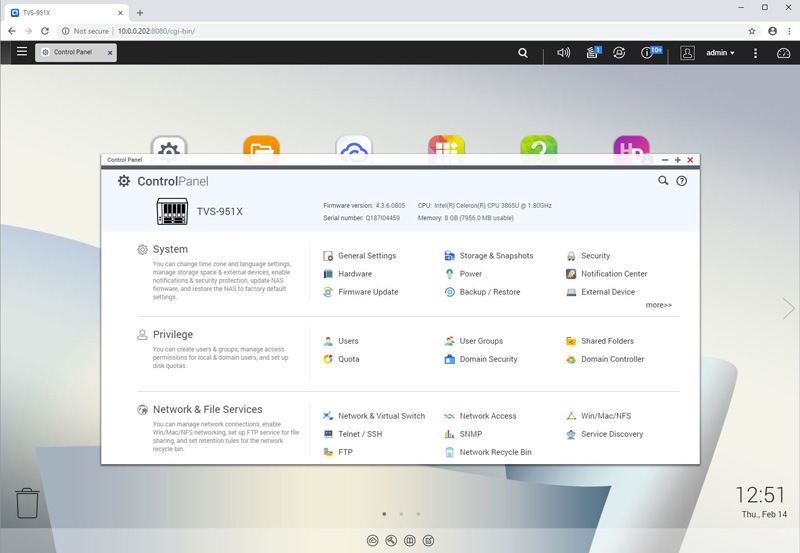
Here we see the Control Panel where you can adjust system settings.

QNAP has a webpage that includes all apps available for use and complete descriptions based on the NAS model you select which you can find here.

One screen we have up at all times is the Resource Monitor.
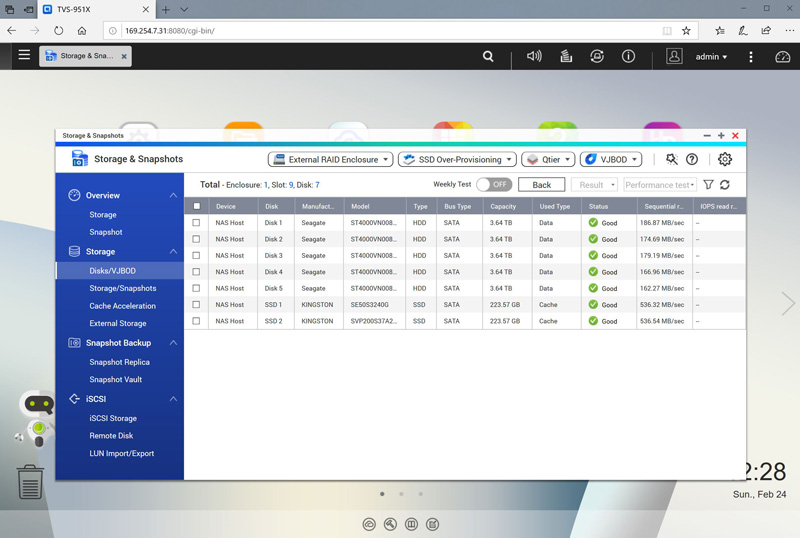
QNAP QTS also includes a performance test that runs on the HDD’s and SSD’s.
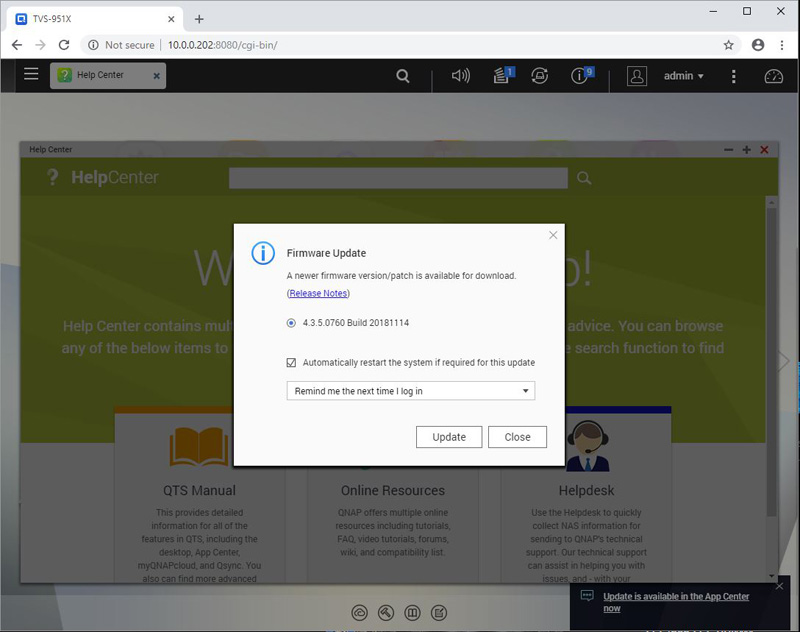
While looking through the QTS features, we noticed that a Firmware update was available, which we did.
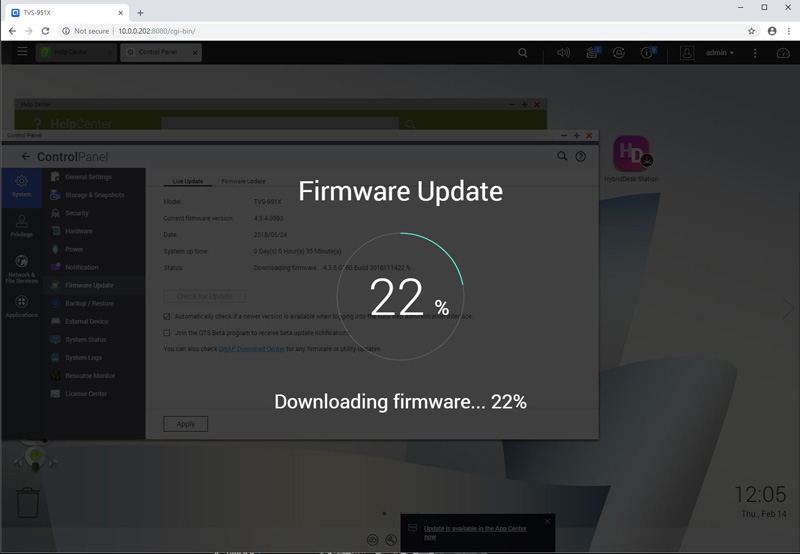
After updating our Firmware, we began to start testing the TVS-951X.
QNAP TVS-951X 9-Bay NAS Specifications
Here are the key QNAP TVS-951X specifications:
- CPU: Intel Celeron 3865U dual-core 1.8 GHz processor
- CPU Architecture: 64-bit x86
- Graphics Processor: Intel HD Graphics 610
- Encryption Engine (AES-NI)
- Hardware-accelerated Transcoding
- System Memory: 8GB SO-DIMM DDR4
- Maximum Memory: 32GB (2 x 16 GB)
- SSD Cache Acceleration Support
- 1x Gigabit Ethernet Port (RJ45)
- 1x 10GBASE-T (10G/5G/2.5G/1G/100M)
- 4x USB 3.0 port
- HDMI Output 1.4b (up to 4096 x 2304 @ 24Hz)
- Audio Output: 1 x speaker, 1 x line out
- Dimensions (HxWxD) 7.41 × 12.96 × 11.01 inch
- Weight (Net) 7.78 lbs
- 1x 120mm system fan
Overall, this is a lot of functionality. We were somewhat surprised that QNAP is able to cool this with a single 120mm fan, but the solution worked well in our testing.
Next, we are going to start our hard drive testing on the QNAP TVS-951X.


Any information on drive temps?
You state you were surprised the 120mm fan was able to cool the machine in testing but I didn’t see any drive temperature readings for the various workflows.
In extended / heavier use cases I wonder if the cooling will be adequate.
What good is this article without a price tag? Haha – I literally don’t know what I should be comparing it to from the likes of Synology or whatnot without it. :)
It’s $699 everywhere online. Maybe check out this new site called Google Shopping?
TVS-951X w/ (5) WD 8TB Red & (4) 500GB MX500
Temps (C):
CPU 46
SYS 34
SSD1/2/3/4 41 41 36 38
HDD1-5 40 39 38 38 39
FAN 646 rpm
It’s on sale fairly often for under $600.
If I were to put 9 x 1TB SSD into the drive bays, could I get one RAID 6 storage pool including all of them, or do the 4 x 2.5 slots remain independent?