Netgear ReadyNAS RN524X 4-Bay NAS Management
We now have our drives installed, connected to our network and ready to get the Netgear RN524X up and running. On a local machine enter, “readycloud.netgear.com” which will get us started setting up the NAS.

Two options are available to start setting up the NAS, through Wi-Fi or on the local wired network.
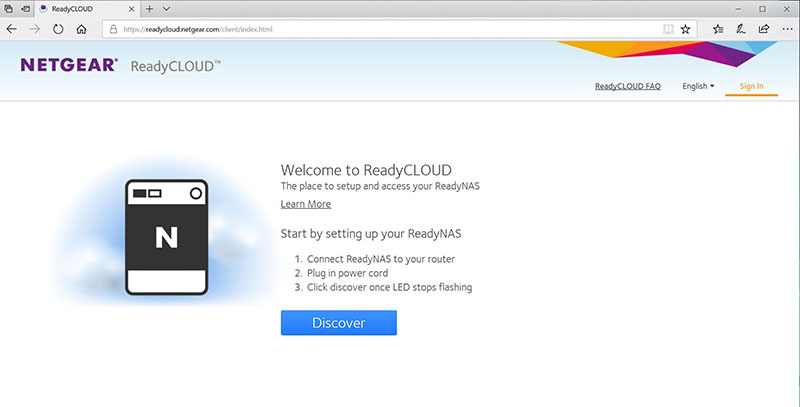
Clicking on the Discover button will locate the RN524X on your network.
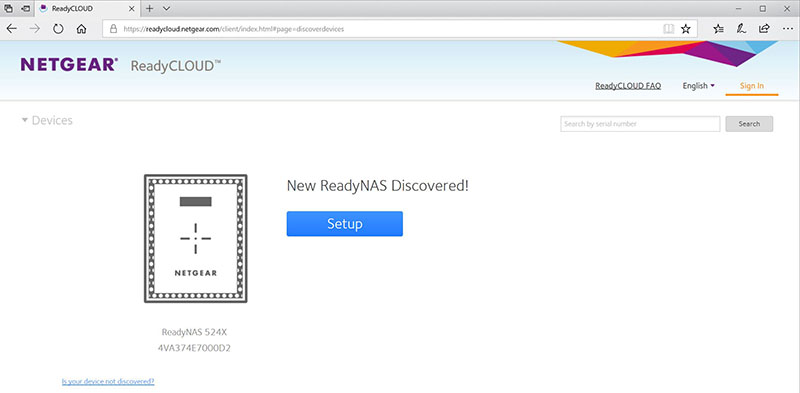
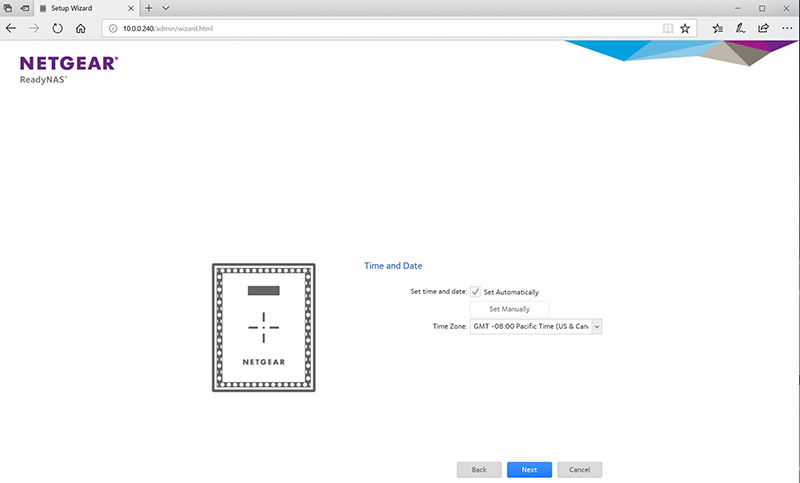
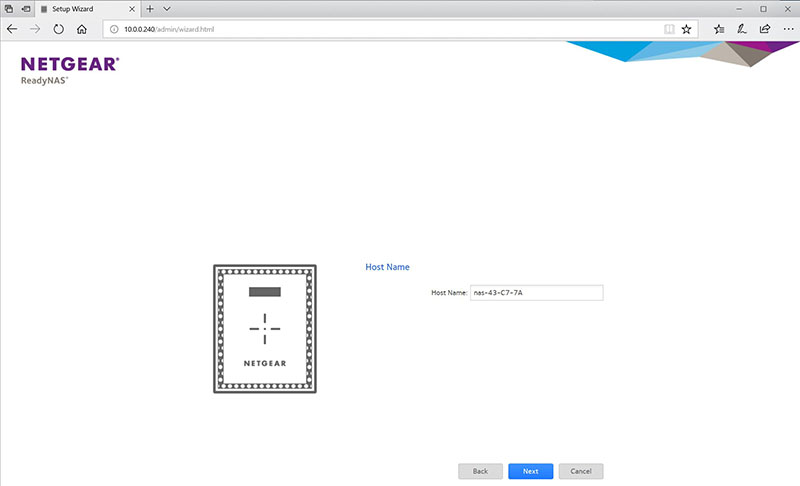
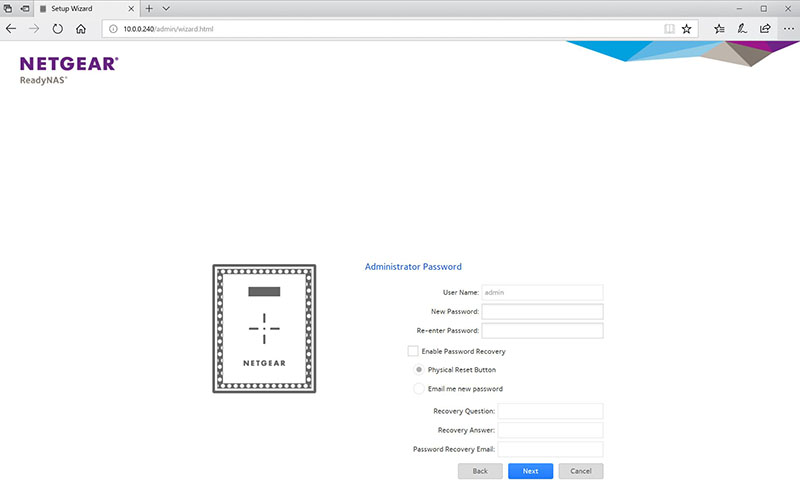
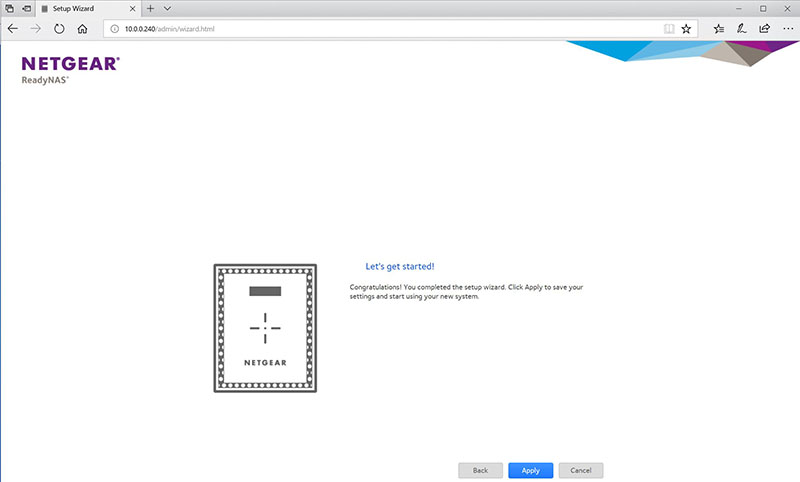
Here we see the RN524X is located and ready to Setup. We will show the screens used to set up the NAS.
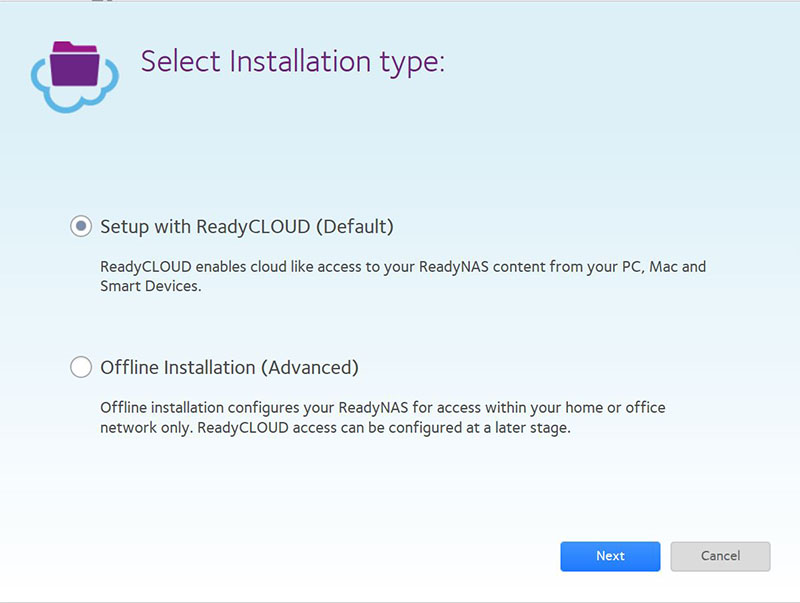

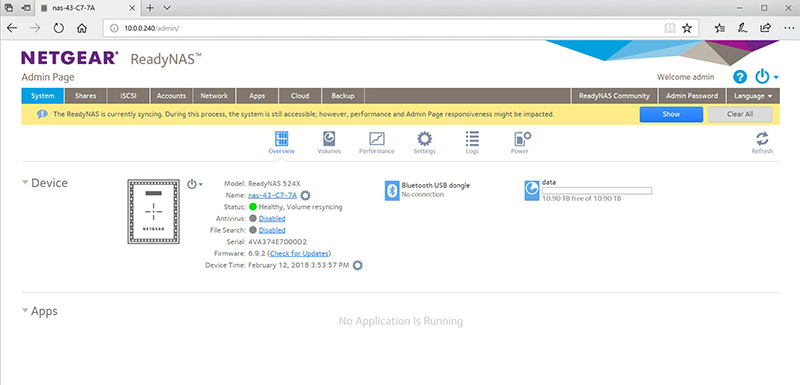
By default, the setup procedure will create a RAID 5 volume using X-Raid if you have four drives. This is something you may want to change based on your usage profile.
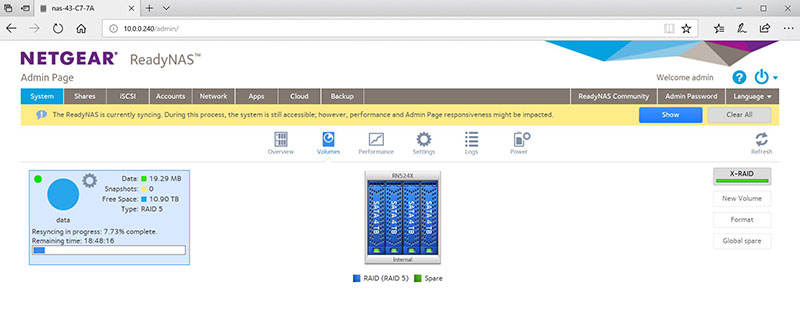
On the volume screen, you can create other RAID types and turn off X-Raid if you are using four drives in the NAS.
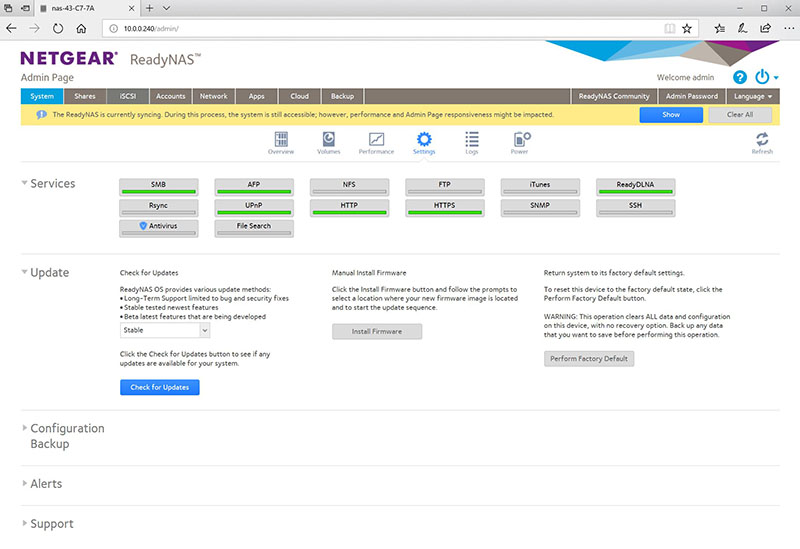
Additional settings can be turned on in the settings tab.
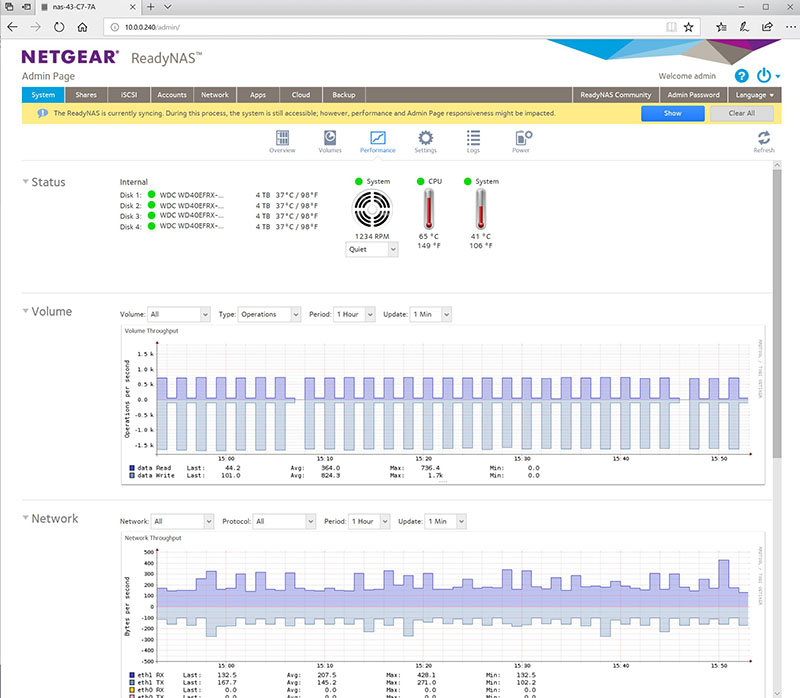
The Performance screen shows what the NAS is doing in real time and is very detailed.
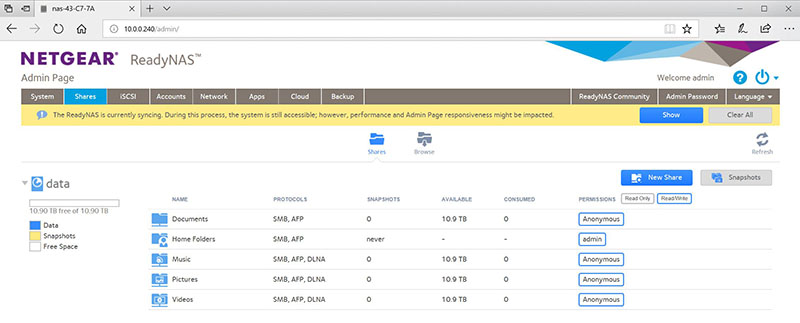
The Shares Tab allows the creation of additional Shares and Folders.
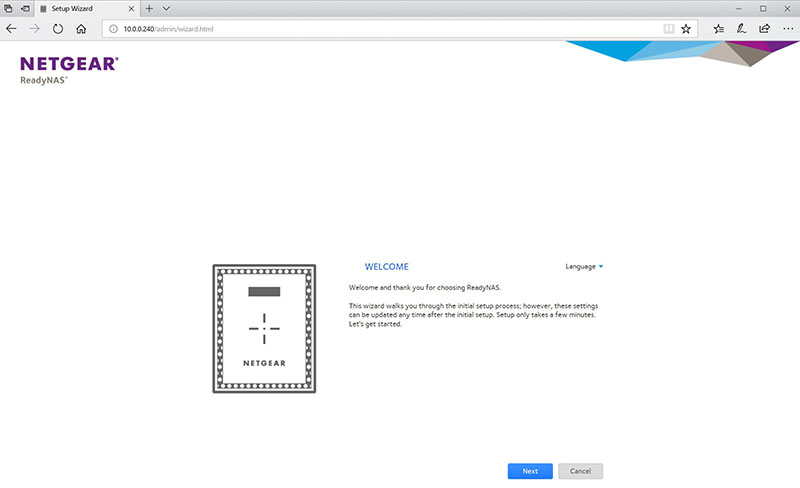
The key here is that the Netgear ReadyNAS RN524X uses only a web browser for setup which is significantly easier than having to download and install an app for setup.
Next, we will discuss Netgear ReadyNAS RN524X performance.


