Lenovo M75q Tiny Gen2 Internal Overview
Opening the system is done via a single screw. Lenovo’s design, unlike HP’s for example, does not retain the screw on the chassis. As a result, one has to keep track of it when working in the unit. The fit and finish for the M75q-2 are good.
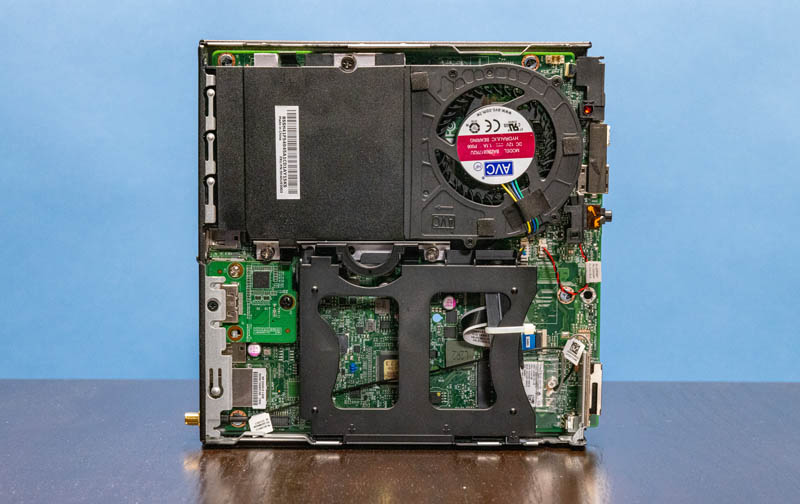
Inside the system, we see the CPU on top and a 2.5″ SATA tray on the bottom. The SATA tray is a tool-less design that can be installed in the system without tools. Also, the 2.5″ HDD/ SSD can be installed in this tray without tools as well. This is a great serviceability feature.
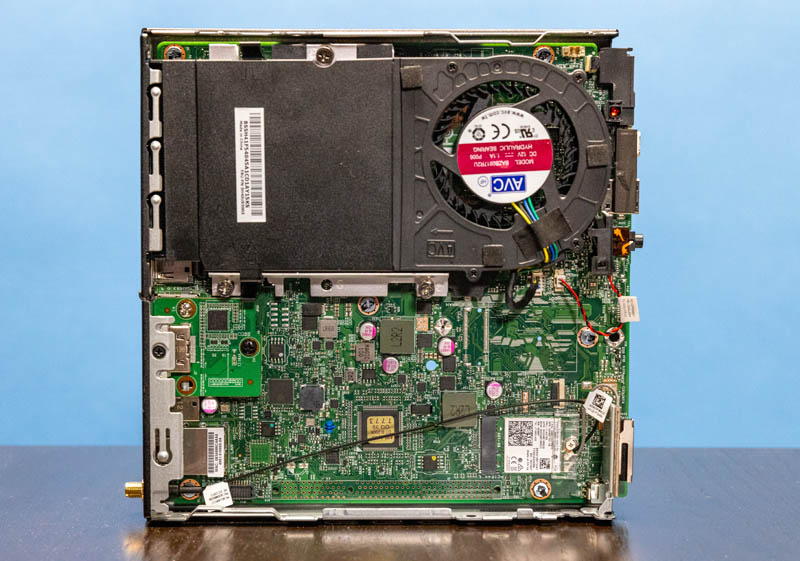
We pulled away the fan and plastic airflow shroud by removing two cables and activating a single latch. Underneath, we can see the cooling solution for this unit that we wanted to quickly highlight since it is a more standard straight fin design than we saw on the M75q-1.
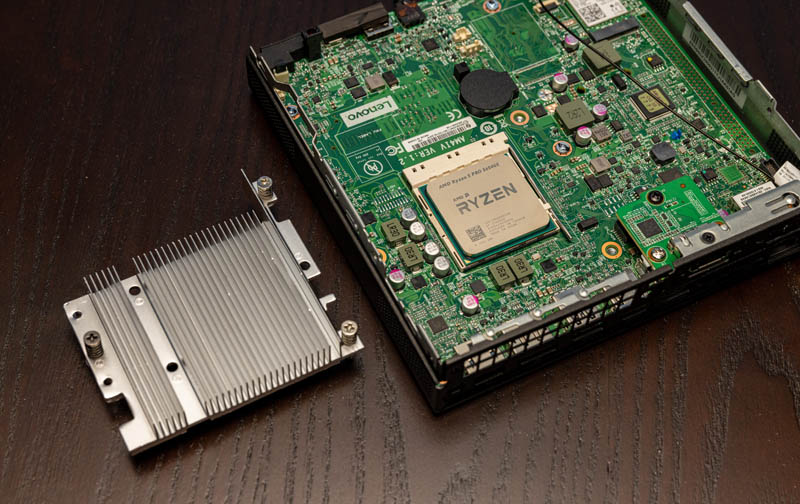
Our system came with the AMD Ryzen 5 Pro 5650GE with is a 6 core/ 12 thread part running at 3.4GHz base and 4.4GHz maximum turbo boost. It also integrates AMD’s Vega graphics. Although we lose two cores, we gain clock speed and the Zen3 L3 cache optimizations and microarchitectural improvements.
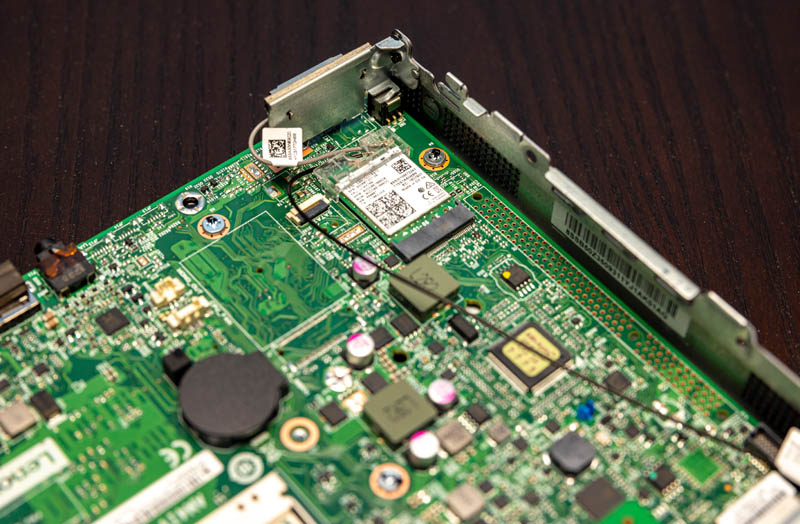
While our system came with WiFi, it was slower than what we got in the previous generation. Our unit came with an Intel dual-band 802.11ac 2×2 adapter and included Bluetooth as well. There are also WiFi 6 options, and this is something we ultimately upgraded as we will discuss later.
Lenovo’s design we really like. Once the top cover is off, one can remove the bottom cover by simply sliding the cover off. Underneath, we find the memory and NVMe storage expansion.
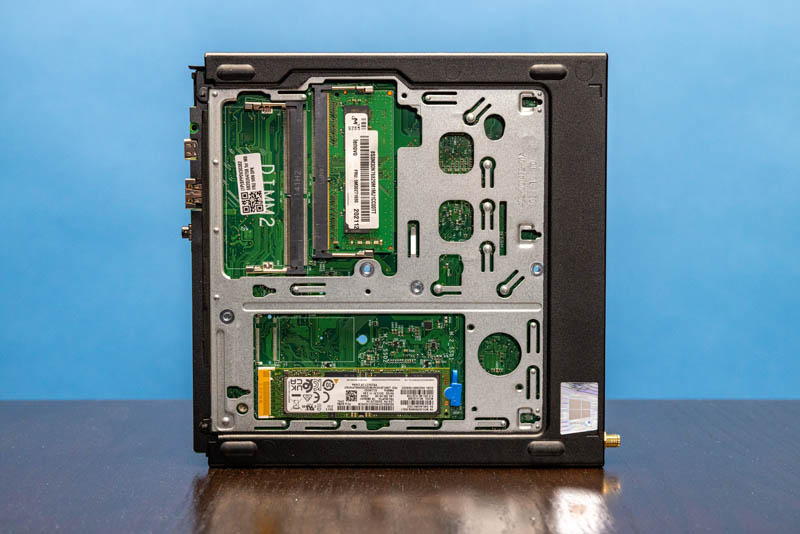
A quick note here is that while the internal mounting points are very similar between generations. What was interesting is that we experienced the same challenge with this bottom cover. For whatever reason, both of our M75q-2’s and the M901 Gen2 bottom covers are significantly harder to get on/ off than previous generations. Again, while the performance is improved, this new chassis design feels like a step backward.
Our unit came with a single 8GB DDR4 SODIMM. These are very easy to service so upgrading if you get less takes a few seconds. We will show this a bit later in our upgrade and Proxmox VE section as we take this system to 64GB. One item to note is that with this system we highly recommend running in dual channel mode with two DIMMs instead of one. Adding the second DIMM for memory bandwidth is especially important with integrated GPU processors.
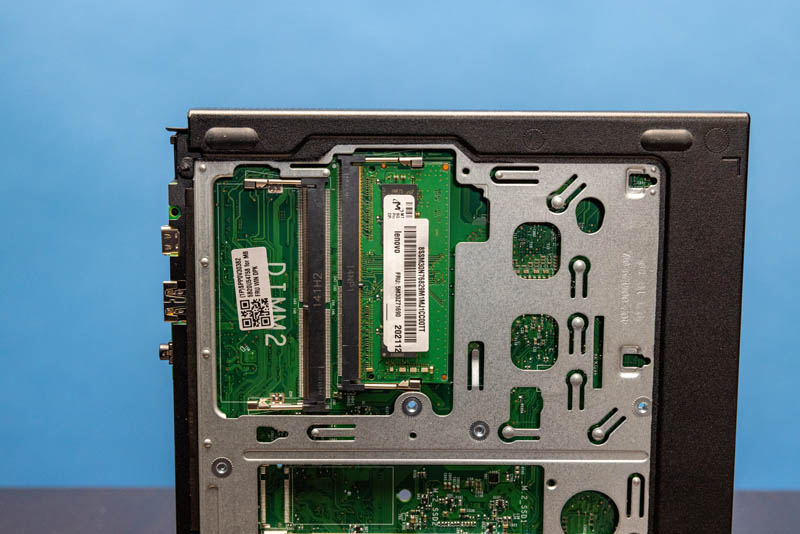
For NVMe storage, there is a single M.2 drive slot. Some other Lenovo Tiny models have two M.2 slots which are why the chassis hole exposing this area looks twice as big as it needs to be. The M.2 retention mechanism is a blue tool-less design as we saw in on newer Lenovo Tiny models. After servicing a few dozen of these nodes, having everything toolless is a major design win for us. Our unit came with a 256GB NVMe SSD. This is an item we will upgrade to 1TB later.

Lacking the second M.2 slot here is a big deal. The AMD Ryzen-based HP EliteDesk 805 Mini G6 and G8 units are positioned at the top-end alongside their Intel counterparts. Lenovo positions its AMD Ryzen M75q Tiny Gen2 units below the M90q Tiny Gen2 and that is why this is not populated. AMD’s platform can support the second M.2 slot functionality and HP exposes it, Lenovo does not. For its part, Dell does not offer this class of system.
Next, we are going to get into the upgrades and Proxmox VE installation. We are then going to get to performance and power consumption.


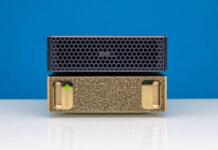
Fun fact: when you are upgrading the memory, stick to ECC. It is supported.
I got 20 thread Optiplex, and ever since I have never been happier. I waited sooooooooo long for Ryzen 7 4800U, until I realized that there is a BETTER Intel solution that I can buy right away.
Having ECC makes these small form-factor systems reasonable for server use. The main problem, as I see it, is what’s a reasonable way to rack mount the systems and what does one do with all the weird notebook-style power supplies.
These reviews have been going on for some time and are quite interesting. I think it would be nice to have a “best practices” story about options for rack mounting such things.
Very interesting article, I’m looking to get similar performance at low power consumptions for my homelab where possible.
Promising, though still a little costly in terms of up-front investments.
You can rack mount these by buying a vented rack shelf (with holes in it) and zip tie the power brick to the back of the shelf so it also gets air. The key to these 1L or less mini PC’s lasting is adequate air flow. Most of them fail because they get stuffed behind monitors on peoples desks with little to no airflow and simply run hot day and night.
Are there any servers using similar setups with 1HE, <450mm depth that have 10G (ideally SFP+, but I'll take 10GBaseTX too) on board and allow for expansion with a single PCI-E Half-height card? I know about the Xeon D and EPYC 3000 possibilities, but i'd be willing to try AMD Ryzen 5750.
There are a number of varieties of products and procedures which might be claimed to increase penis size however do they actually work?
Surgical procedures are quite risky and will not
be as effective as claimed. An small amount fats are extracted along with
PRP plasma. The fats is then minimally processed and separated from the pink
cells and oil in the centrifuge. Docs harvest fats from a patient’s stomach, then use a
machine to isolate and concentrate stem cells in it. A penis
block is finished to minimize any discomfort and then with the usage of
a cannula, the house between the pores and skin of the penis and
the underlying fascia is stuffed with fats, stem
cells and PRP progress factors are injected to increase the survival of the fat cells.
Vacuum pumps are generally used to deal with erectile
dysfunction and increase the dimensions of the
penis. Vacuum pumps draw blood into the penis, making
the penis to swell and look larger quickly.
I think I might of disabled my Absolute module. It is no longer available in the GUI menu. I have not seen the old school blue and white text menu like from the old systems.
Is it possible to reset the BIOS password on these units?