Recently creating a VMware ESXi virtual machine for NexentaStor was covered in a quick how-to guide. The next logical piece of the puzzle is this guide to getting NexentaStor installed in the virtual machine. There are, of course variations to the installation, so this guide will not cover every variation out there, but it should be more than sufficient to get a solid ESXi NexentaStor installation running and ready for more specific configuration.
Test Configuration
- CPU(s): Intel Xeon X3440
- Motherboard: Supermicro X8SI6-F
- Memory: 2x 4GB kits of Kingston ECC 1333MHz DDR3 KVR1333D3E9SK2/4G (Unbuffered)
- Case: Norco RPC-4220
- Drives: 8x Hitachi 7,200rpm 2TB, 2x Western Digital Green 2TB, 6x Seagate 1.5TB 7,200rpm
- OS(es): VMWare ESXi 4.1, NexentaStor Community Edition 3.0.4
For easy reference, this is the same configuration that was used in the Configure Passthrough-VMDirectPath in VMWare ESXi article.
Installing NexentaStor in a VMware ESXi Virtual Machine
The first step is to get the Nexenta installation ISO or CD into the Virtual Machine. There are VMware ESXi virtual appliances available, but I have seen instances of the virtual appliance lagging the latest stable build, and therefore I like to use the latest stable ISO.
Next, attach and mount the installation ISO to the virtual machine. There are two ways to do this. One can attach a host CD/DVD drive with insert installation media or using IPMI 2.0 and attach an ISO to the virtual CD/DVD drive if your motherboard supports it.
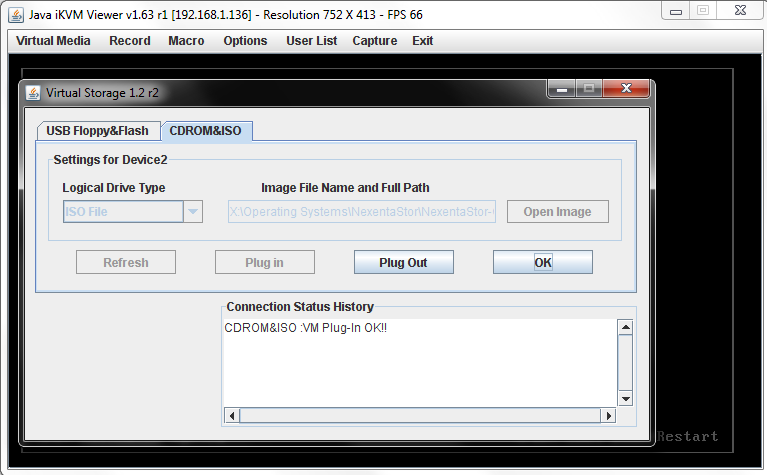
A second other option is to just use vSphere to attach an ISO to the virtual machine’s CD/ DVD drive.

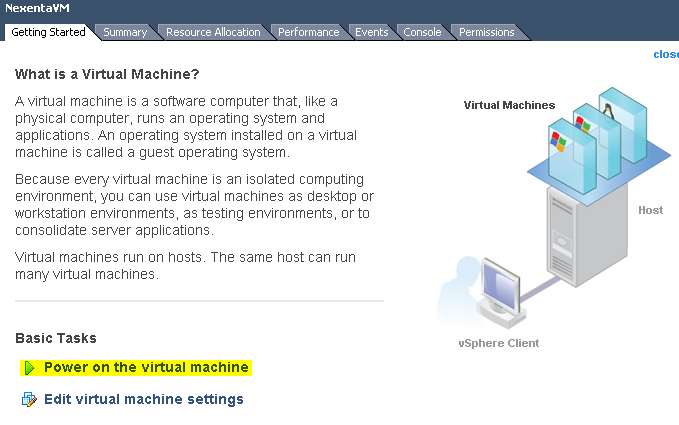
Next, start the virtual machine from vSphere, and the virtual machine will boot from the NexentaStor ISO. If you cannot attach a disk prior to starting the virtual machine, you may need to do a quick reboot of the virtual machine.
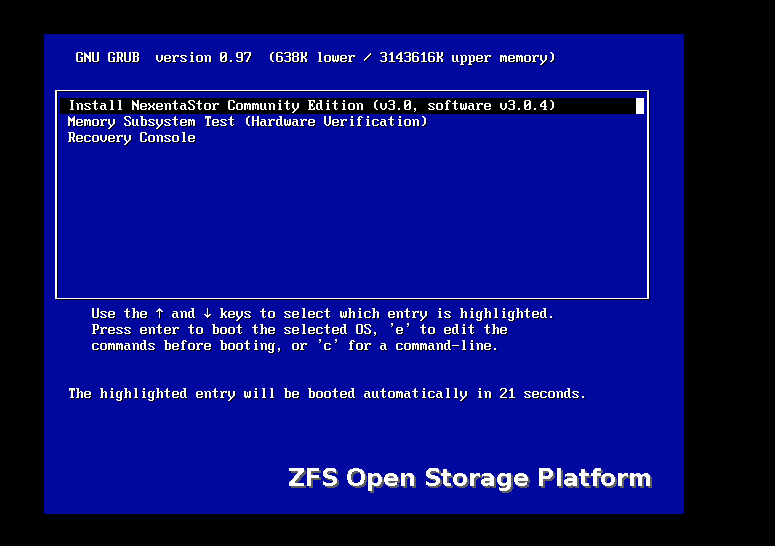
Once you do this, you will see the virtual machine boot to the GRUB screen where you will likely want to select the “Install NexentaStor Community Edition…” option.
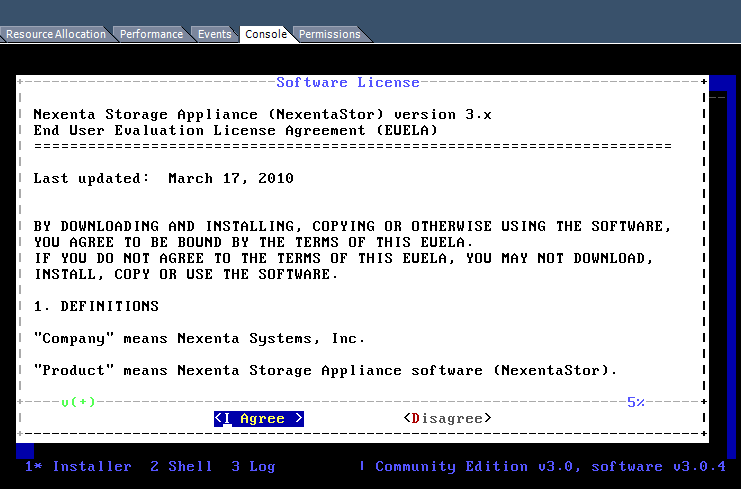
Next, as with basically every software installation, one needs to agree to the license agreement.
There is a welcome screen that one can just click through and then one is prompted for the installation disk.
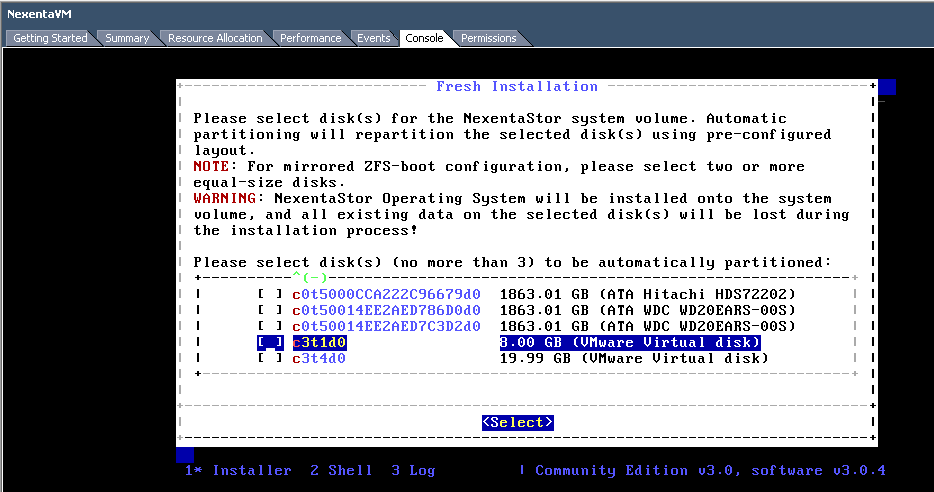
There are a few caveats here. First, if there are data storage disks attached to a controller passed through via VMDirectPath, the data disks will show up on this list. I generally use a RAID 1 VMware datastore disk so that manages the redundancy on that end. If you are using virtual disks or physical disks on the SAS/ SATA controller, you’ll want them to be located on different physical disks before using the mirroring setup above.
After selecting the disk, one will be asked if they are sure that the selected disk is the proper disk because partitioning will destroy all data on the disk. Most people click through this one, but if one is re-using a drive which previously had data on it, one may want to double check that they in fact do have everything off the drive that they need.
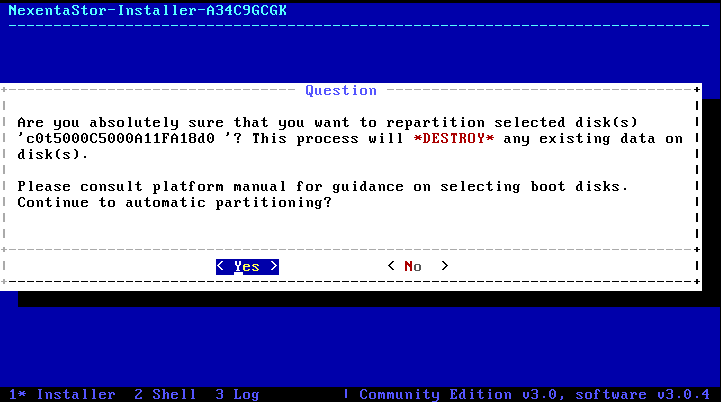
After this step is complete, the installation package partitions the disks, sets up initial user profiles, and installs required OS files to the disk. Overall, this is a good time to walk away for a minute or two as the process can take a few minutes even on Intel X25-M SSDs.
Once installation is complete, with any luck one will see an “Installation Successful” screen where one needs to just hit enter and reboot into NexentaStor.

One needs to enter a license key for the NexentaStor Community edition which can be freely obtained by filling out the registration form. This license key has its own prompt.
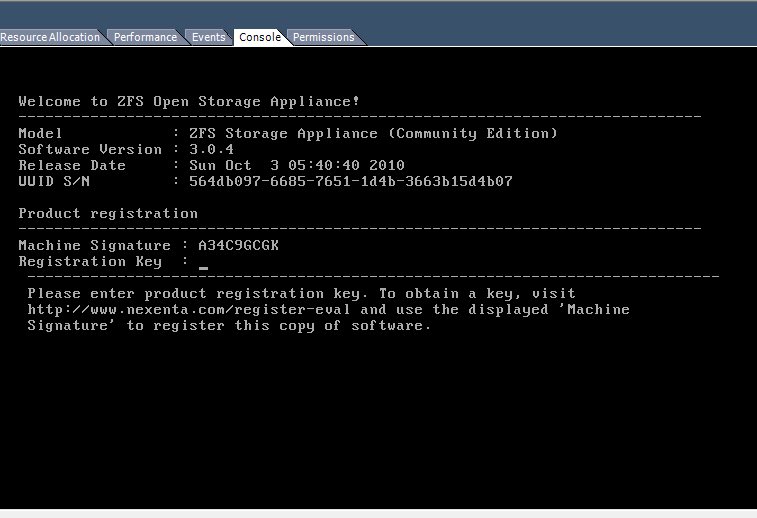
The next step is to setup the network so that one can access the Nexenta WebGUI. I am using DHCP here so this is a breeze.
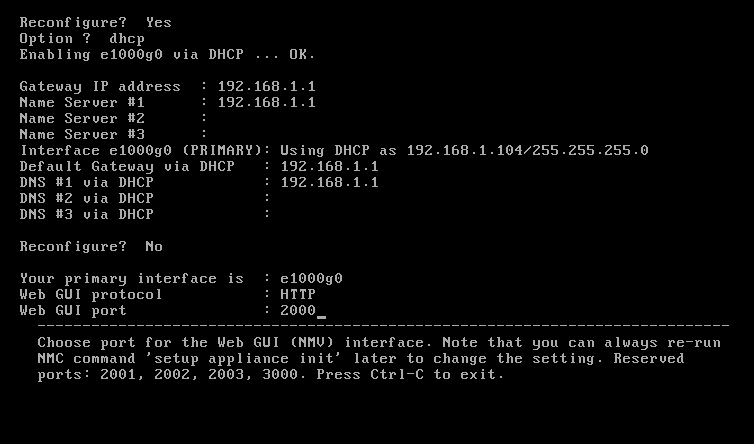
Next, one needs to select a port for the Web GUI. To keep the guide simple I decided to use 2000.
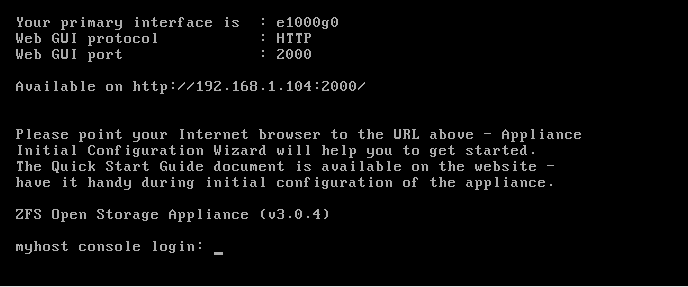
Once this is complete, the rest of the installation is a breeze through the WebGUI that can be accessed at the provided URL as the example shows above.
Conclusion
At this point, one can log into the NexentaStor web interface and complete the configuration wizards to customize the configuration for a particular environment. NexentaStor is a really solid Solaris-based storage platform, but the “free” community edition has an 18TB usable limit that is not enough for many users that are just storing media files. Realistically, this is a point of tension where raising this limit too quickly would cannibalize Nexenta’s enterprise storage pricing model. On the other hand, NexentaStor Community Edition provides some great features and easy ZFS web administration in a free edition that runs well in a VMware ESXi virtual machine.

