Microsoft is pushing it’s own HDInsight server, and it has a lot of resources behind it. With that said, Cloudera is probably one of the best known Hadoop shops out there. Cloudera’s “free” platform is where a huge number of Hadoop developers got their start. This guide will let you have a Cloudera CDH4 virtual machine in Windows 8 Hyper-V. This is certainly not something to put into production. This is something that can be done quickly in order to start playing with Hadoop on a Windows 8 desktop. Read on to see how easy it is.
Test Configuration for Windows 8 Hyper-V
For this guide we are using the Windows 8 X79 test bed. For this, the Windows 8 iSCSI initiator is being installed in order to support Hyper-V virtual machines.
- CPU(s): Intel Core i7-3930K
- Motherboard: ASUS P9X79 WS
- Memory: 32GB (8x 4GB) G.Skill Ripjaws X DDR3 1600
- Drives: Corsair Force3 120GB, OCZ Vertex 3 120GB
- Power Supply: Corsair AX850 850w 80 Plus Gold
How to Install the Cloudera CDH4 Hadoop platform in Microsoft Windows 8 Hyper-V
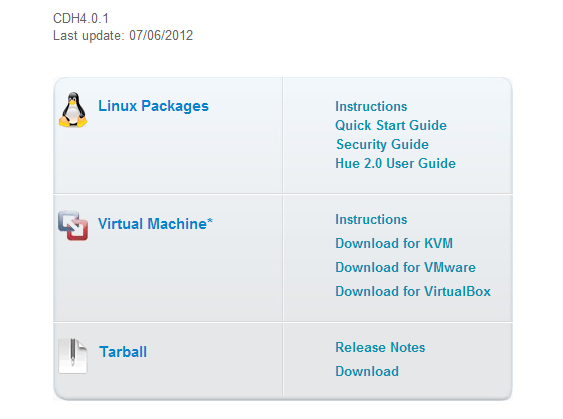
Download VMware image. It is about 1.2GB so depending on your network speed, it may be worth a few minute wait. Since we are in Windows 8, use 7Zip to unpack the tar.gz file.
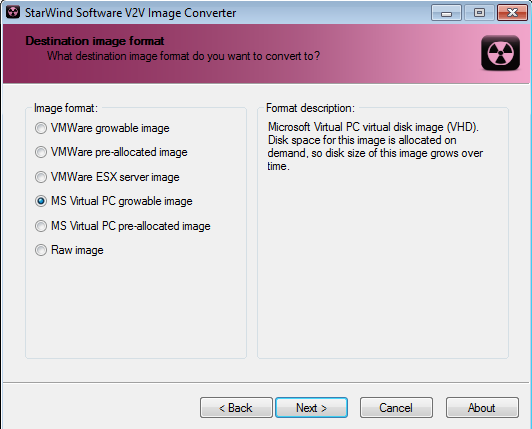
Next, we need to convert the VMware VMDK to a Hyper-V VHD solution. I used the Starwind converter which worked well and was free with registration. First you need to select the downloaded VMDK.

At this point, you have a few conversion options. For Hyper-V, you will likely want either the growable or pre-allocated option.
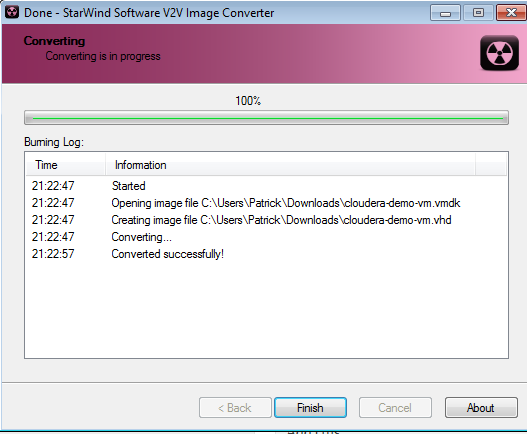
After a few minutes, you should see the conversion process as being successful.
Next, save the VHD version of Cloudera CDH4 to the Hyper-V data store. In this case, I used an iSCSI target on the Synology DS1812+ that we have been testing.

Once this is completed, create a Hyper-V VM for the Cloudera CDH4 installation.
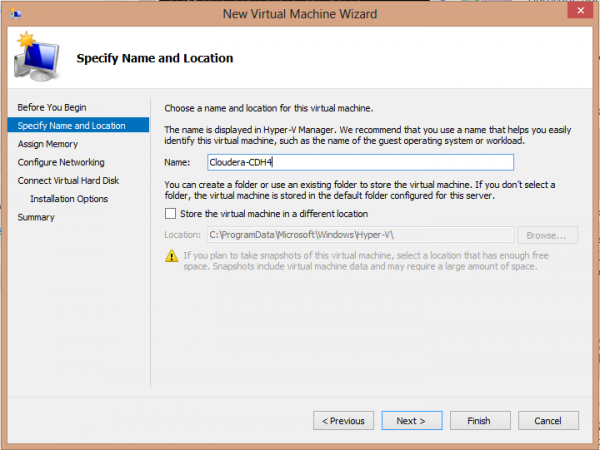
Much of the virtual machine creation portion is the same as the Ubuntu on Hyper-V installation. The big difference is that instead of creating a new volume and attaching the installation ISO, with this installation you just need to attach the VHD created earlier.
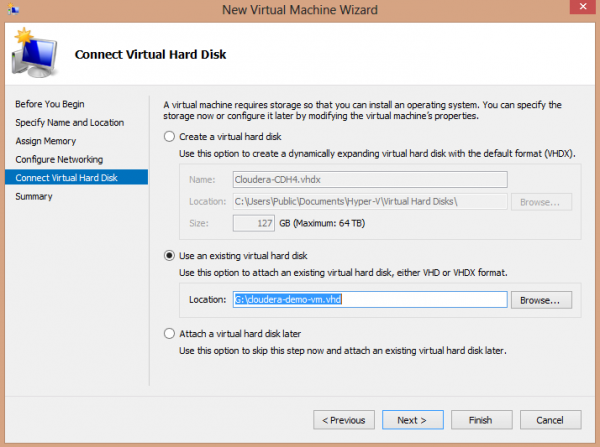
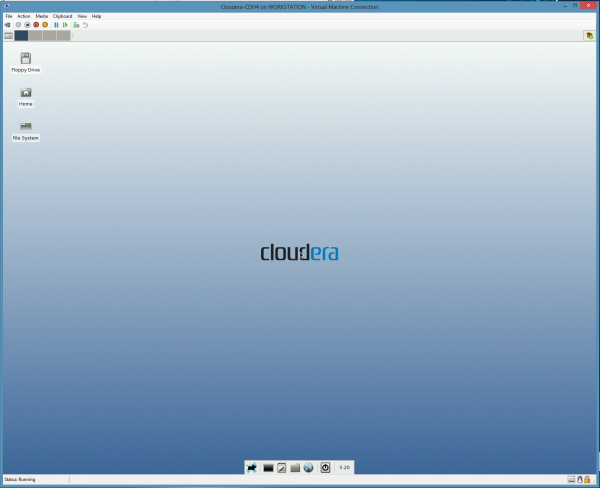
Once the wizard is done, you can easily fire up the virtual machine. This may take a few minutes but soon you will be greeted by the home screen, including the GUI!
Now there is one small catch that you will run into. Cloudera CDH4 does not have Hyper-V integration components installed. Stepping back, this makes sense.
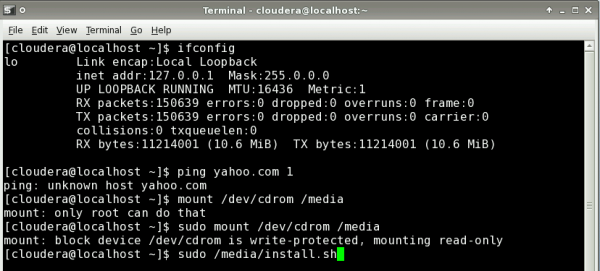
There are a few options:
- Leave as-is (not so good).
- Use compatibility mode hardware.
- Do manual install on a Linux flavor with integration components installed.
- Install integration components yourself.
Of these, the second option is the easiest. Sure enough, I will note that this is not something I would run in a production environment. With that being said, for those curious about Hadoop, this is a great way to work locally. One other cool thing is that you can have more than one VM and potentially have a mini-virtualized Hadoop cluster to work with while in an airplane working on a Windows 8 device. Hope that helps those interested but without a dedicated test machine.



Thanks for the informative article Patrick.
I tried using StarWind V2V Converter on Cloudera QuickStart VM (https://www.cloudera.com/content/support/en/downloads.html).
V2V converter reports the following error:
Invalid file format (10) [0]
Not all descriptor fields are present
Basic internet surfing indicates that V2V converter may not be able to handle the file format.
Did you run into something similar during VMware VMDK to Hyper-V VHD conversion for CDH4? Any other tips to address this issue?
Thanks!
Manoj