Inspur NF5280M6 Internal Overview
As is our custom, we are going to move from the front of the chassis to the rear. We are going to skip the storage backplanes in this process because we covered them in our external overview.
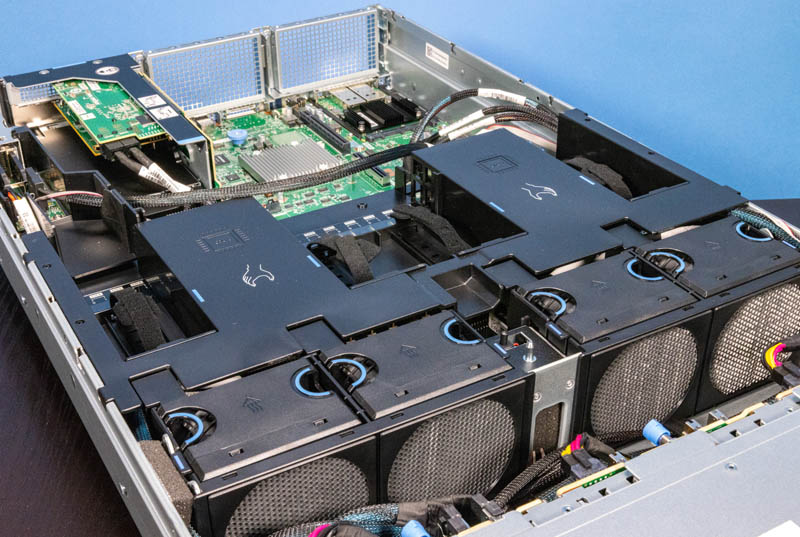
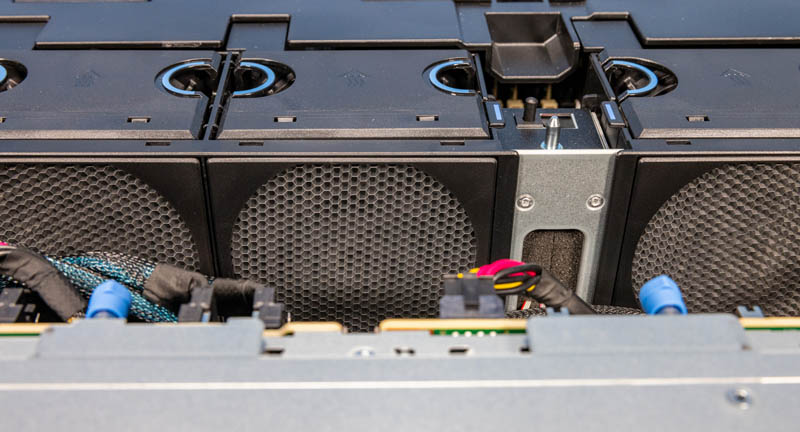
Perhaps the first feature is one we do not see often and that is a honeycomb air intake in front of each fan. These are metal units. Normally we get simple plastic fan grates so this is quite a bit different.
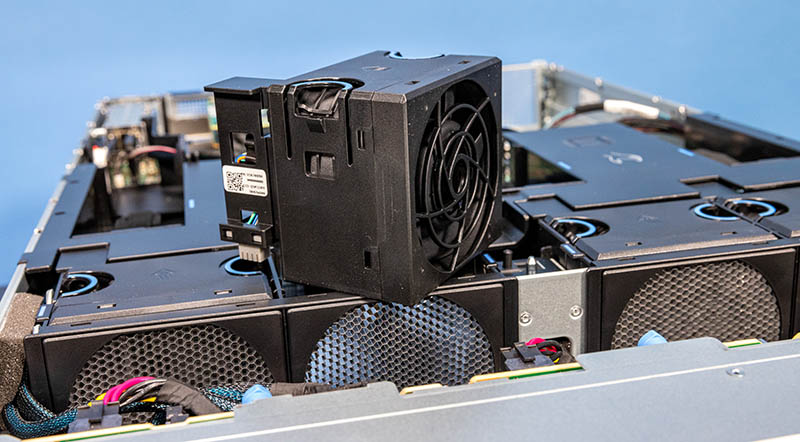
The fans themselves are hot-swappable. Inspur has very easy-to-operate carriers making fan swapping quick.
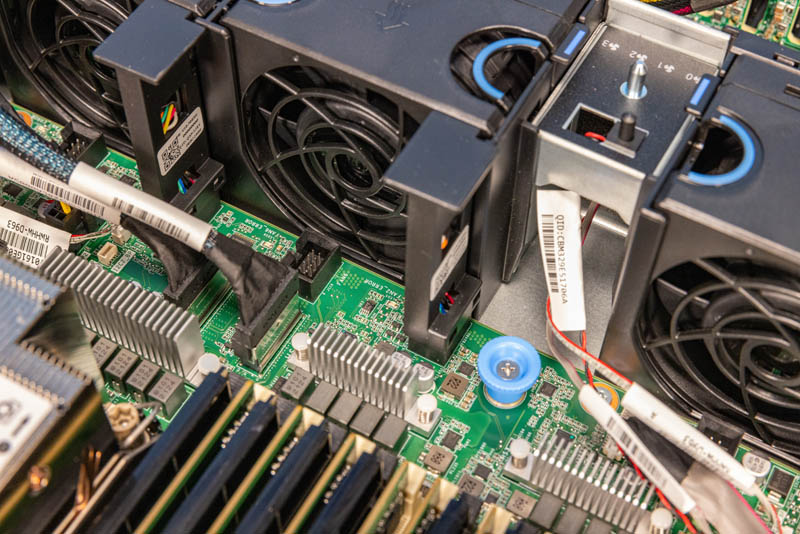
The entire assembly fits together nicely and we can see this motherboard is designed for other cooling configurations since there are extra fan headers.
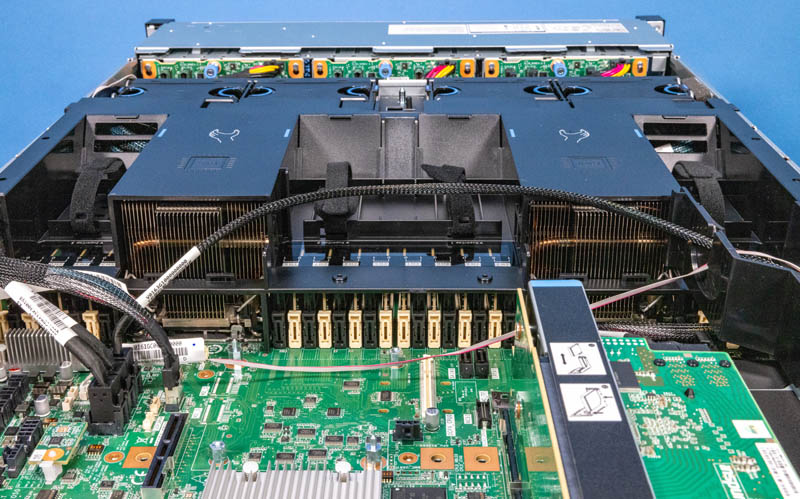
Behind those fans is an airflow guide. This is one that we are going to touch on a bit longer than normal.
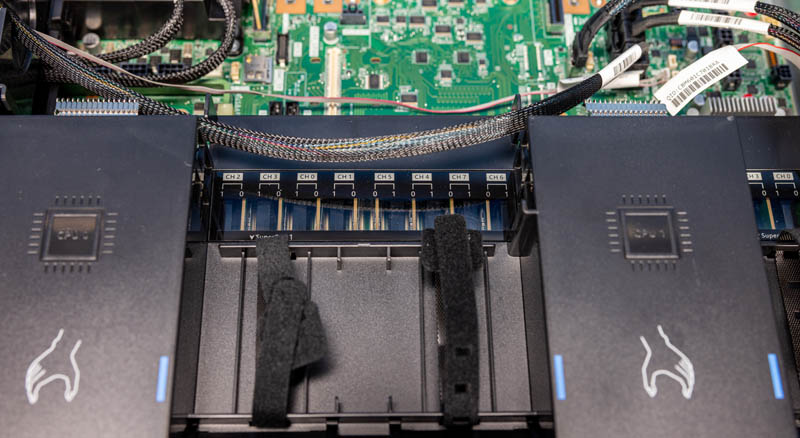
First, Inspur has windows showing the DIMMs and labels for each channel. If and when a DIMM fails, it is easy to find and replace with this.
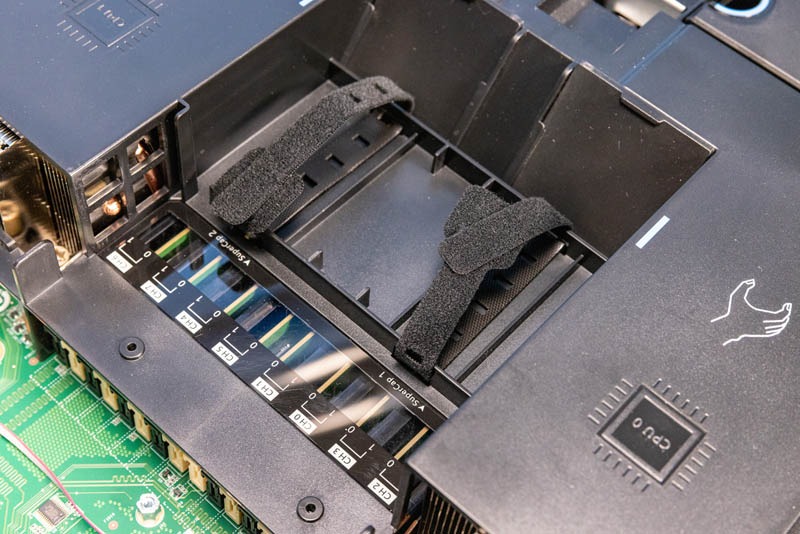
You may be wondering what the velcro straps are for. These are labeled SuperCap and so one can put supercapacitors here for NVDIMMs or potentially even a RAID controller.
The airflow guide also has ducting that comes off of it to specific parts of the system. We did not have GPU options or other often heavy airflow options, but we can see this on the side that brings air to the rear M.2 SSDs.
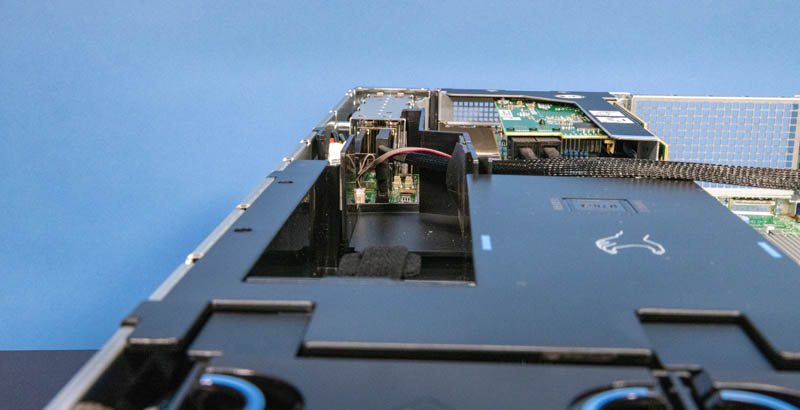
If you watch the accompanying video, you can see how easy this airflow guide is to remove. One of the innovations here is really on each side.
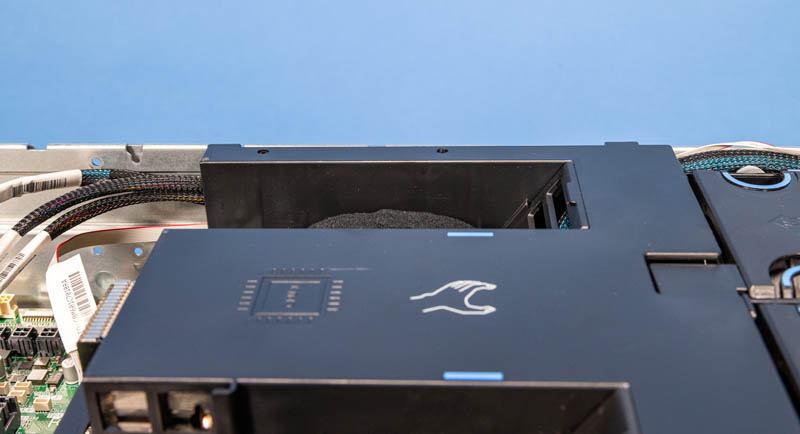
The front-rear cables pass through these hard plastic channels that lock into place. This means that cables will be a reliable shape and not have to pass through the airflow guide. As a result, this airflow guide solution might just be the best that we are seeing in modern servers right now across vendors.
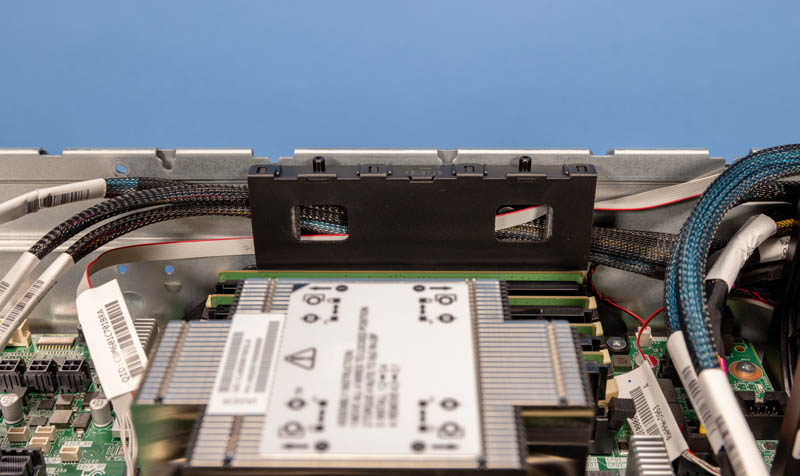
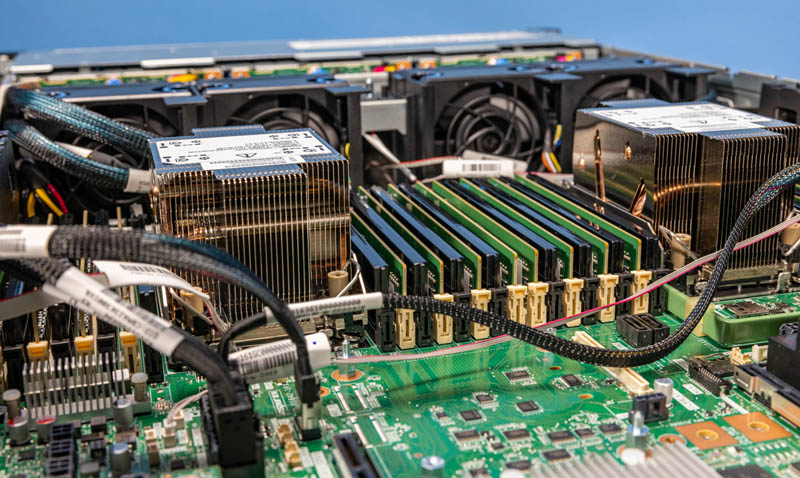
Underneath the airflow guide is perhaps the main feature of the system, the CPUs and memory.
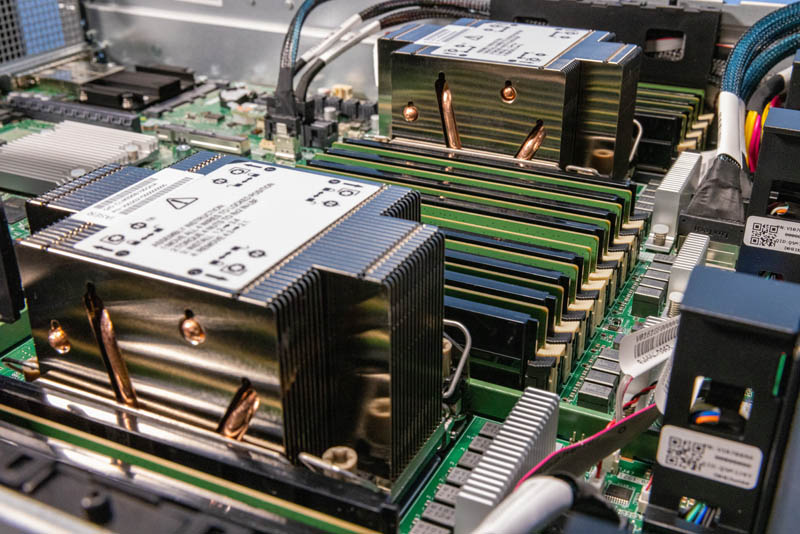
These are 3rd Generation Intel Xeon “Ice Lake” CPUs. The system is rated for and works with up to the Platinum 8380 at 270W meaning it can power and cool the entire range from Intel.
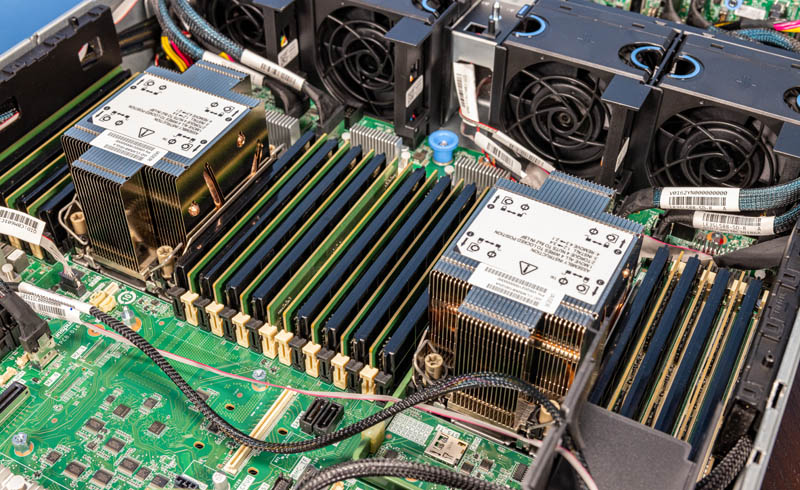
In terms of memory, the Inspur server allows for the maximum from these processors. One gets full 8-channel memory with two DIMMs per channel (2DPC.) That means we get sixteen DIMMs per CPU and thirty-two total. One can also use Intel Optane PMem 200 to get fast storage or additional memory capacity. You can read more about the Glorious Complexity of Intel Optane DIMMs in our piece on that.
Behind the DIMMs, we get an OCP 2.0 connector that is designed for storage. That means instead of a proprietary connector, Inspur is putting its storage mezzanine solution on an OCP slot.
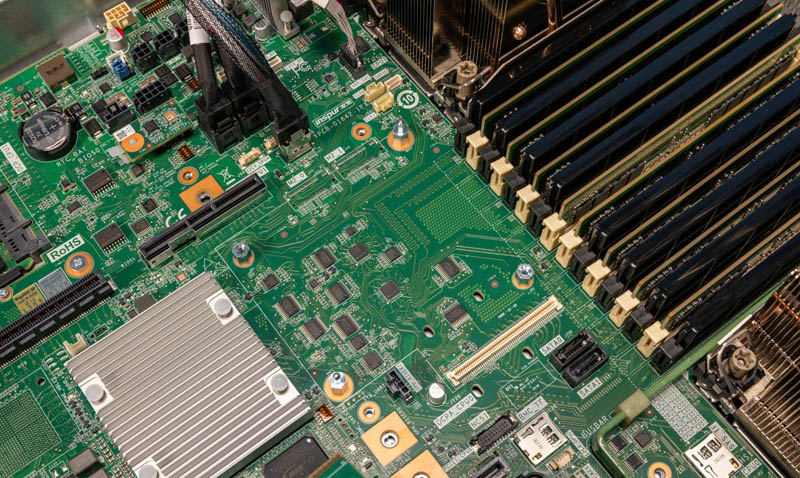
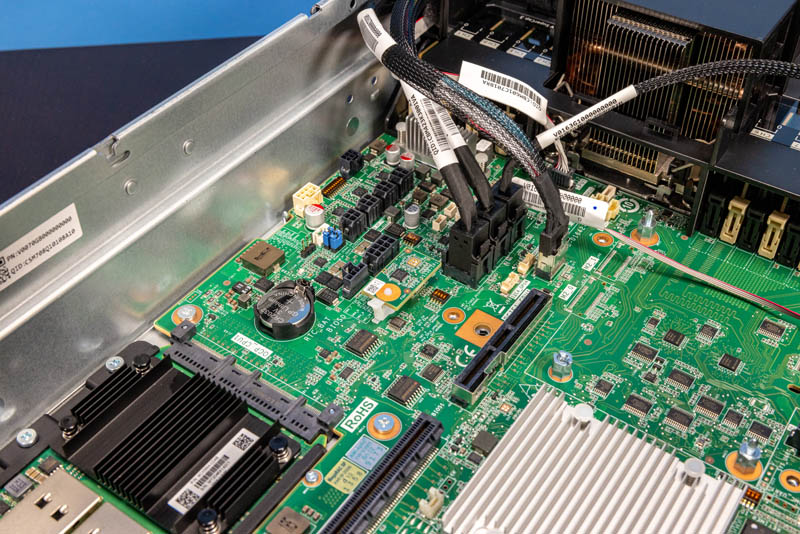
On one side of this storage mezzanine slot, we get data and power connectors along with the TPM 2.0 module.
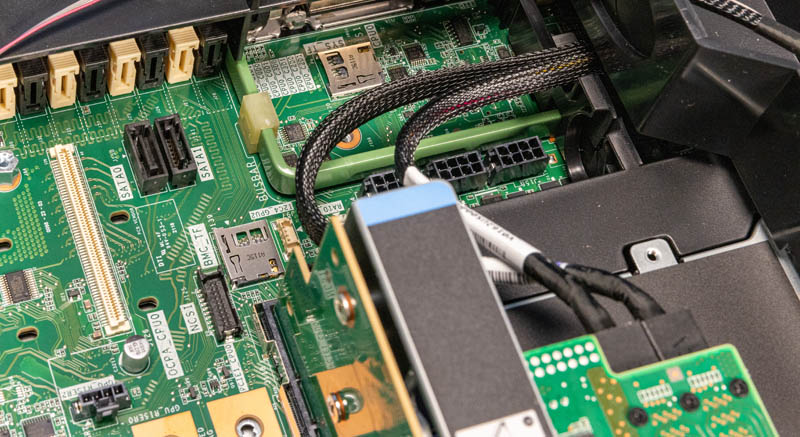
On the right side, we get two SATA connectors, two microSD card slots (one for the BMC and one for the system), and additional power connectors.
We covered the OCP NIC 3.0 in our external overview, but that occupies one side of the motherboard’s rear area.
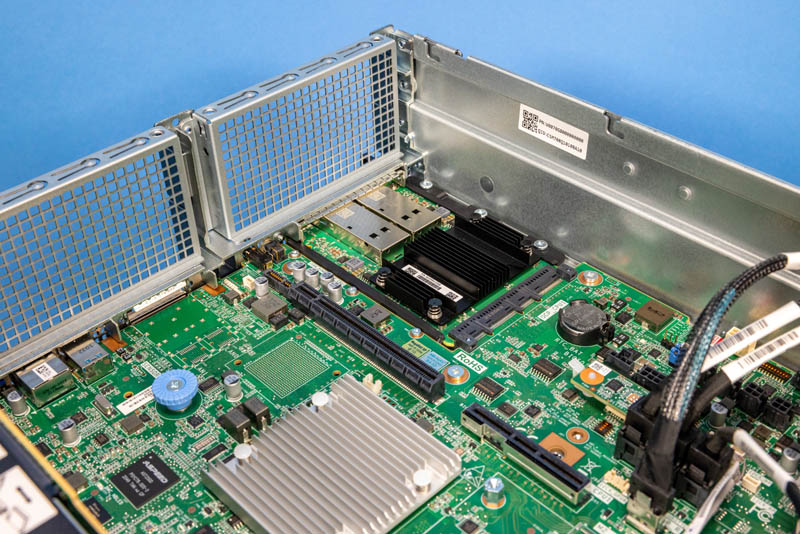
Between the OCP NIC and the power supplies, we get riser connections that are going unused in this configuration. We also see the unpopulated SFP+ area where there would be two SFP+ cages and an Intel X710 NIC. Under the large heatsink, we get the Intel Lewisburg Refresh PCH.
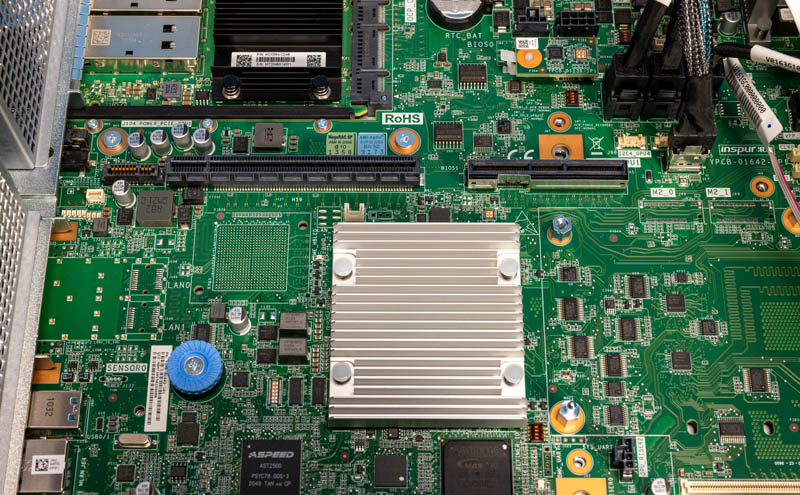
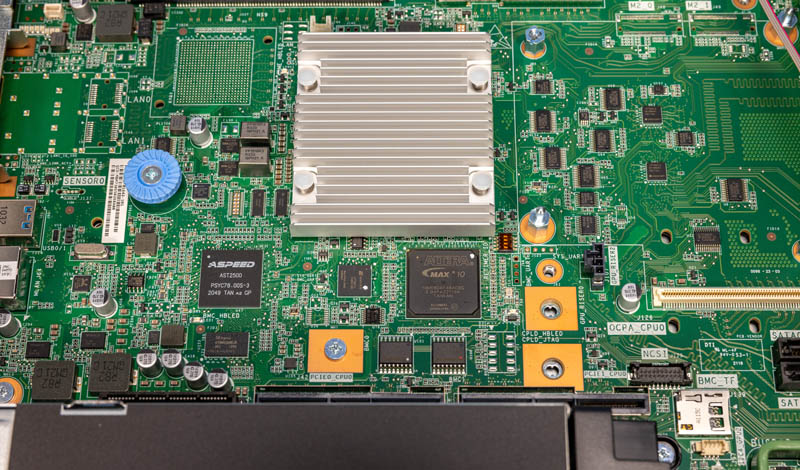
Next, we get both an ASPEED AST2500 BMC and an Altera (Intel) MAX 10 FPGA.
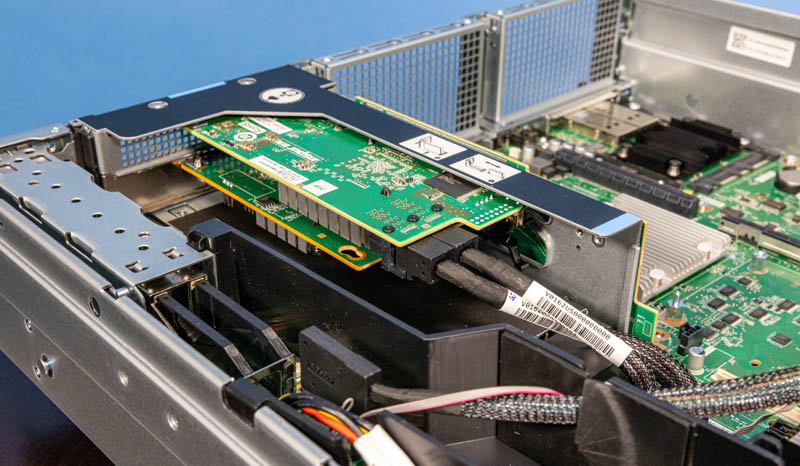
On the other side of these is the riser that goes over the power supplies.
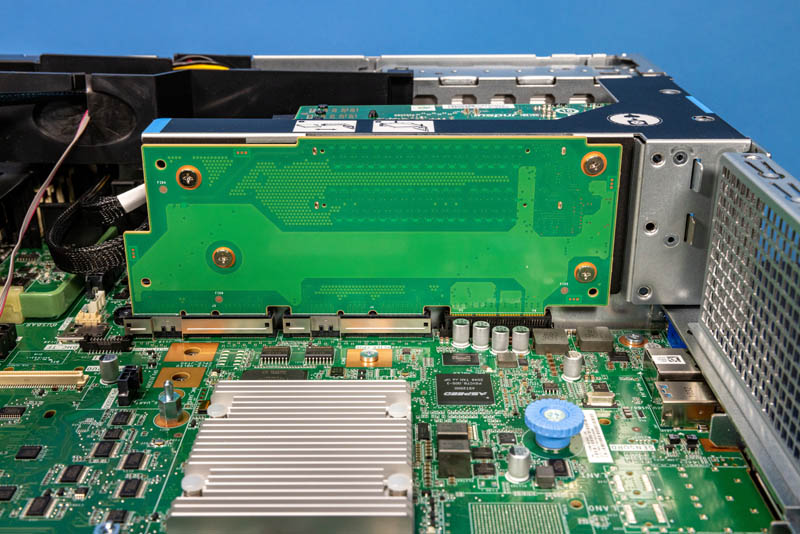
These risers are very easy to operate and pop out of the chassis without using screws making them tool-less. This is a welcome change in modern servers compared to complex screw assemblies of a few years ago.
Next, we are going to get to the block diagram to see how this is all connected, then we will get to the management and performance.

It would be nice to see how the missing risers work for the other PCIe slots. Is there a big price differential between models?