iKoolCore R2 Max Internal Hardware Overview
In the bottom we get two doors labeled SSD and DDR. Thankfully, something is labeled.
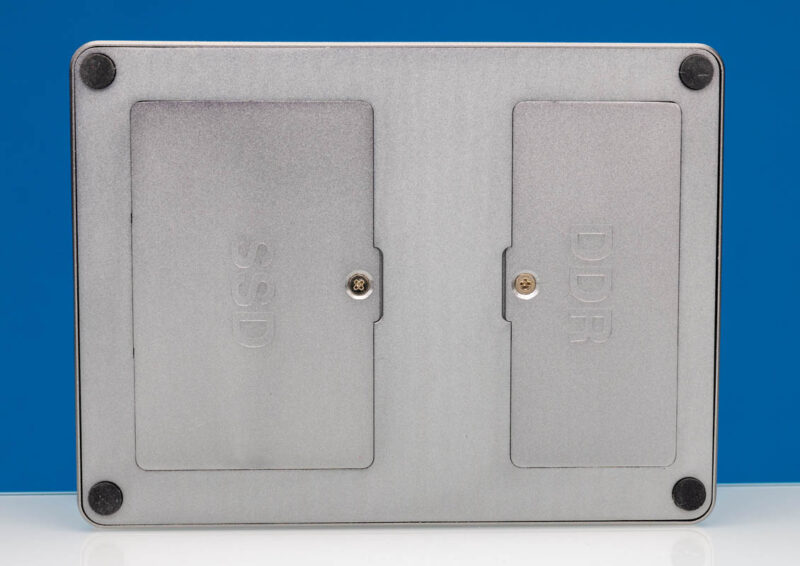
Opening those two metal doors gets us to our SSD area and SODIMM.
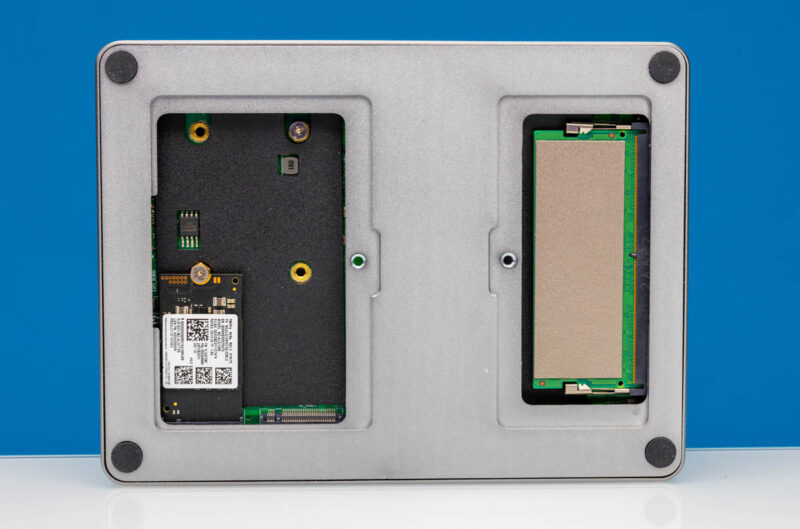
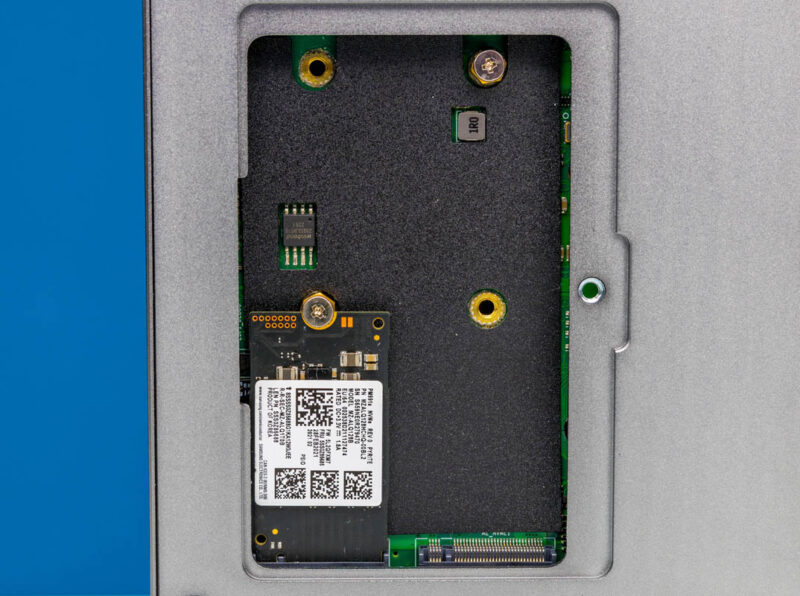
The system supports up to two M.2 2242 (42mm) or 2280 (80mm) NVMe SSDs. These share a PCIe Gen3 x1 link, so assume you are going to get PCIe Gen2 x1 speeds, making them closer to SATA in performance. Our advice is to get low power and cheap SSDs. Low power will help them stay cool. Cheap because you do not need maximum performance PCIe Gen5 NVMe SSDs here. Still, it is nice to have redundant SSDs or simply to have capacity.
Since this is an Alder Lake-N platform, we get a single DDR5 SODIMM slot. Our system had an 8GB DDR5 SODIMM but there are options for up to 32GB. Again, you want DDR5-4800 here as there is little reason to get faster more expensive memory.

Under the four rubber feet, we have screws that we can remove and get to the motherboard where we can see the SSD and DDR5.
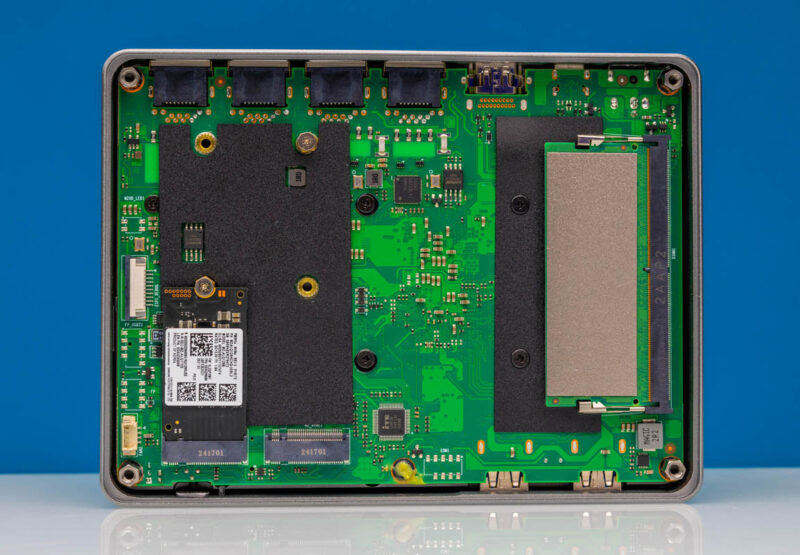
Liberating the motherboard was probably 10 screws, perhaps more. Once we found them all, we could pop the motherboard from the top heatsink.
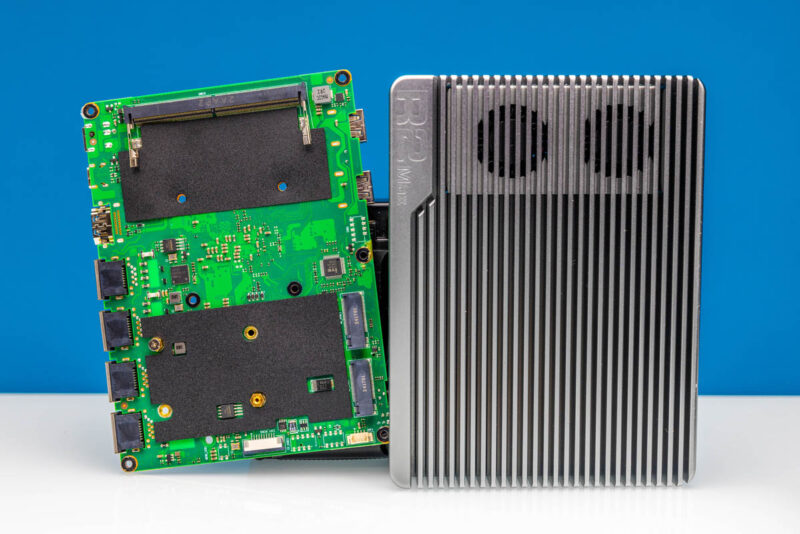
iKoolCore did a solid job doing this design. We are showing you the fanned version, but the fanless is very similar.
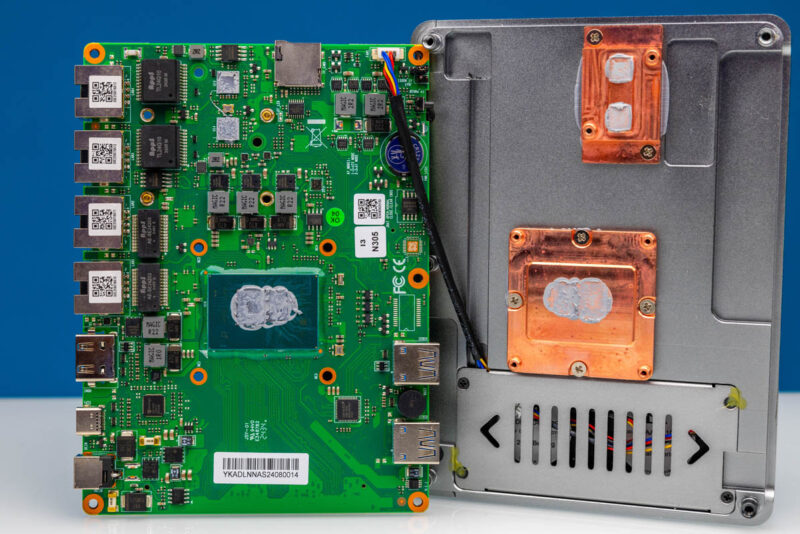
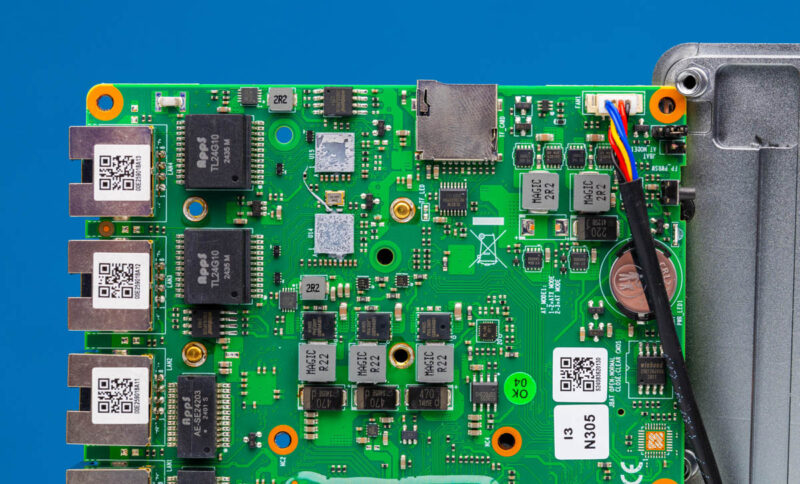
At the top, under the small Winbond chip and between the ports and the TF card slot, we have the two Marvell AQC113C NICs. These are surprisingly close in size to the Intel i226-V NICs despite being 4x the performance.
The Alder Lake-N CPU is below that. You will notice that both the Marvell NICs and the Alder Lake-N SoC (in this case the Intel Core i3-N305) have thermal paste that is making contact with the heatsink lid.

There are two cold plates to help ensure the heat transfer happens between the chips and the chassis. This is better designed than many of the CWWK-based designs we have seen sold cheaply on AliExpress where some have had issues with the thermal transfer not happening due to air gaps. We have not had that issue, but in this case, iKoolCore obviously spent time on this. Even look at the channel for the fan cable to path through that is set in the lid.
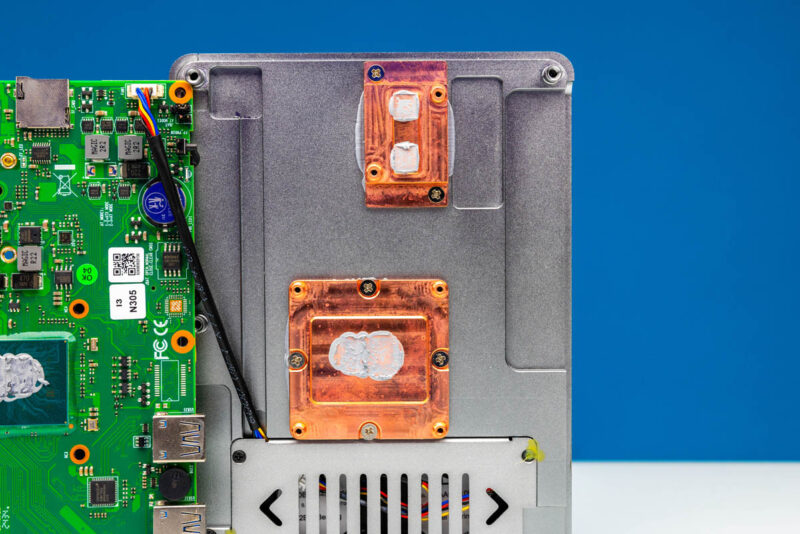
At the bottom is our fan module. If one of these fails, it would be a pain to replace as it is around 20 screws to get here. On the fanless version, this is not an issue, but on the fanned version, it is something we wish was different.
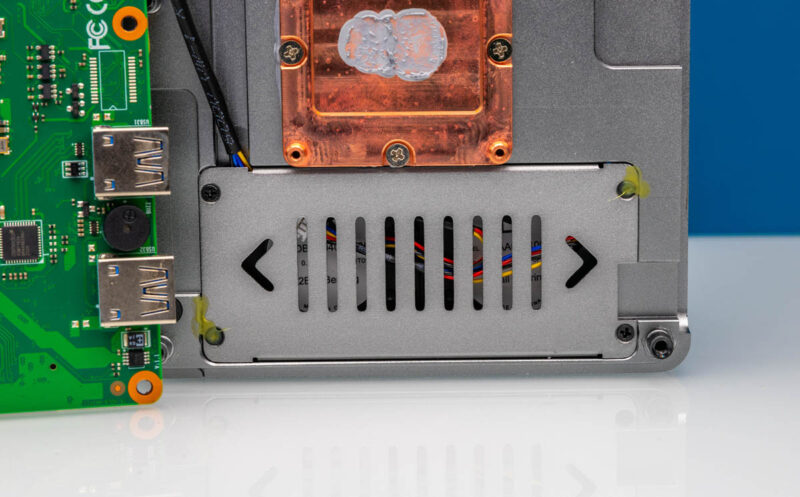
Overall, it is clear that a lot of thought went into this design.



Thankyou for including some tests of it’s networking/firewall capability.
Are the drivers for the AQC113C NICs available in generic Linux or are they proprietary? (I.e., could I install, say, Ubuntu or Alpine and get the NICs working?)
How much power do those NICs draw when plugged versus unplugged?
They run out of the box in Ubuntu 24.04.
Looks nice! Does anyone make a unit of comparable quality but with the 10gig ports brought out as SFP+ while keeping a pair of RJ-45s at 2.5GbE?
Such an odd juxtaposition of relatively high production values and careful looking layout with a genuinely cursed placement of the fan module.
Out of not entirely idle curiosity; does the board freak out if it doesn’t detect the fans in an expected state, like laptops or servers typically do; or would it be fine so long as there’s enough air movement from somewhere to keep the heatsink at suitable temperature?
Could you post some detailed pictures of the wiring harness for the fans? There are some really nice 40x10mm fans out there that would probably silence the N305, assuming the wiring harness isn’t something weird and custom
AQC113 10GBe ports will be supported very soon in FreeBSD/pfSense:
https://bugs.freebsd.org/bugzilla/show_bug.cgi?id=282805
Let’s say I would like to run VMs on this machine, would the PCIe Gen3 x1 link for the NVMe be problematic if I use both NVMe slots, or even just one ?
I don’t understand much about PCIe but I see that most drives are usually PCIe 3 x4.
So that mean x1 would only be the fourth of its normal performance.
Thanks
Hi Patrick!
Something I couldn’t determine from their Wiki (which is great to see!) Do you know from your testing if 1x NVMe is connected can it take advantage of PCIe Gen3 x1 speeds (8GT/s) or is bandwidth always PCIe Gen2 x1 speeds because of the ASM118X chip that acts as a switch?
Why don’t you ever mention openwrt when reviewing these devices?