
Today, we are taking a look at the DeskPi RackMate T0. This is a 4U 10″ rack, making it relatively small. We purchased ours for around $99 on Amazon via a GeeekPi brand. While it has worked well, the team was very mixed on this one. For some points of reference, we have reviewed the Tupavco 4 Outlet 10in Rack Power Strip and the Kenuco SOHO Mini 10in Rack as part of our 10″ rack series for those who need extremely compact racks.
To check pricing or purchase the unit, here is what we purchased (Amazon Affiliate link.)
DeskPi RackMate T0 4U 10in Rack Overview
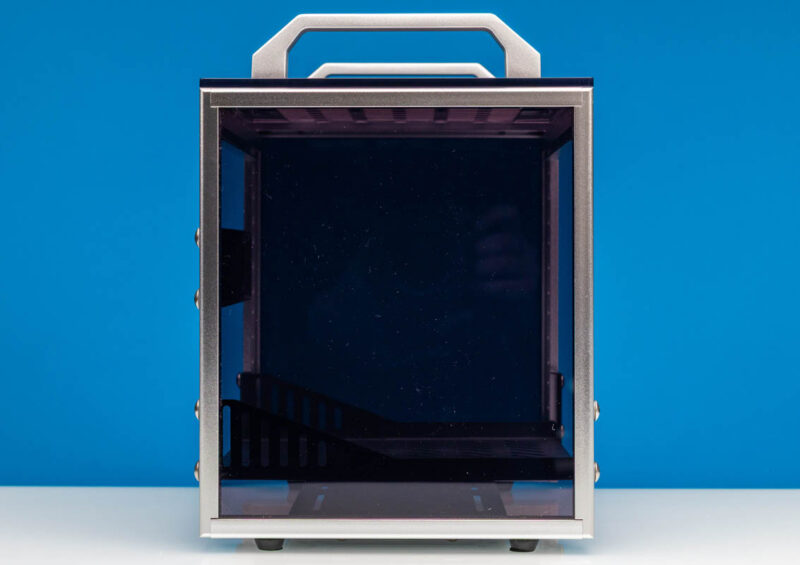
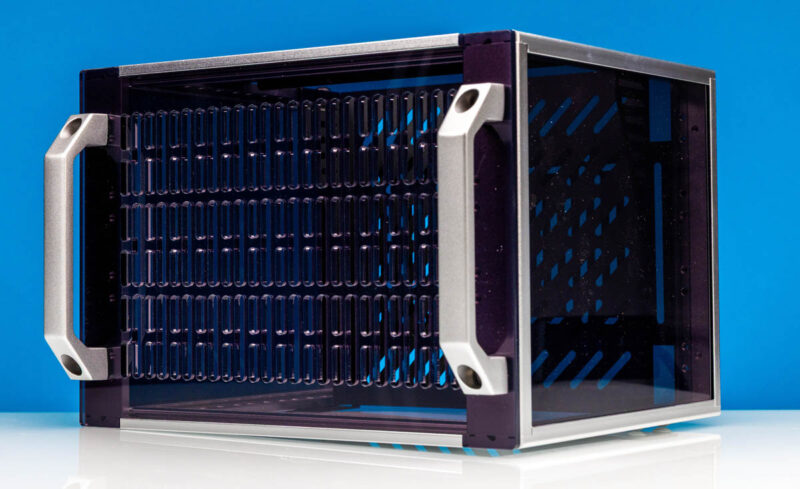
The DeskMate RackMate T0 rack is roughly 11″ x 11″ x 8″ in size, making it very small.
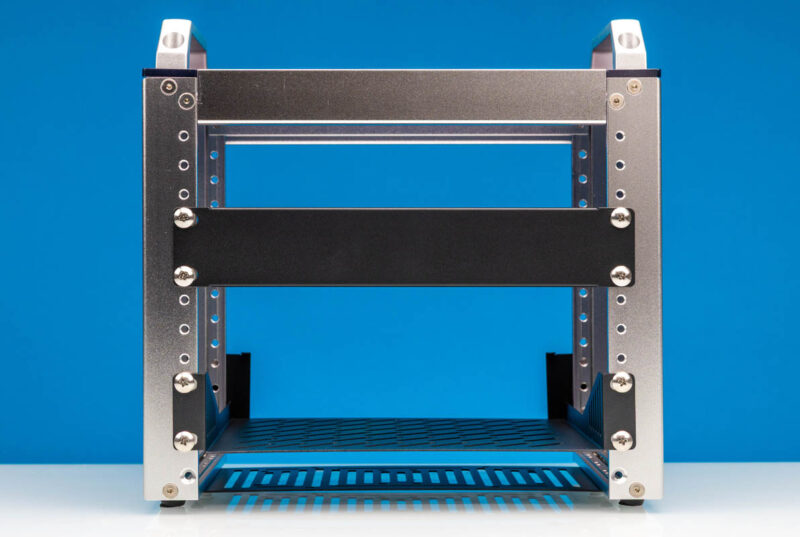
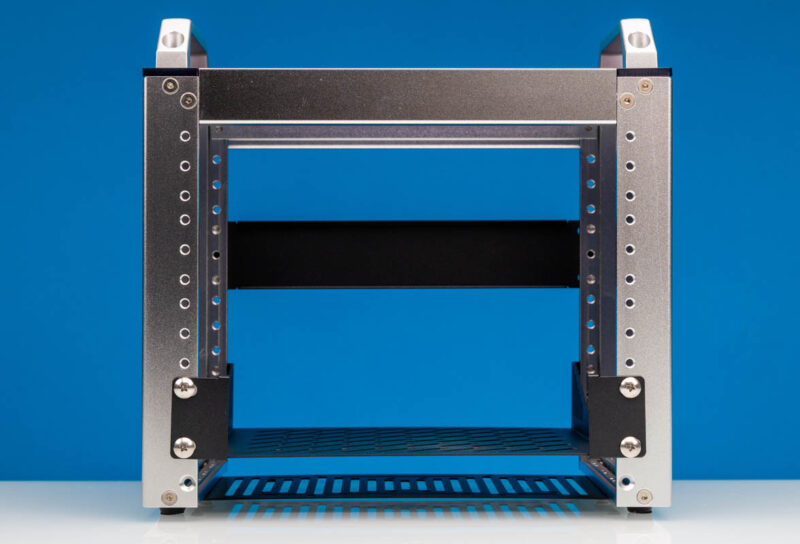
Instead of being a cage nut-based rack, it uses screws to hold equipment in.
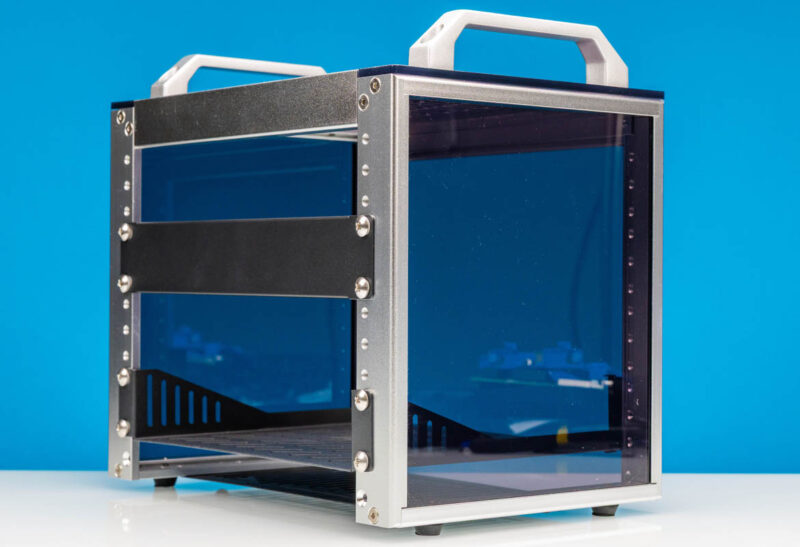
The rack has both removable handles on top as well as clear sides.
Something else worth noting is that we get two little add-ins. One is a blank panel. The other is a 1U shelf.
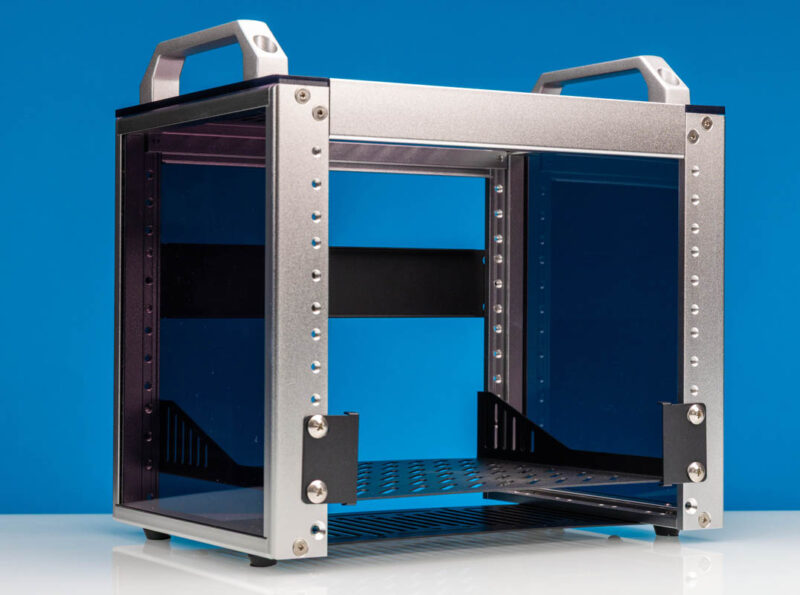
That shelf is useful if you simply want to mount a Mac Mini, Raspberry Pi 5, or a small desktop switch.
The top is perforated for airflow.
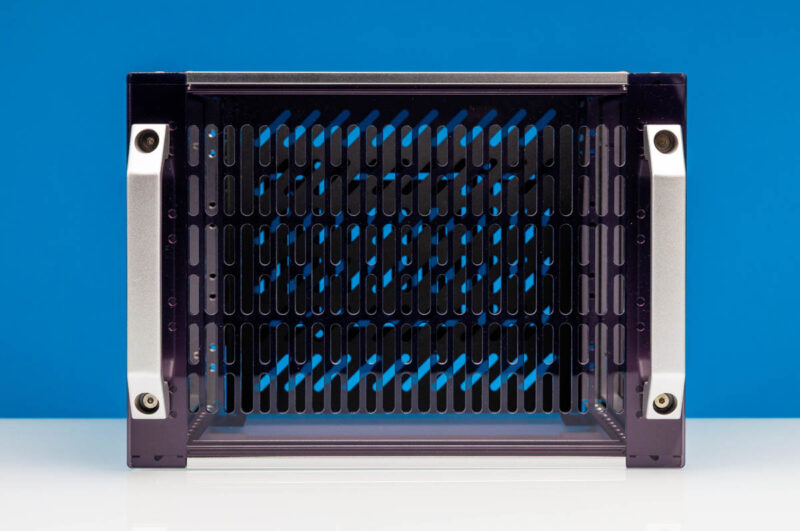
This is interesting since there is a blanking panel which would suggest front to rear airflow, but then there is the vented top. Part of me wishes this was a more spill-proof closed design since it is essentially a desktop mini rack.
On the bottom, we get a plate to mount fans. That is also why this is actually slightly larget than a 4U rack so that it can fit fans.
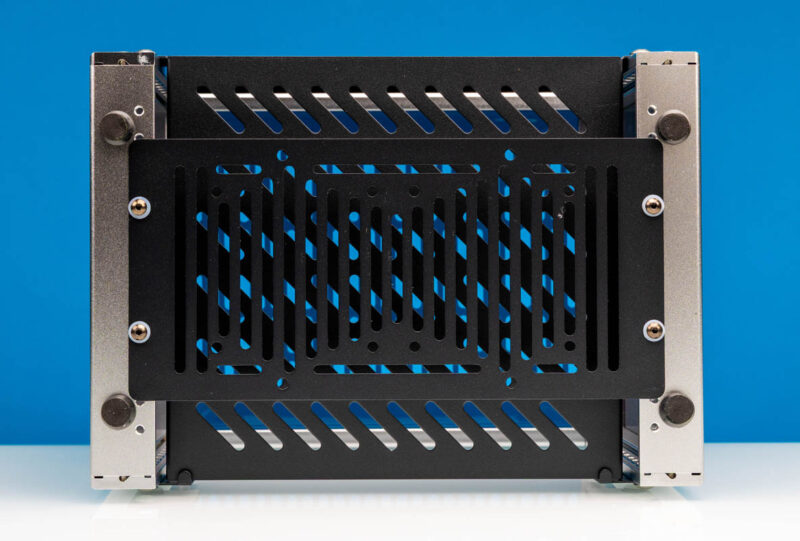
We also get rubber feet.
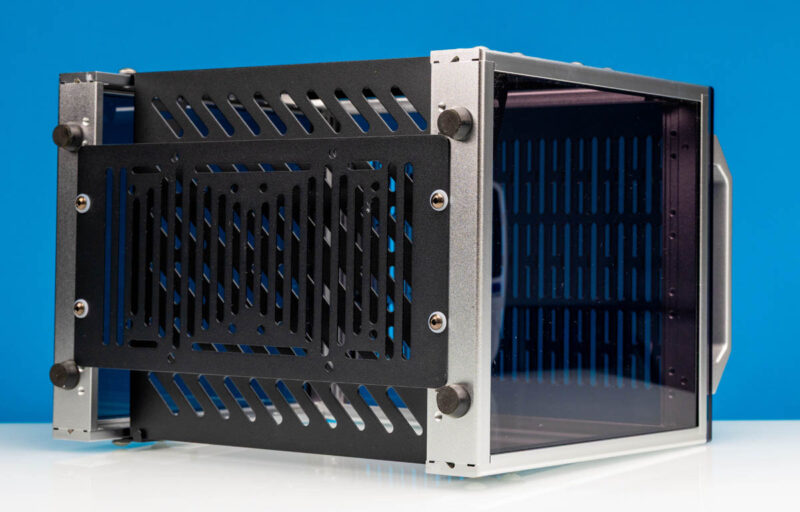
Overall, the rack itself is mostly metal so it feels quite sturdy, especially since it is so short.
Next, let us discuss how it worked.
DeskPi RackMate T0 4U 10in Rack Test Fitting
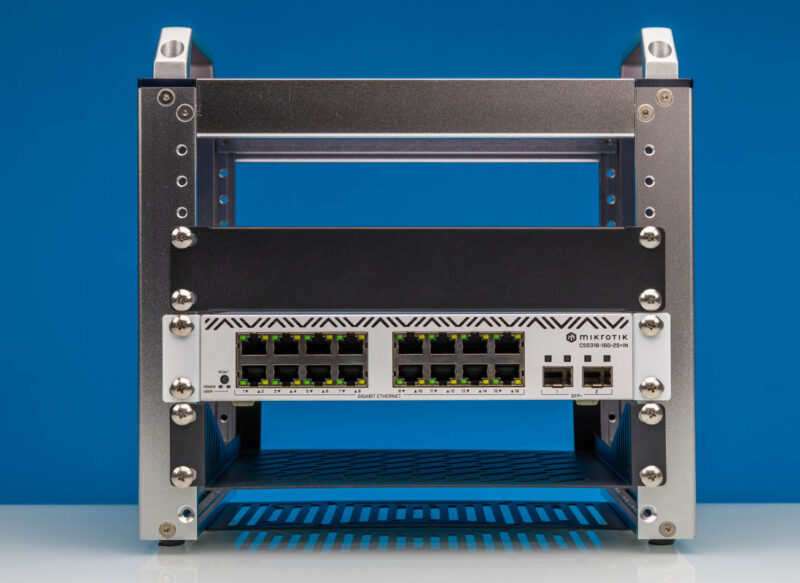
We are using the MikroTik CSS318-16G-S+IN switch which is one of the wider 10″ switch options out there. On the 8U DeskPi rack and the Kenuco 6U rack, we ran into fitment issues due to the width of the supports.
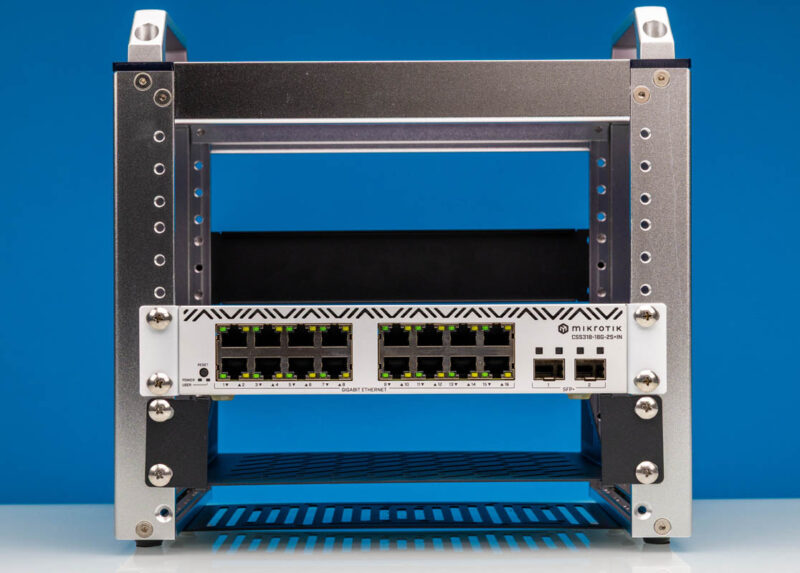
In the RackMate T0, we did not have any issues. This fit in the rack we purchased without issue.
The other thing that struck us is that this is a great example of a use case for this rack.
Using the RackMate T0
Since unlike the Kenuco, the RackMate T0 did not come with a fan for power and noise testing, we thought maybe it is worth discussing the usability. The fact is that in a 4U rack, you are very limited on space. You can put items in the rack, but the limitations on the 10″ width and the 4U equipment space does limit you. For example, some might want to put a patch panel in this rack, or simply just use a switch like that CSS318. Something we found this useful for was if you wanted to mount a switch higher than the surface of your desk you can get a little bit more height out of it.
At the same time, we kept wanting more space. That is what the 8U is for, but you should also remember that you are stuck with 10″. There are some neat 10″ rack mounts, but most of our team noted that the 19″ form factor is more versatile since there is an enormous ecosystem behind those. For example, we even showed how to mount Apple Mac Mini and Raspberry Pi systems into a 19″ rack. It takes up more space, but there is just more you can do with a wider rack. Overall, given the size this was easy to work on, but what you gain in ease of use, you pay for in having to cobble together solutions in the 10″ form factor. Some find that fun, and an excuse to 3D print parts, but then it is a hobby.
The other point the team noted is that if you just need a compact cube with some handles, then being able to put two 1L PCs, and a few other mini PCs/ SBCs into a box like this with a switch can be useful just to make a setup portable. The metal construction and big handles helps with this.
Final Words
The big caveat here is price. We paid around $100 for 4U, or $25/U. A StarTech RK8OD is an 8U 19″ open frame rack and is usually $50-52 or closer to $6.50/U and those are wider 19″ rack U. If you are looking for the best value per U of rack space, then this surely is not it. In fact, the 8U DeskPi version sells for usually around $35 more. We have both, but you really have to want the 4U or just desire saving $35 to go with the 4U over the 8U. Also, compared to the larger Kenuco 6U, you do not get the questionable fan nor the locking sides for security but you save $30 or so with the 4U RackMate.
Our team is divided with those that think these are cool and want to tinker with them and others who do not see the point in saving some space but lose an enormous 19″ rack ecosystem. What we can say is that for a 4U 10″ rack, this might be the best option out there.
Where to Buy
To check pricing or purchase the T0, here is what we purchased (Amazon Affiliate link.)
Also if you want to see the StarTech RK8OD pricing here is an (Amazon Affiliate link.)
Here is an Amazon Affiliate link for the 8U version.


as you said…this thing for a hobby.
Can the QNAP TBS-h574TX fit inside the rack?
Apparently these “half rack” units don’t have a Standard, and may be subject to some variance.
Some places (like Sweetwater) have a fair selection of audio equipment in this size, slotted shelving is also popular (and expensive too) to bolt odd-sized project cabinets down when they don’t have the ability to bolt to the front of the rack.
Can I get one in 42U?
I wish they’d improved the design if they’re going to the trouble of introducing a new standard. There’s so much wasted space behind the rack ears, which could either be removed or at least used for left-to-right airflow (which would then avoid the need to access the back of the rack, allowing two racks too be mounted back-to-back without wasting DC space on a hot aisle).
Sure this is overkill for a mini-rack, but it could be a great proof of concept that could then be scaled up to full-size racks, increasing density within DCs.