After Microsoft released its free iSCSI target for Windows Server 2008 R2, we posted a guide on how to install the iSCSI target software on a server. The next logical step was to create a guide for creating a target. To simplify the demo a bit, I also decided to use a virtual disk.
Test Configuration
For this guide I simply used the Big WHS which uses Windows Server 2008 R2 as a base.
- CPU: Intel Xeon W3550
- Motherboard: Supermicro X8ST3-F
- Memory: 24GB ECC unbuffered DDR3 DIMMs (6x 4GB)
- Case (1): Norco RPC-4020
- Case (2): Norco RPC-4220
- Drives: 8x Seagate 7200rpm 1.5TB, 4x Hitachi 5K3000 2TB, 20x Hitachi 7200rpm 2TB, 8x Western Digital Green 1.5TB EADS, 2x Western Digital Green 2TB EARS.
- SSD: 2x Intel X25-V 40GB
- Controller: Areca ARC-1680LP (second one)
- SAS Expanders: 2x HP SAS Expander (one in each enclosure)
- NIC (additional): 1x Intel Pro/1000 PT Quad , 1x Intel Intel Pro/1000 GT (PCI), Intel EXPX9501AT 10GigE
- Host OS: Windows Server 2008 R2 with Hyper-V installed
- Fan Partitions updated with 120mm fans
- PCMIG board to power the HP SAS Expander in the Norco RPC-4220
- Main switch – Dell PowerConnect 2724
With plenty of drives, being able to export volumes using iSCSI is important on the network.
Installing the iSCSI Target
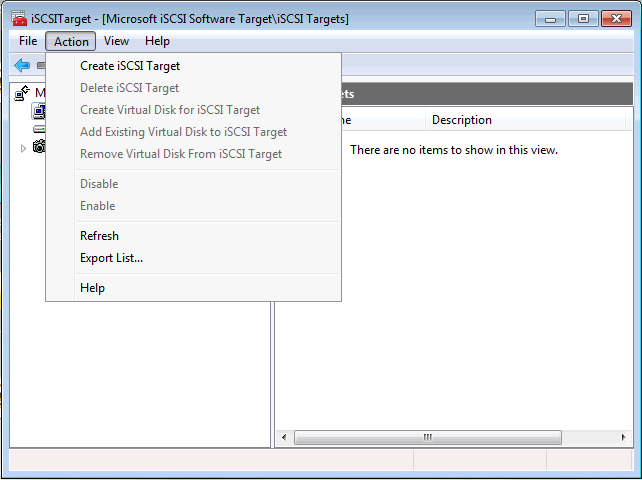
In the interest of brevity, I have skipped a few of the click-through and add your description screens in this guide. The first step from inside the Microsoft iSCSI Software Target is to create an iSCSI target which brings up a wizard.
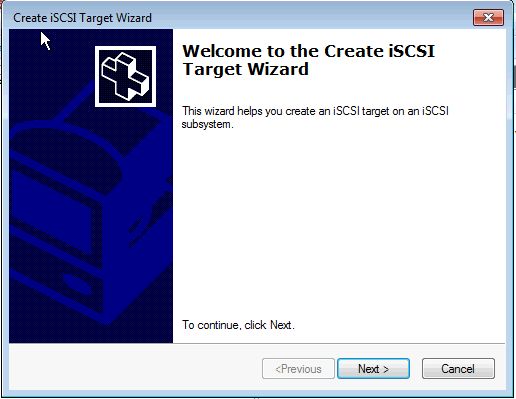
The wizard is relatively straightforward.
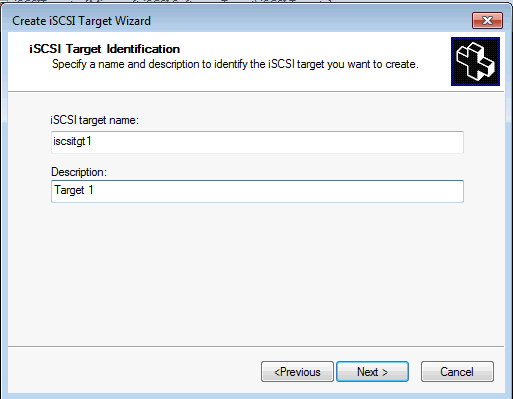
One needs to supply an iSCSI target name and one should also provide a description. As the number of targets rises, this helps keep things clear. Target 1 and Target 2 were used just to take the screenshots for this guide and better descriptors should be used.
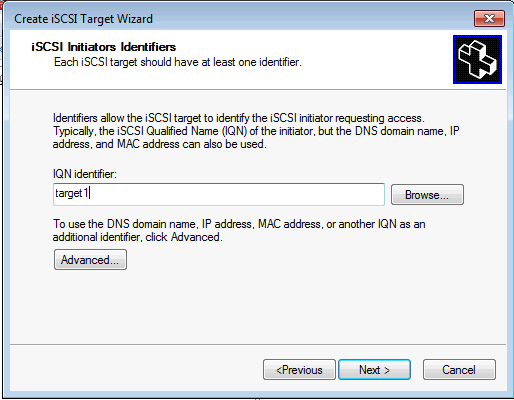
After this, one then needs to set the IQN. There are quite a few options here, including IP address, MAC address, and DNS domain name.
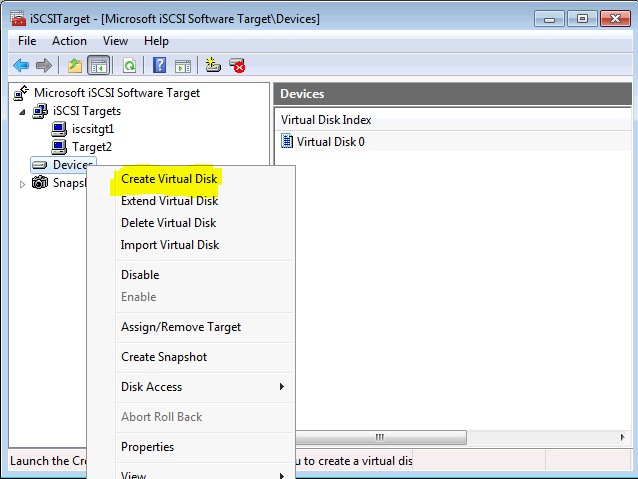
Completing this wizard leaves one with an iSCSI target that points to nothing since we have not pointed the iSCSI target to a disk yet. For this one should create a new virtual disk (or one can import one if one is already available.)
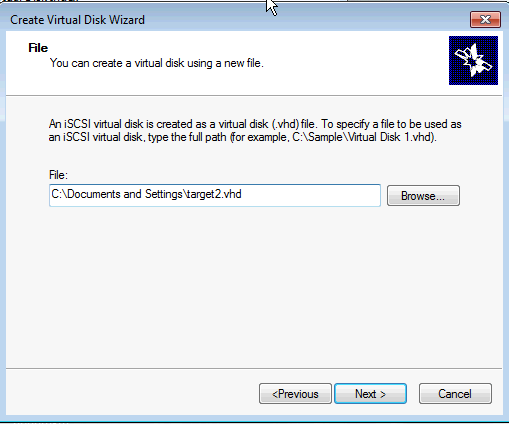
In the Create Virtual Disk Wizard one has much fewer options than one does in the Hyper-V virtual disk wizard. The first step is defining a path. Hint, you should browse to the path on the host system and then type the name in a “name.vhd” format.
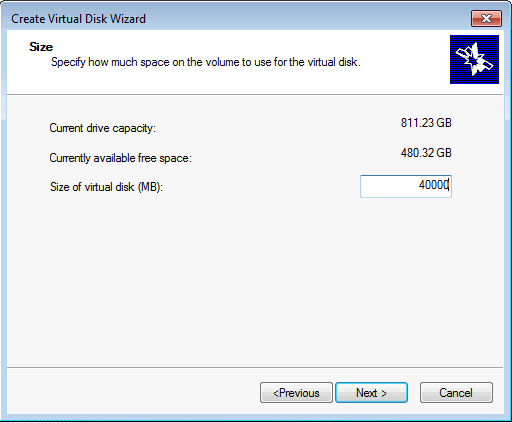
The other major thing one needs to do is assign a size to the virtual disk. Here I am using 40000MB, or the approximate size of an Intel X25-V 40GB drive which is plenty for most Linux installations.
One now has a target, and a virtual disk, but needs to link the two. In the access screen, click Add and then link the VHD and iSCSI target.
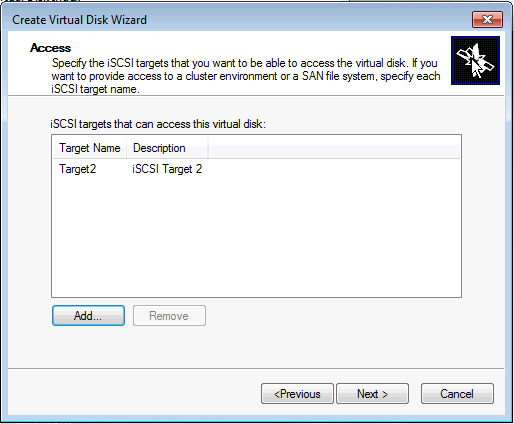
Once this is done, you are ready to use an iSCSI initiator to connect to the virtual hard disk.
Conclusion
This may be one of the easiest iSCSI targets to set up, on par with the simple web interfaces of operating systems like Nexenta. iSCSI is a very popular protocol that lets one do many cool things. In virtualized environments, iSCSI is very popular so for those users setting up test environments, the free iSCSI target is a great way to play with Hyper-V and iSCSI disks.


