This is the fifth installment in our 2-bay NAS review series that has already covered the QNAP TurboNAS TS-251, Synology DiskStation DS216j, Asustor AS1002T and Buffalo LS220D NAS units. This unit is very similar to the Buffalo LS220DE NAS which we reviewed at the start of our series The LS421DE offers upgraded performance and a few extra features.
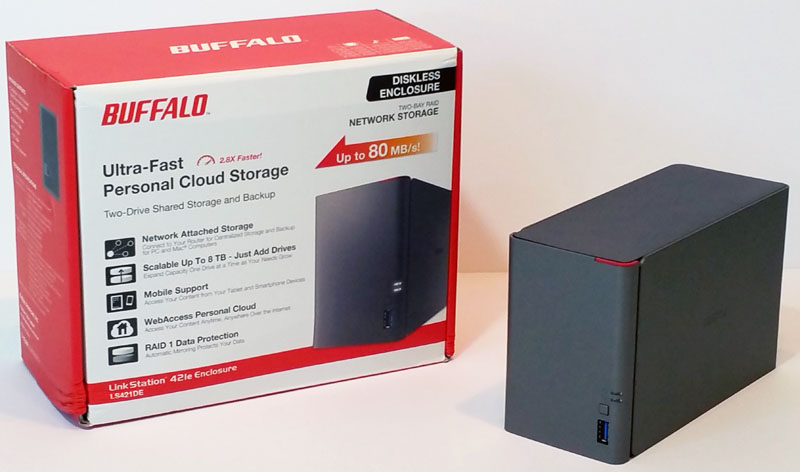
Like the LS220D, the LS421DE can backup your systems and offers media sharing and a personal cloud so you can access your files anywhere over the internet.
Buffalo LS421DE 2-Drive NAS Specifications
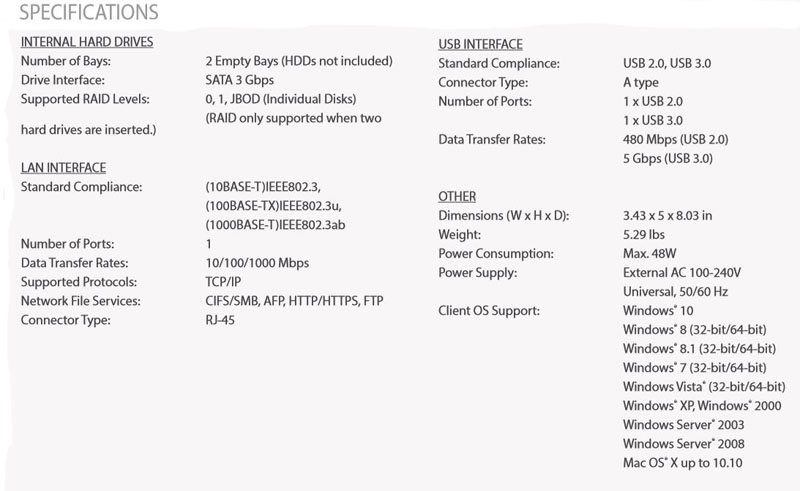
- CPU: Marvell ARMADA 370 Processor 1.2 GHz
- RAM: 512MB DDR3
- Number of Drives: 2
- Drive Interface: SATA 3 Gbps
- Hard Drive Capacity Supported: 1 TB, 2 TB, 4 TB, 8 TB
- Supported RAID: 0/1/JBOD (Individual Disks)
- Data Transfer Rates: 10/100/1000 Mbps
- Dimensions: (L x W x H) 8.03 x 3.43 x 5 in
- Weight: 5.29 lbs with drives, 1.76 lbs. empty
- Power Consumption: Max 48W
- Power Supply: External AC 100-240V Universal, 50/60Hz
Buffalo LS421DE 2-Drive NAS Overview
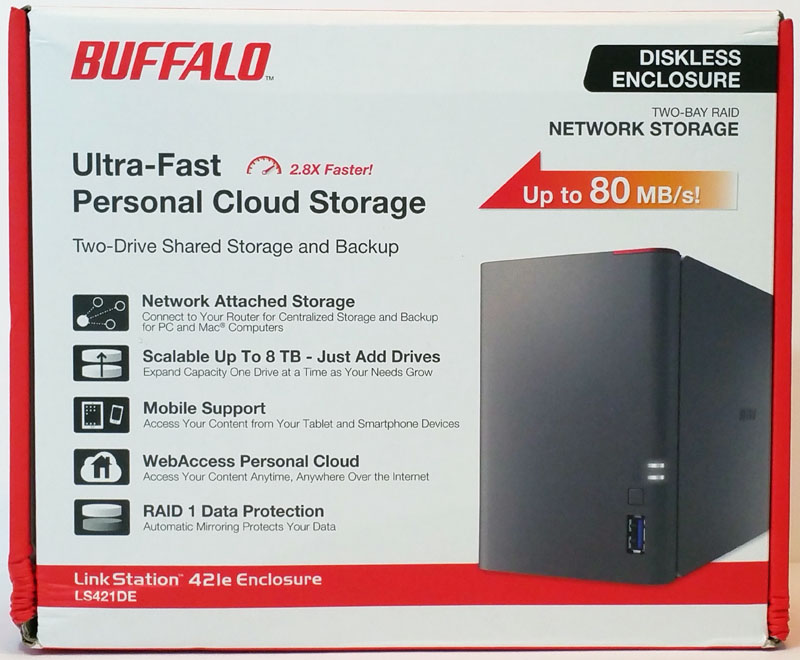
The retail box for the LS421DE gives an overview of features and expected performance which may vary depending on drives used. In our tests, we will see if we can reach the advertised 80 MB/s rating.
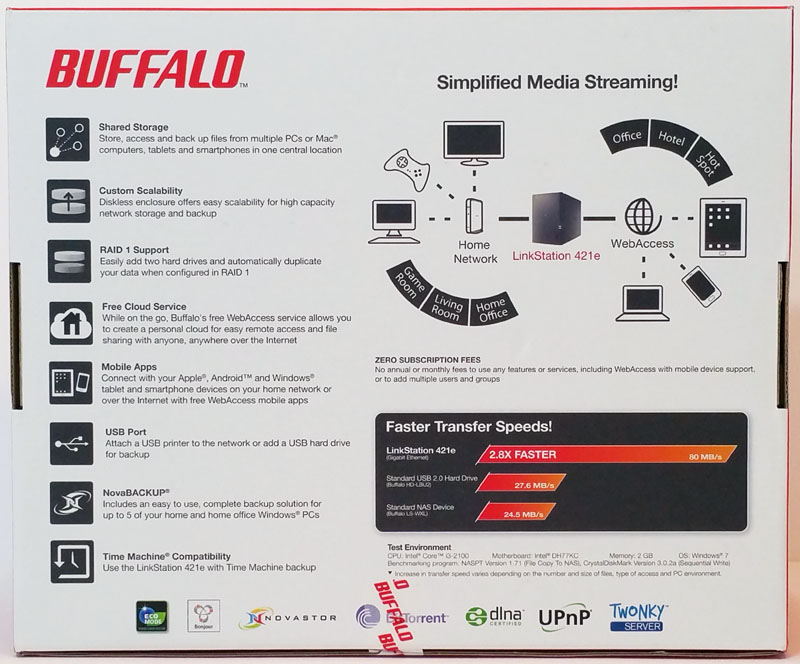
The back also gives more use case scenarios which this NAS box can be used for. We also see a graphic claiming 2.8x Faster Transfer Speeds. We checked that out in the documentations and found this was a comparison to a NAS based on Standard NAS configuration based on a 600 MHz Single Issue ARM processor with 64 MB DDR2 RAM. Our LS421DS is equipped with a processor running at 1.2GHZ and a much large RAM configuration, it is no surprise that performance is that much faster vs a much older model NAS.
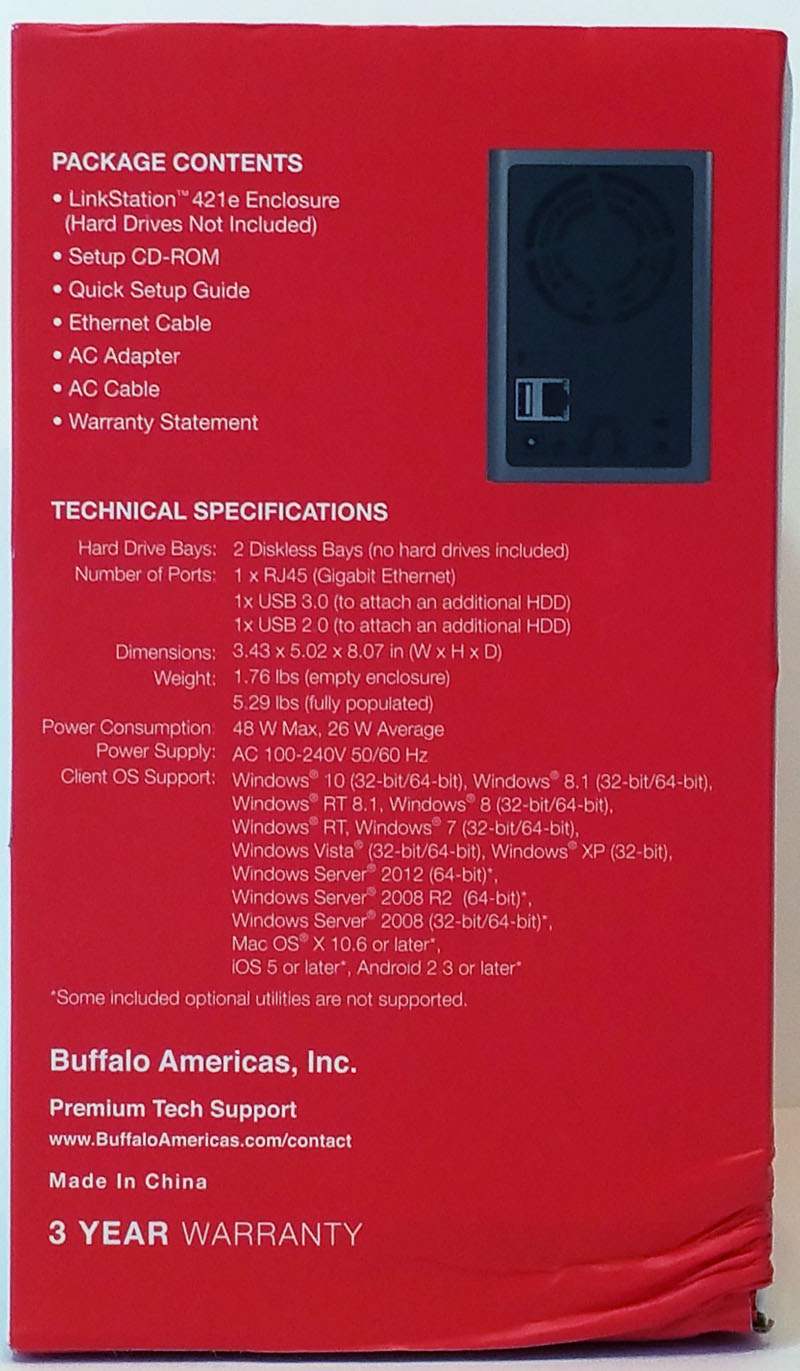
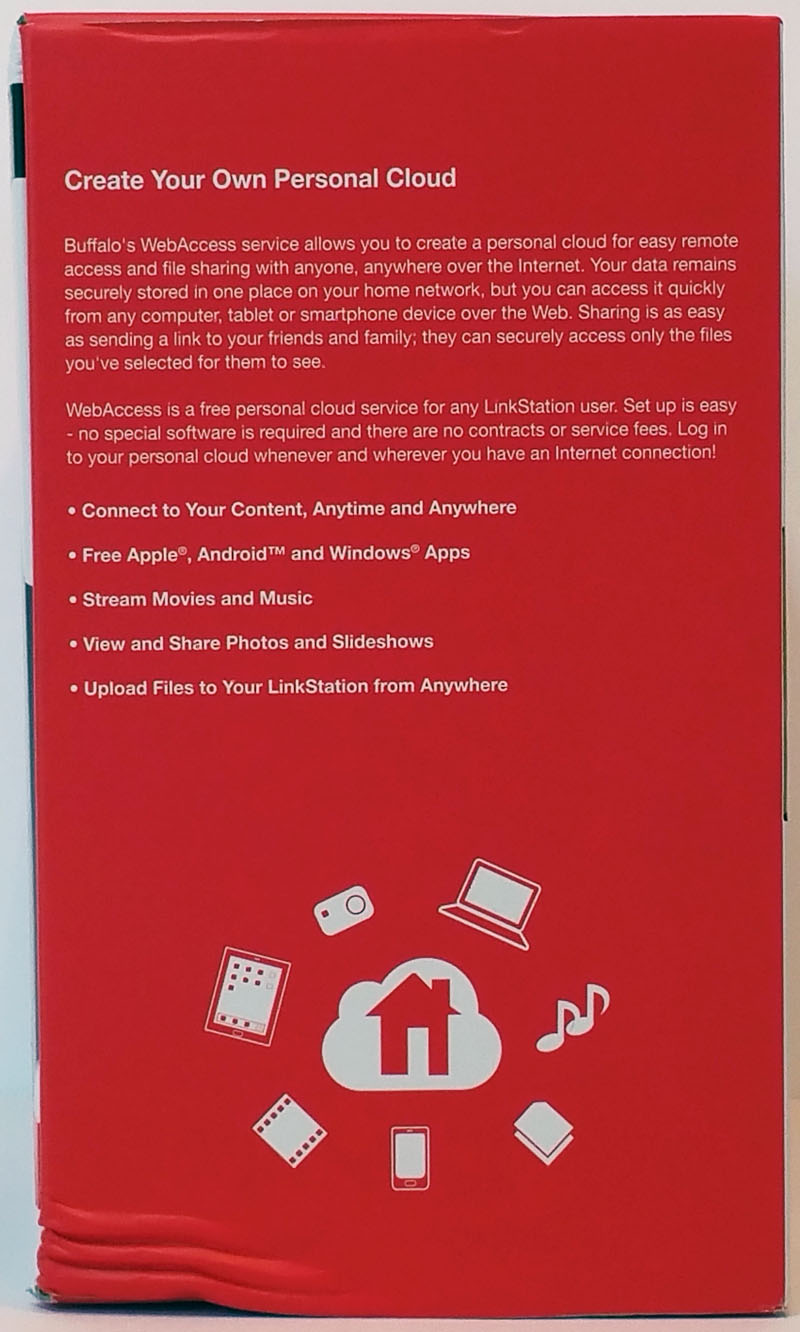
The left and right sides add additional information for this NAS.
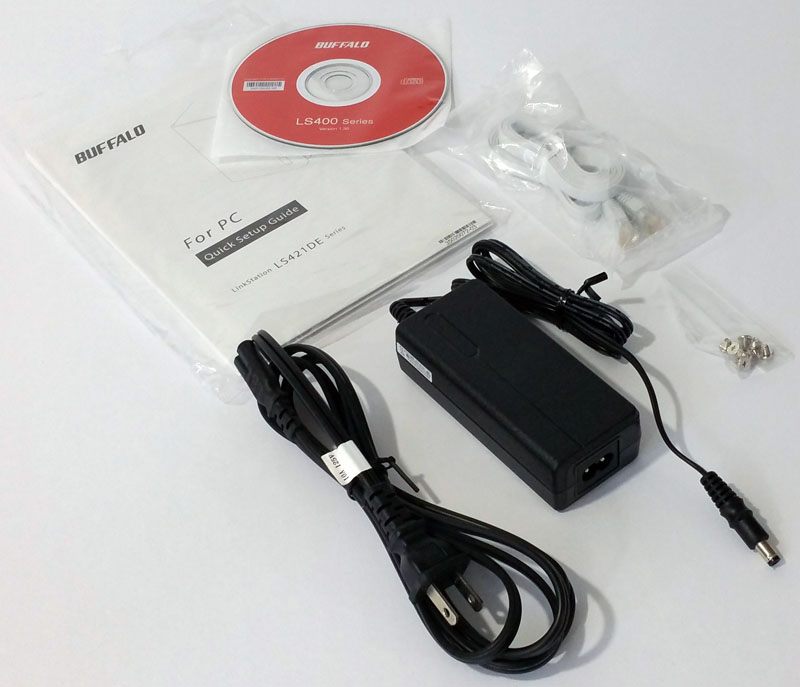
Accessories included with the LS421DE include:
- Linkstation LD421DE empty enclosure
- Setup CD-ROM
- Quick Setup Guide
- Ethernet Cable
- AC Adapter + AC Cable
- A small bag of hard drive mounting screws.
Buffalo LS421DE 2 Drive NAS Installation
We get our first look at the LS421DS after removing the empty NAS from the retail box.
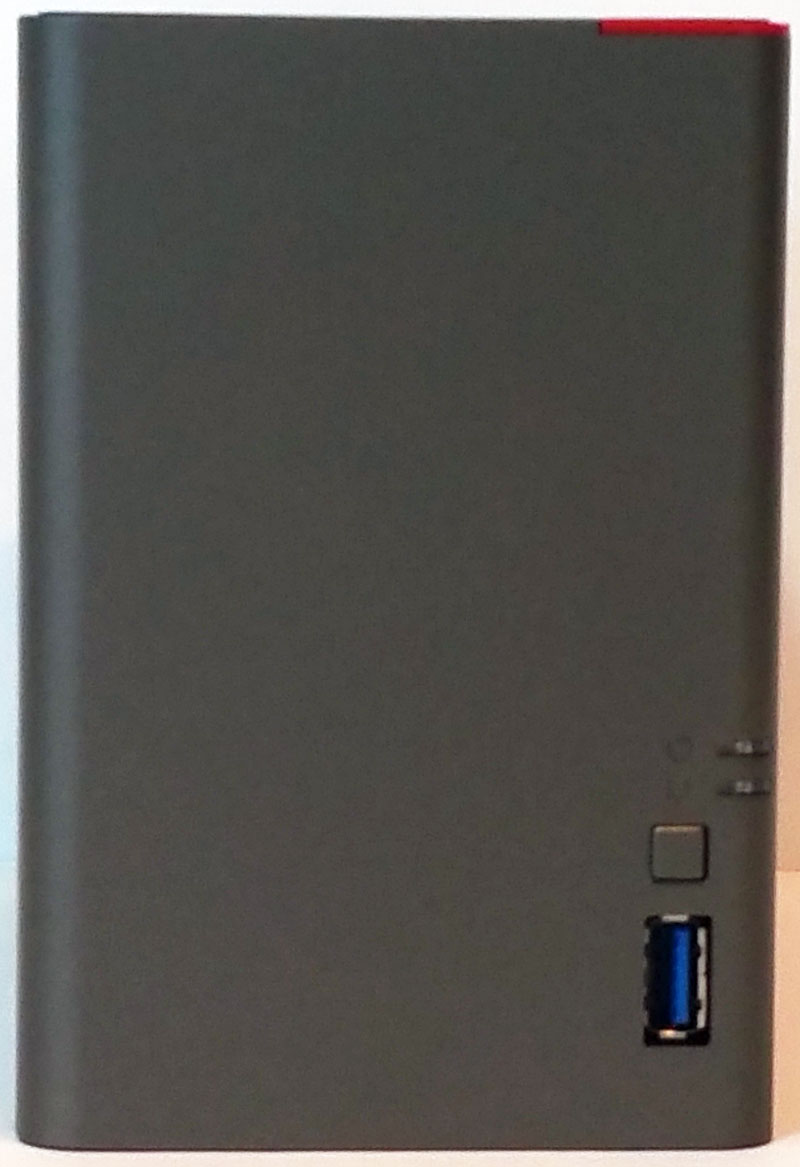
Here we see the front mounted USB 3.0 port and right above that is a Function Button, this is used for direct copy, dismounting USB devices and initializing settings. We also see Power LED and Function LED just above the Function Button.
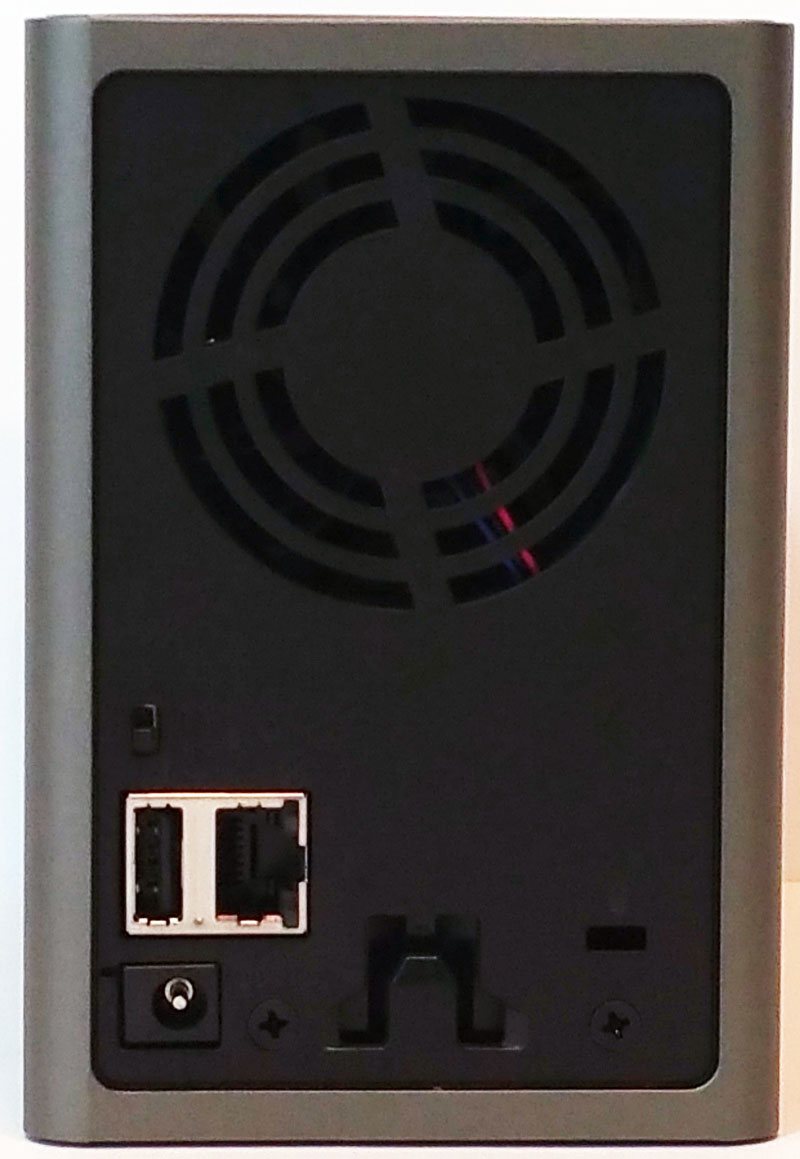
The back of the Buffalo LS421DE shows the basic connections, Power Plug, USB 2.0 and Ethernet ports. The middle location has an integrated cable management hook to secure power cables and an Anti-Theft Security Slot on the far right.
The unit’s power switch is located just above the USB 2.0 port and cooling is provided by an large fan exhausting air flow out the back.
After removing the empty drive trays we can see the backplane that our hard drives will plug into.
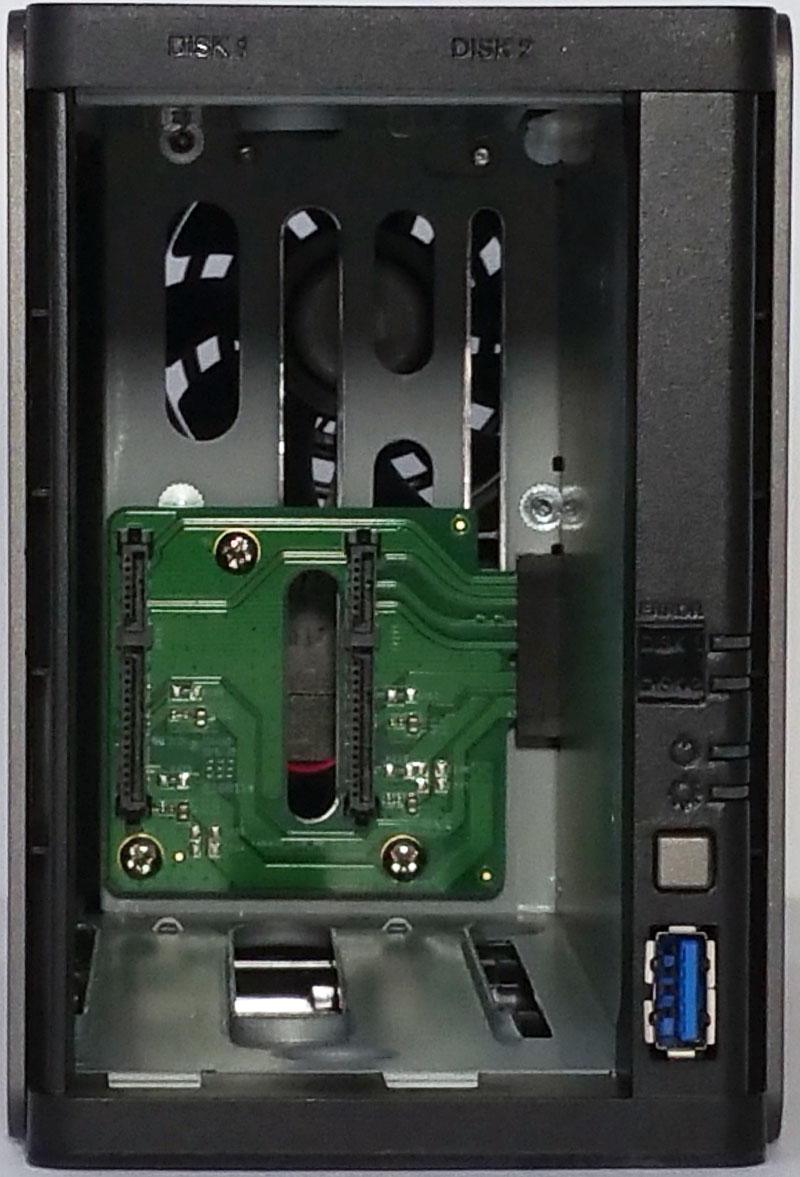
After we have pulled out the drive trays its time to mount the hard drives.
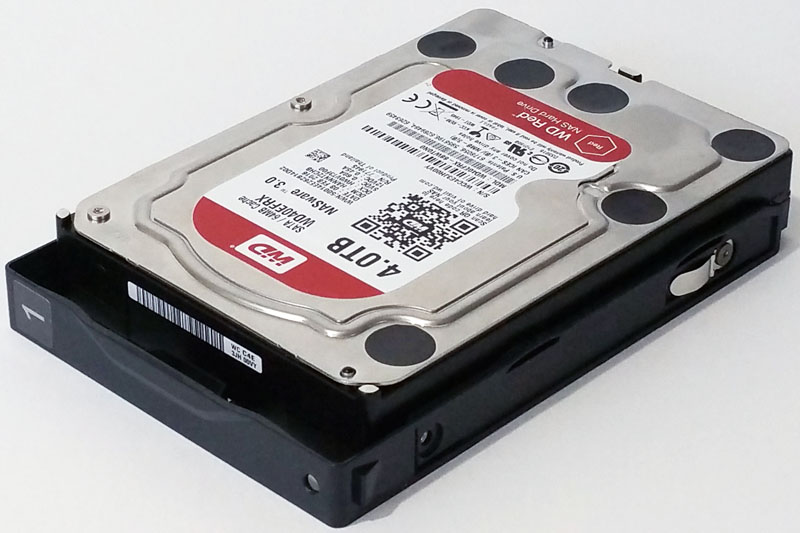
The tray itself is made of plastic and can flex around a bit. Once you get the first mounting screw in place the rest install fairly easy. There are no rubber gaskets to help with vibrations but the plastic tray should absorb vibrations fairly well.
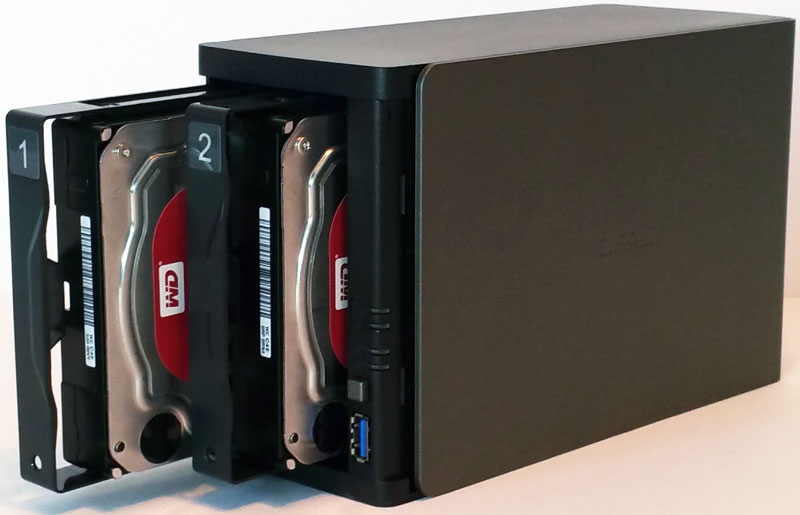
Once the drives are mounted on the trays they simply slide into the case. Some attention to the tray slots is needed to orient the drives correctly but overall it is fairly simple to do. Then snap the front cover back on and the LS421DE is all set to go.
Let’s take a look at getting the LS421DE up and running.
Buffalo LS421DE 2 Drive NAS Management
Setting up the LS421DE is exactly the same as the LS220DE.
On your computer insert the supplied CD to start installing the LS421DE software.
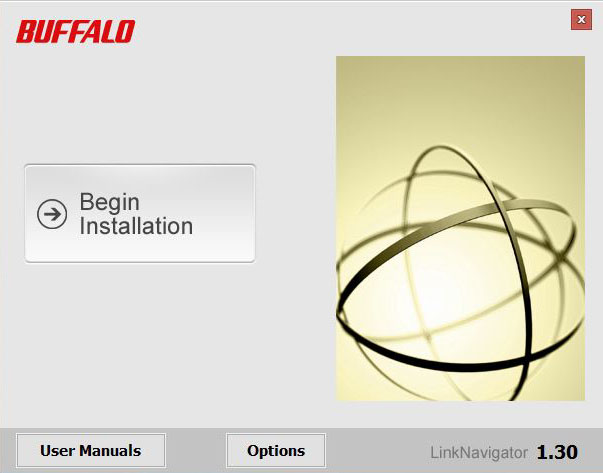
After the CD has finished loading you will be presented with a window that allows you to start installing the software.
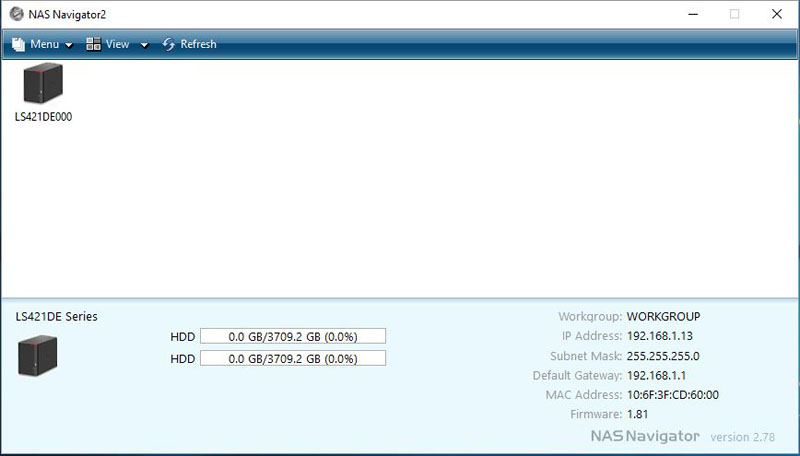
When that is finished you will end up with two icons on your desktop, one for the management interface and the other for the LS421DE. Double-Click on the Buffalo NAS Navigator to start setting up the NAS.
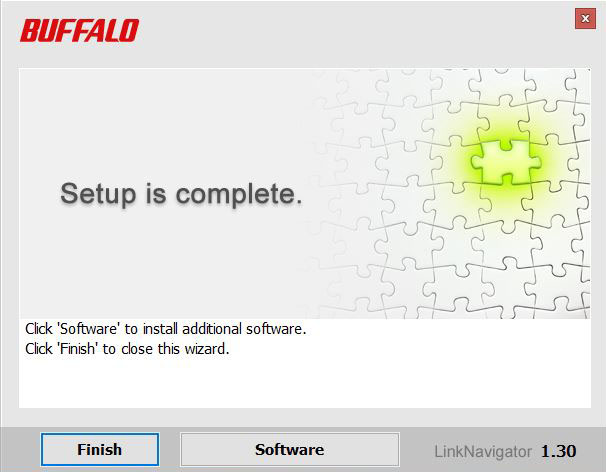
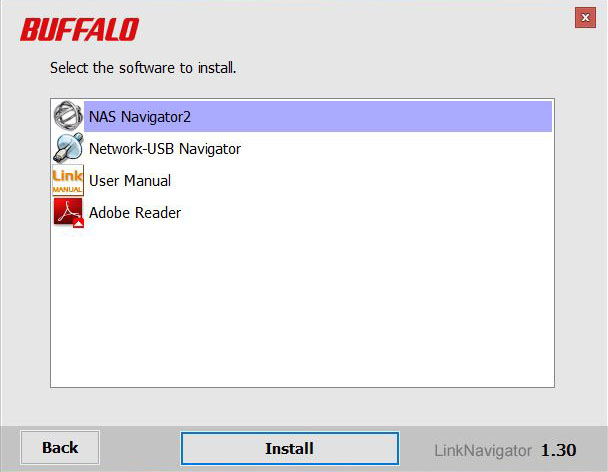
The additional software we will install at this time is the Network-USB Navigator.
Right click on the NAS Icon and drop down to the Settings menu selection.
The next step is to set an Administrator username and password.
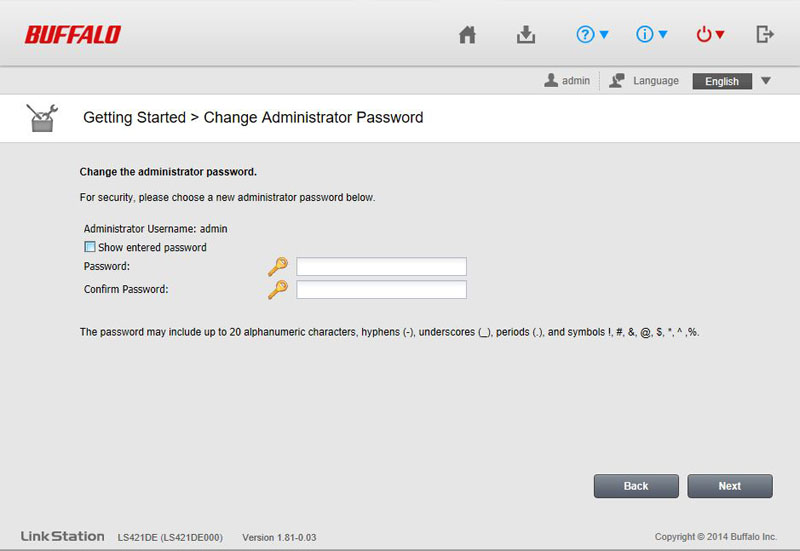
When you click Apply you move to the main administration window.
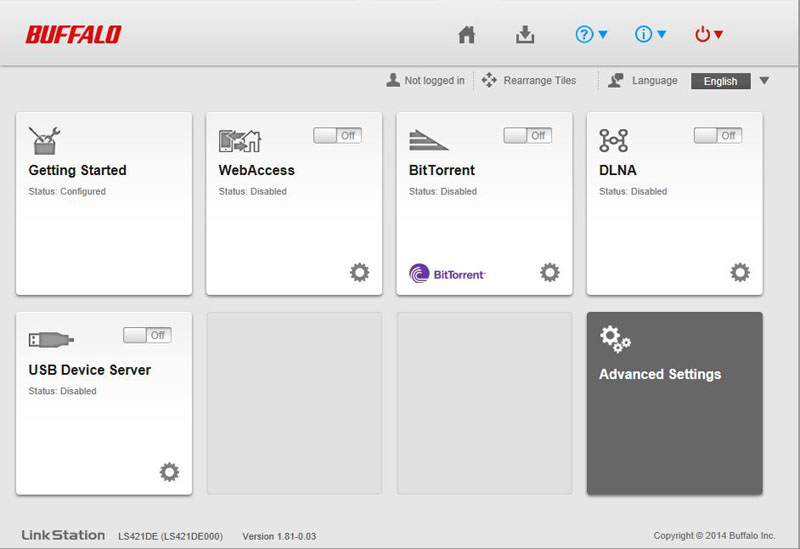
We would like to see how we can setup different drive configurations so click on Advanced Settings.
From the Advanced Control window, move down to Drives and click that.
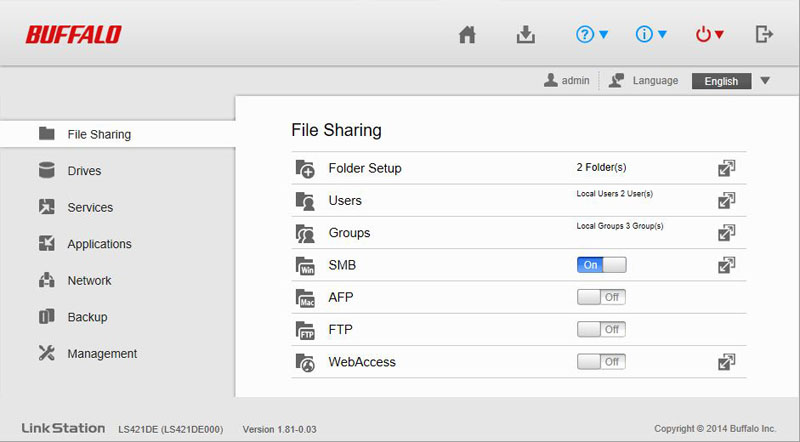
After clicking next we are presented with Shared Folder Setup. The LS421DE starts out with the unit set to Raid 1 for drive configuration. If this is how you want the unit to be configured there is nothing else to do.
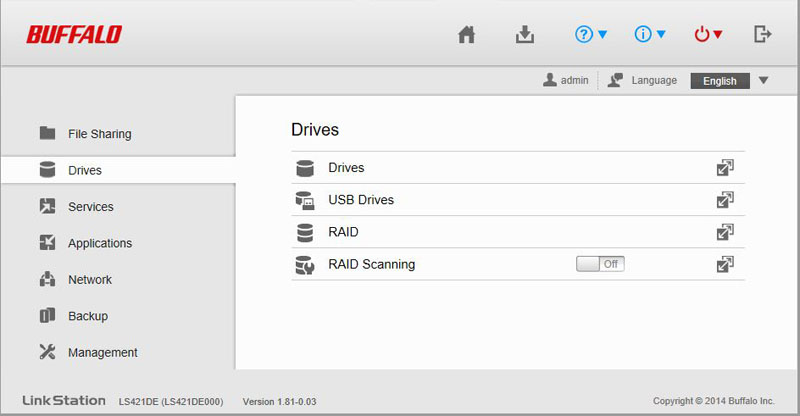
In the Drives window, click on the icon at the far right of the RAID line (3rd option down) to bring up the RAID configuration window.
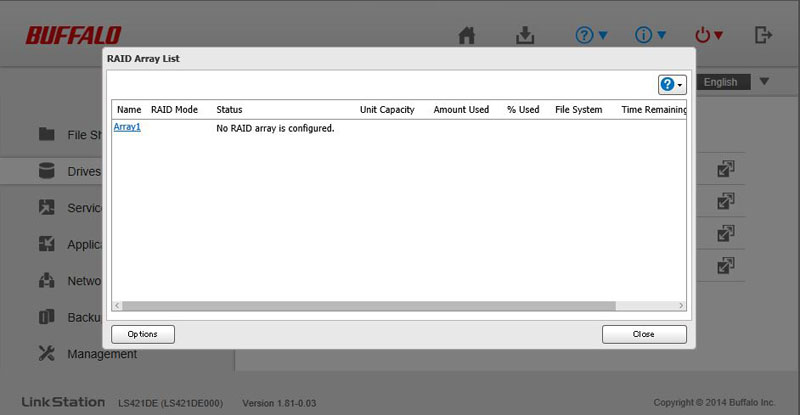
Here we can see we have no RAID setup, clicking the Array1 line we can proceed to set this up.
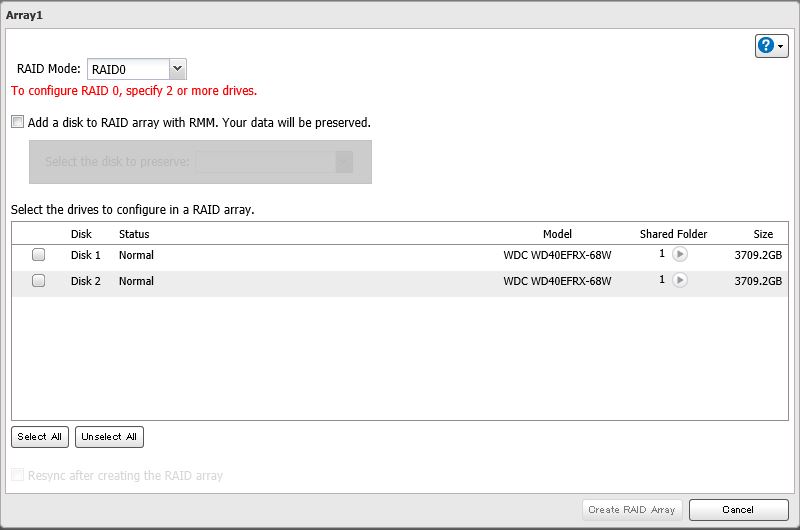
Here we see what RAID options we can use, RAID 0 or RAID 1. Select which RAID you want to use then make sure both drives are selected. When finished click on Create Raid Array at the bottom of the window.
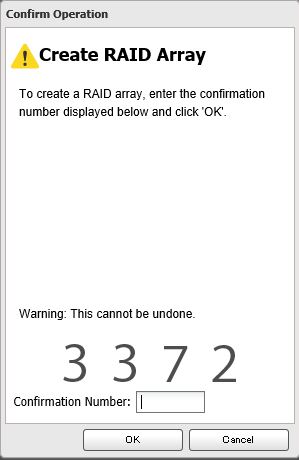
A confirmation window will appear, enter the code shown and click ok.
Before we can proceed with using this new RAID setup we need to create a shared folder.
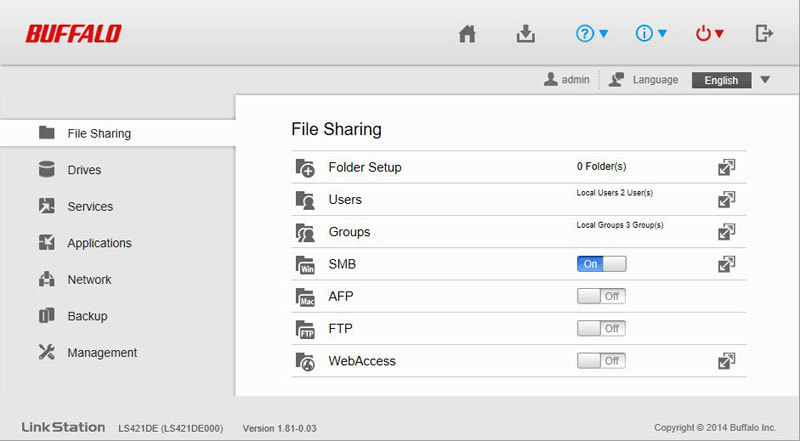
Clicking on the Folder Setup Icon we can create the shared folder.
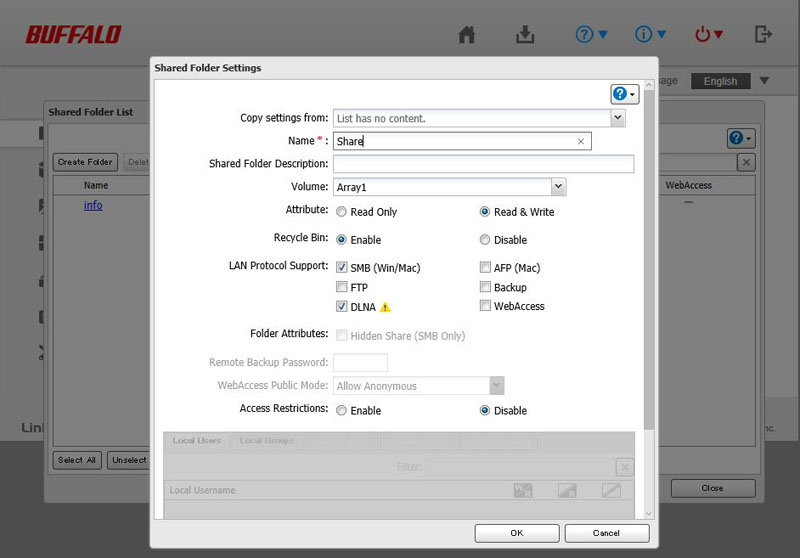
The last thing to do is enter a Shared Folder name.
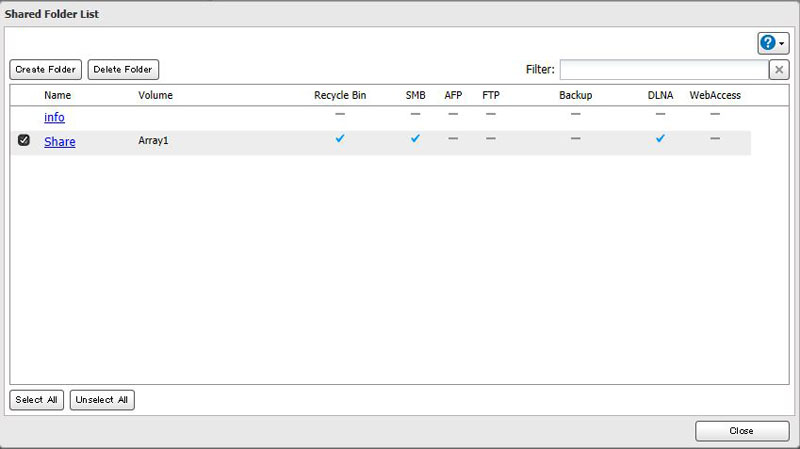
Now we have configured our LS421DE, let’s move on to performance testing.
Buffalo LS421DE 2 Drive NAS Performance
Our Buffalo LS421DE can be setup to run in two different configurations, Raid 0 and Raid 1. For our testing, we will configure the LS421DE in each configuration and run our tests. We will also run tests using the USB Server to get an idea of how that performs.
The performance benchmarks we will use are Intel NAS Performance Toolkit and ATTO Disk Benchmark.
This is not the full test suite we run on larger rack mount systems, then again, these are not systems designed to deliver millions of IOPS in a data center. Instead, these systems are meant to provide file sharing, backup, media streaming and other features directly from the NAS.
Our network consists of a Quanta LB4M 10GB Uplink Switch that connects our LS421DE to our workstation. This is not a consumer switch; however, it was a very popular 1GbE/10GbE switch for large cloud providers. For hard drives, we will be using two Western Digital 4TB Red NAS drives.
Intel NAS Performance Toolkit
The Intel NAS Performance Toolkit (Intel NASPT) is a file system exerciser and analysis tool designed to enable performance comparisons between network-attached storage (NAS) devices.
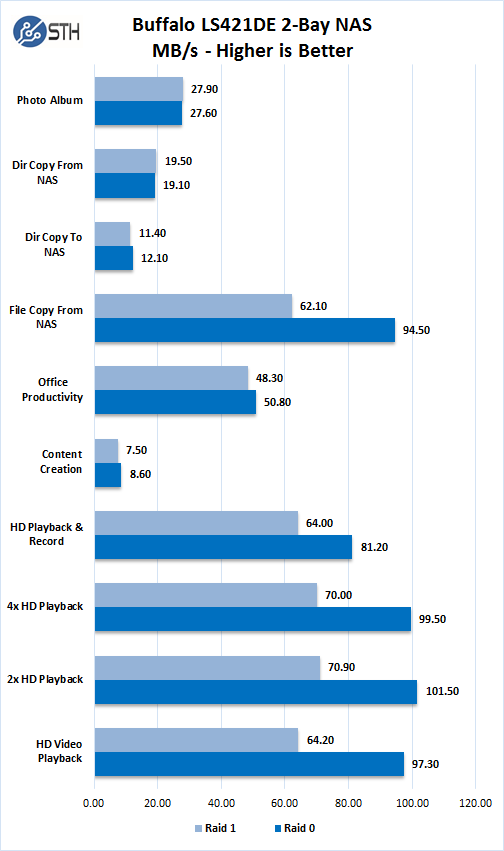
In each of the two different RAID configurations we see solid performance and in some cases exceeded the advertised 80 MB/s performance. RAID 0 does perform better but it seems as though the NAS is not bottlenecked by gigabit LAN speeds.
ATTO Disk Benchmark
ATTO Disk Benchmark identifies performance in hard drives, solid state drives, RAID arrays as well as the host connection to attached storage.
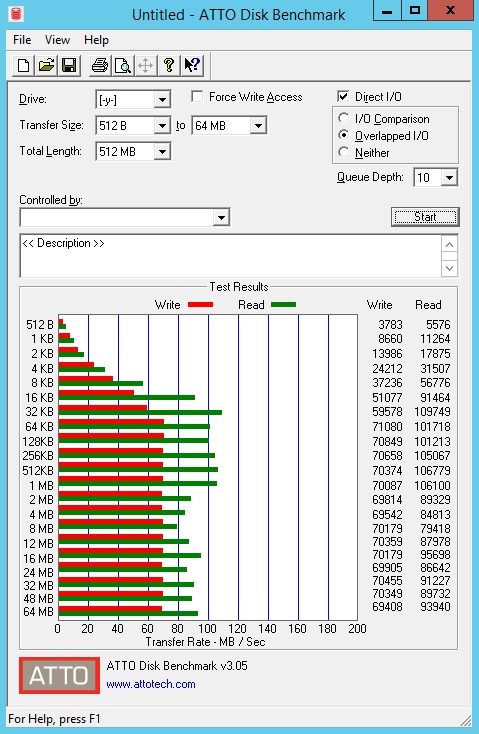
In RAID 0 configuration, we see max transfer rates of 109 MB/s reads and 70 MB/s writes. Writes do cap out at 70 MB/s and Reads bounce around a bit during the benchmarks.
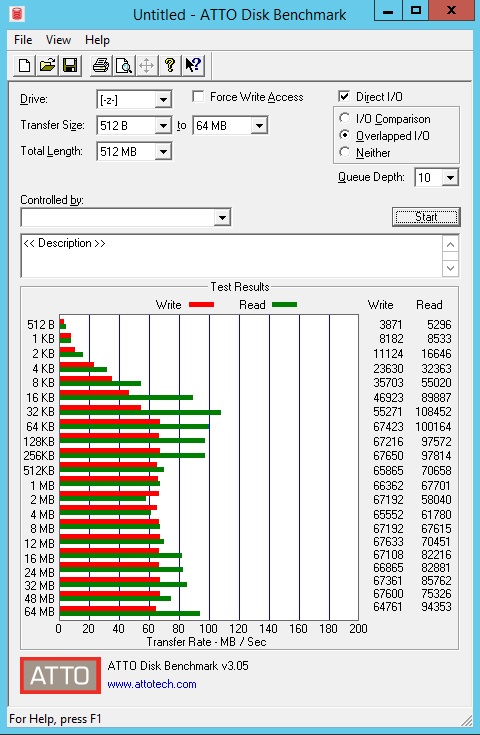
In RAID 1 configuration, we see max transfer rates of 100 MB/s reads and 67 MB/s writes. Writes do cap out at 67 MB/s and Reads bounce around a bit during the benchmarks.
Power Test
For our power testing needs, we use a Yokogawa WT310 power meter which can feed its data through a USB cable to another machine where we can capture the test results.
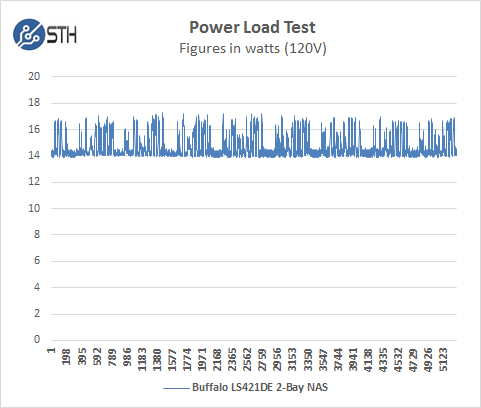
The LS421DE idles at around 13.81 watts and under max load during our tests we saw a peak of 17.271 watts.
Next, we plug in our USB thumb drive which is a Kingston HyperX 128 GB drive. We must also note that this USB thumb drive would not fit in the back USB port because of its size. In this case, we used the front USB 3.0 port. This is fine because the front USB port offers better performance but that rear port location limits what you can use in this port.
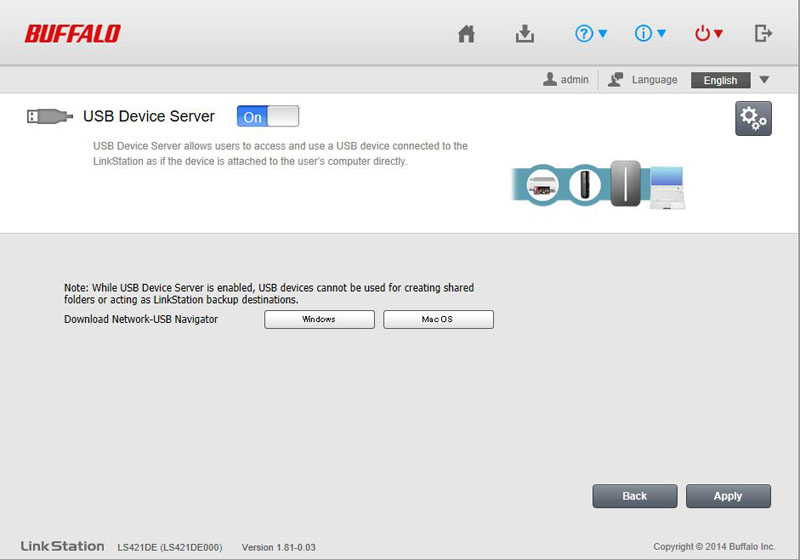
To use our USB thumb drive we first need to turn on the USB Device Server.
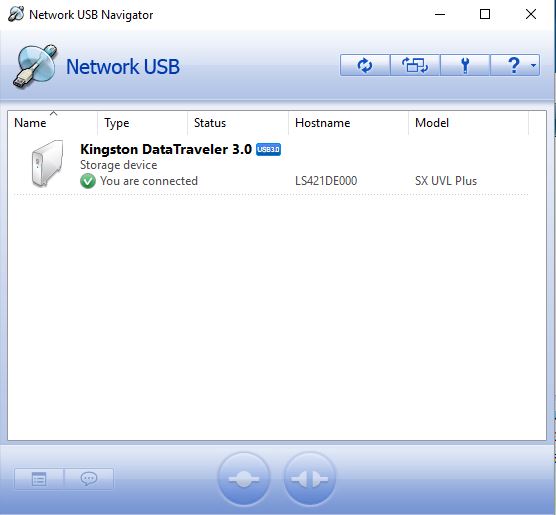
Now bringing up the Network USB utility we can see the thumb drive.
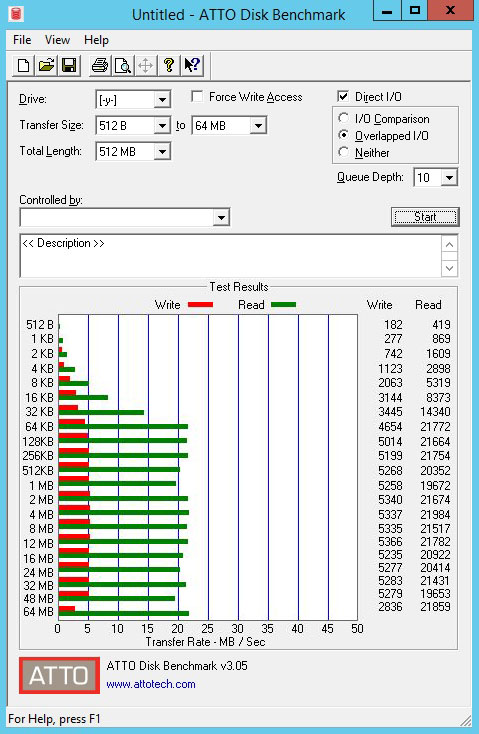
The performance of the Network USB drive will depend greatly on the type of thumb drive used, it would typically not be used as a working drive for applications, but rather as a simple file transfer device. Writes cap out at 5.3 MB/s and Reads at 22 MB/s.
In addition to all the features, we have just shown there are also apps you can download for your cell phone to control and monitor your Buffalo NAS. We use a Samsung Galaxy Note 4 so we entered the Google Play Store and searched for Buffalo NAS and found a list of apps that we can use.
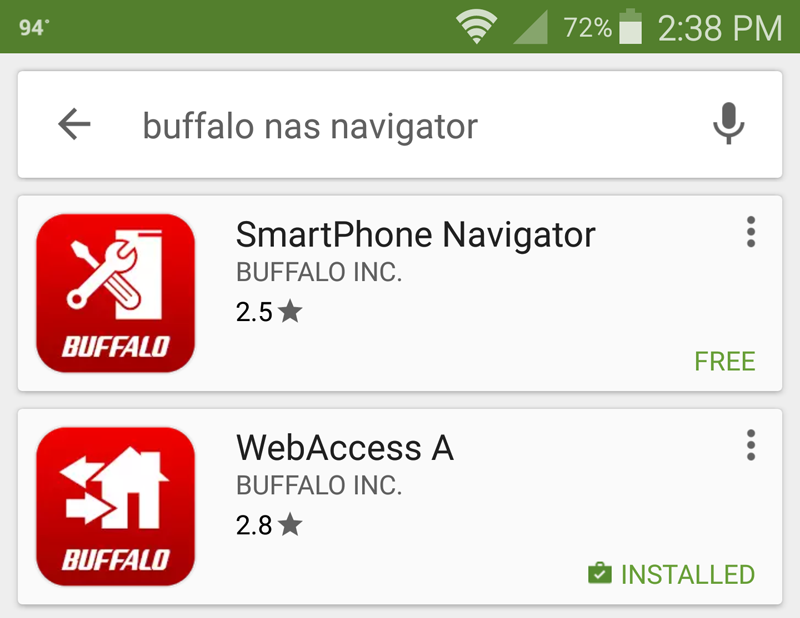
Only two applications show up on our search, these allow you to administer your LS241DE remotely through your Android Cell Phone.
Conclusion
While using a single hard drive in network attached storage devices can be done inexpensively they have a lack data protection. If the drive fails, you are out of luck and more than likely you have lost your data. Like the Buffalo LS220DE which we reviewed earlier, the LS421DE offers data protection when using RAID 1.
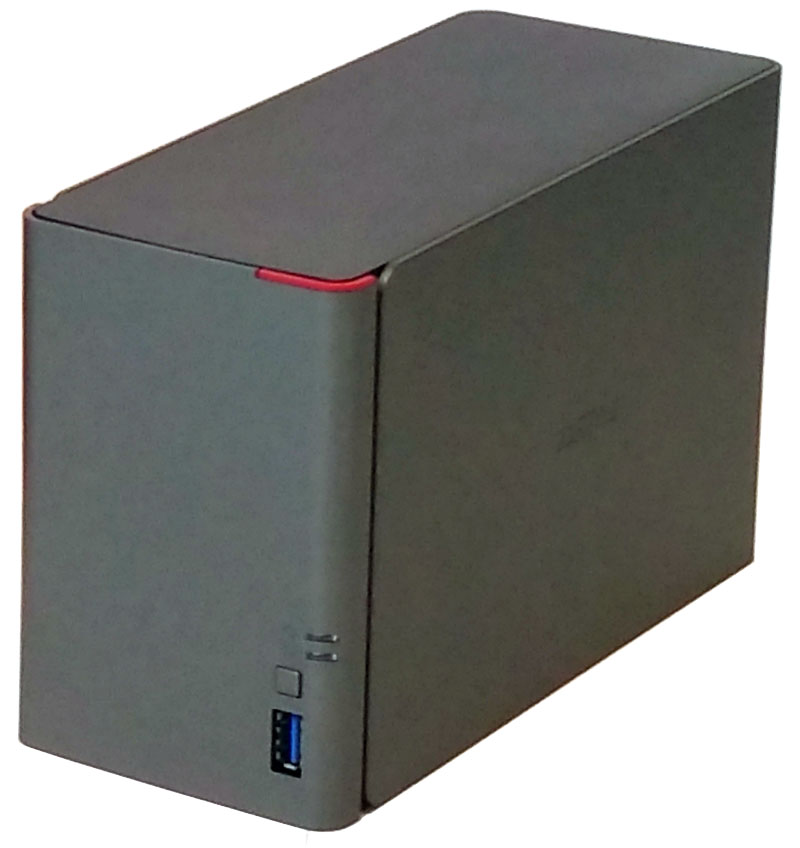
The LS421DE steps up to the plate when improved processor speed and additional RAM which increases performance for those that require that extra edge. The feature list includes support for FTP Access, DLNA Server, SMB Support and Print Server, these give the LS421DE expanded uses but it shines as a simple storage solution.
For those on the go and have a need for remote storage a free domain can be set-up that allows access through a website.
Improvements we would like to see are automatic generation of Shared Folders when the NAS is setup initially. Instead, we must do that manually. There are also no encryption settings available which are becoming a requirement these days. It doesn’t make much sense to have an Anti-Theft Security Slot to lock the unit down but no way to lock the drives in place which makes encryption more important. We also found that the USB 2.0 port on the back is to close to the Ethernet port. We could not fit our USB thumb drive into this port because the Ethernet connector blocks it. This leaves only very slim thumb drives to fit here.
NAS units like the LS421DE offer a great way to protect your data and can be set up inexpensively with extra drives you might have lying around.


I do not recommend the LS42de NAS. I previously use this device as a NAs for home computer. Intermittent disconnect from system. Would have to rebout the NAS. Eventually not able to access the LS421de. If you need a reliable NAS this is not the device
I find it interesting that Dee had problems with her LS421DE. I have had 5 of them running continuously in RAID 1 for almost 6 years. I had one LS421DE fail after about 2 years of service, but Buffalo replaced it for free. I’ve had several drives fail over the years, but have always been able to rebuild the array from the drive that remained. It’s a shame that they quit making these. They are great as a home office NAS.
I have an issue with my NAS. The storage device is visible in the NAS Navigator and I can log into the unit to modify settings and administer the shared folders. But when I try to see the folders in explorer, they are not visible. I have validated that the sharing and network discovery is enabled. Also all SMB 1.0/CIFS protocols are enabled.
I’m ready to toss and Buffalo product
I’ve had this product for 10+ years and it still works fine. I will say that the setup could have been easier but after playing with it, I was able to figure it out, (trial and Error). Also you would always set a static IP and not DHCP to fix the random disconnects and to mapped the network drive easier.