ASUS RS720Q-E10-RS24 Node Overview
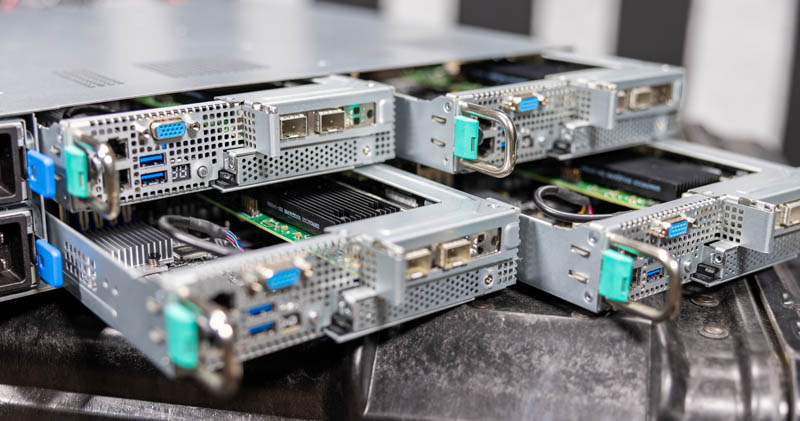
The rear of the server has four nodes. In this section, we are going to dive into the details of each of these nodes.
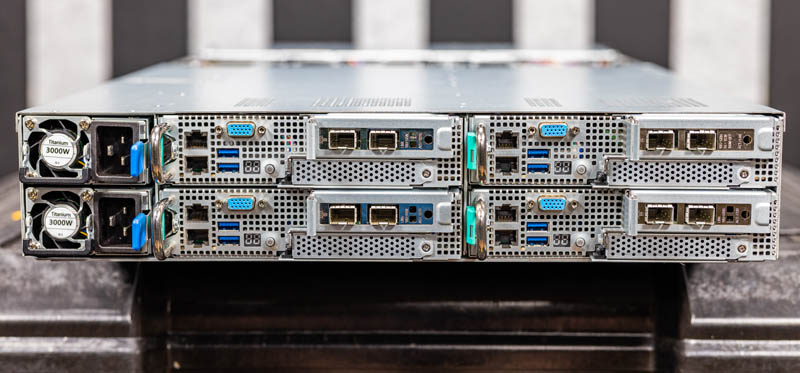
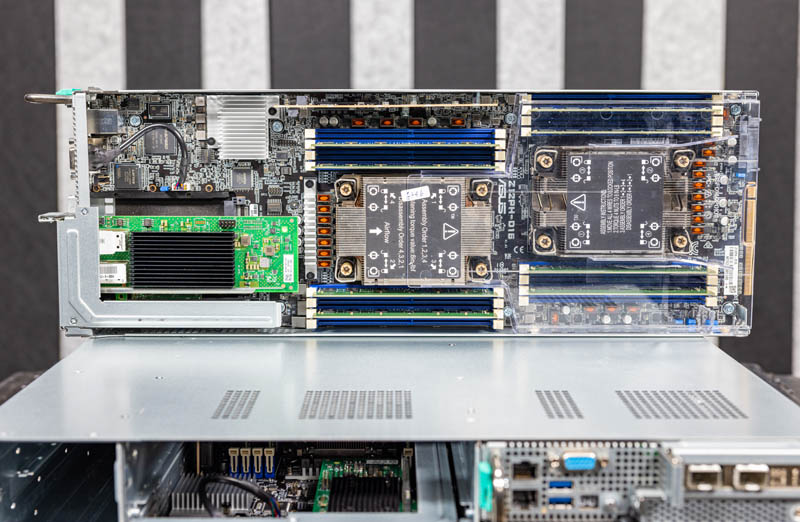
Here is the node overview. We are going to work from the rear of this to the front or left to right using the orientation below.
Standard networking is a single Intel i210-at 1GbE NIC port. Each node has an out-of-band management port, a VGA port, and two USB ports standard. There is even a little power button for each node.
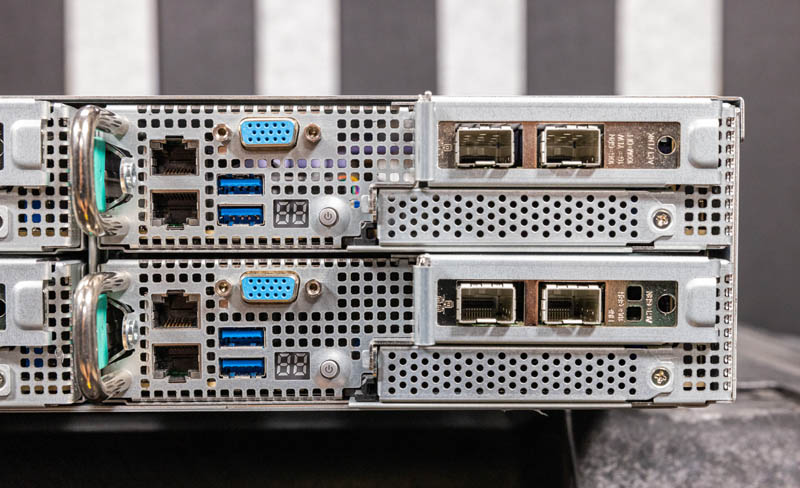
In the event you are wondering, the small LCD screen shows POST codes. We used these ASUS 2U4N systems heavily in the Xeon E5 V3-V4 generations. Those POST codes and the rear power button feature are actually extremely useful since it makes it trivial to find and replace a node that has not booted into the OS because it is experiencing an issue. This is a hallmark ASUS server feature.
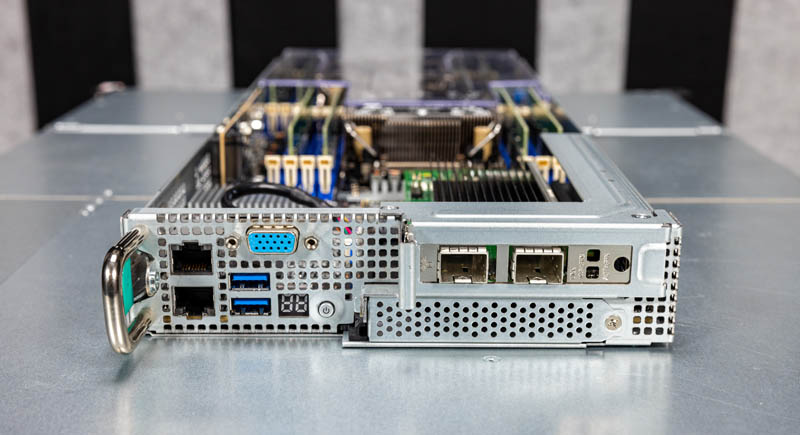
On the right side of the rear of these nodes, we have two expansion slots.
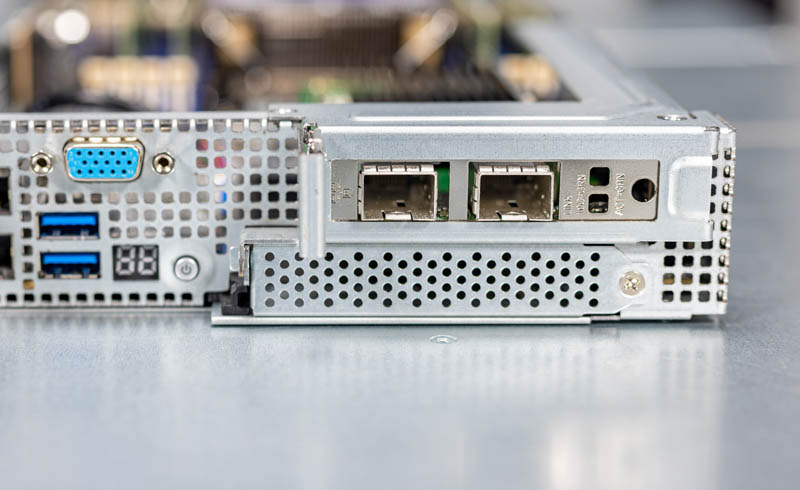
The top slot is a PCIe Gen4 x16 low-profile slot that is handled via a riser that is set in place with two screws.
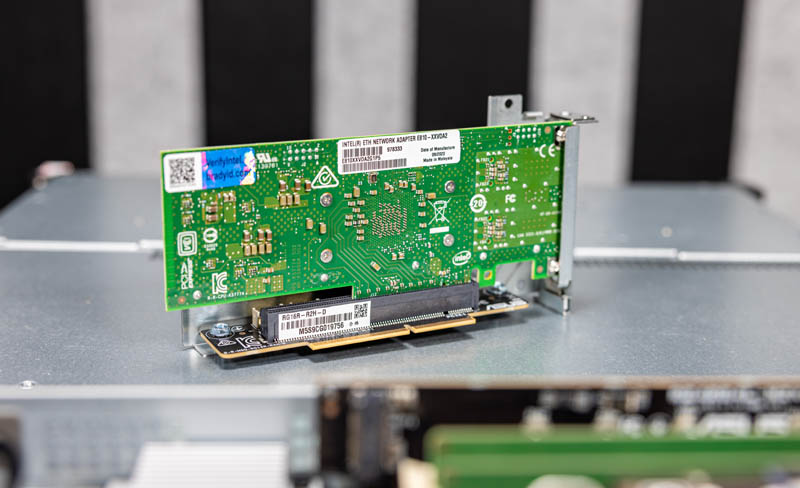
There is limited clearance here between the PCIe card and the CPU and memory. That is very common on 2U4N systems.
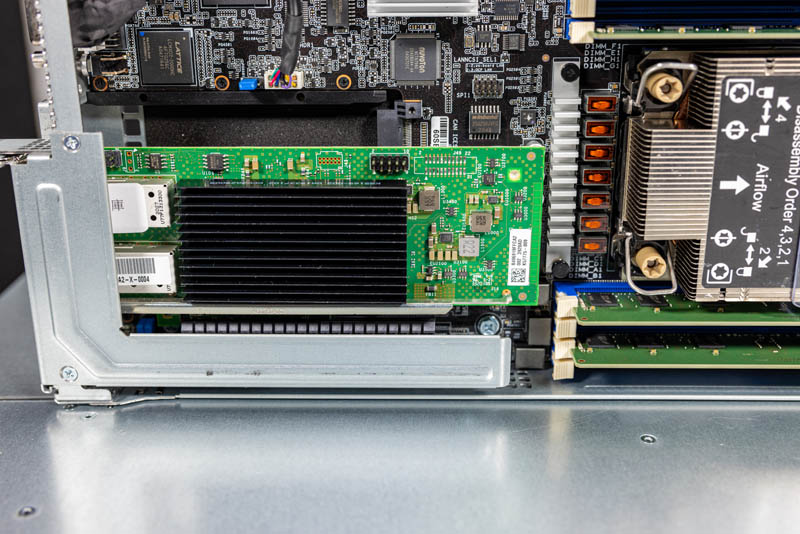
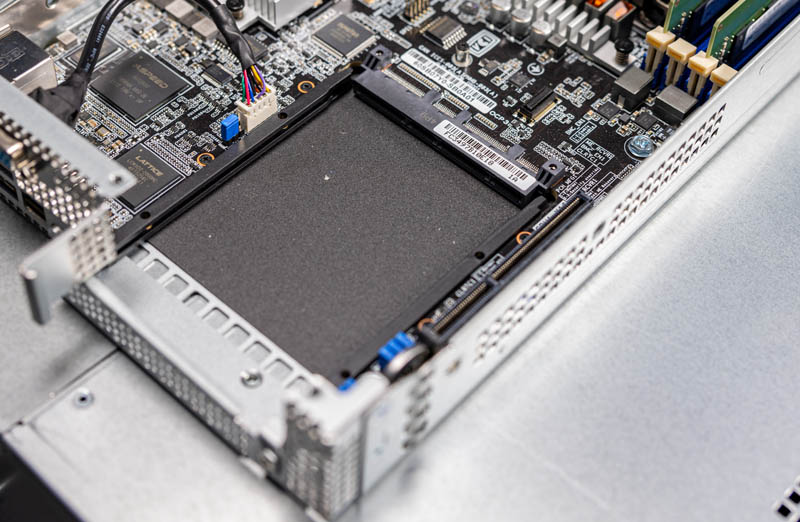
Under this riser slot is an OCP NIC 3.0 slot. This provides connectivity for faster networking or extra networking. You can, for example, add 100GbE in this slot.
Let us continue to the dual 3rd Gen Intel Xeon Scalable CPU sockets. This utilizes the Ice Lake edition.

The CPUs each have four DDR4 DIMM slots on either side for eight per CPU or sixteen per node. This matches the memory channels for the Ice Lake platform and space constraints make it nearly impossible to fit a full set of 16 DIMMs per CPU in 2U4N systems. Our system only has four DIMMs per CPU in these photos, and that is actually a common configuration.
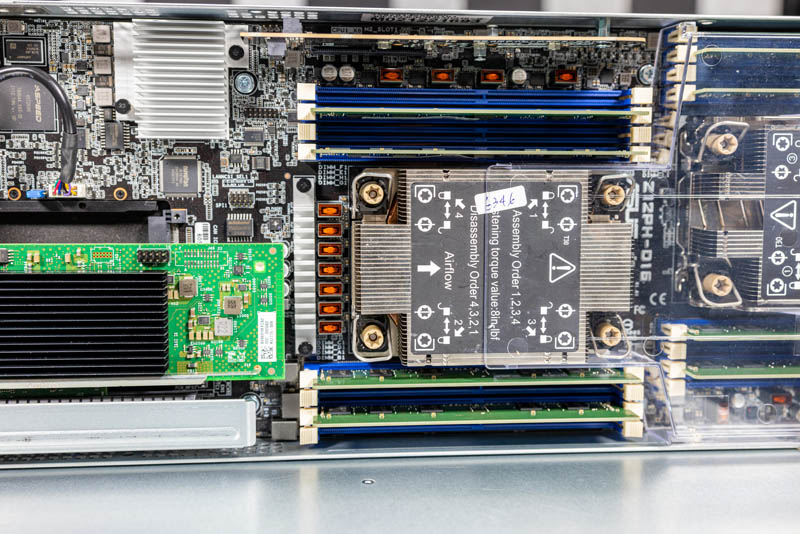
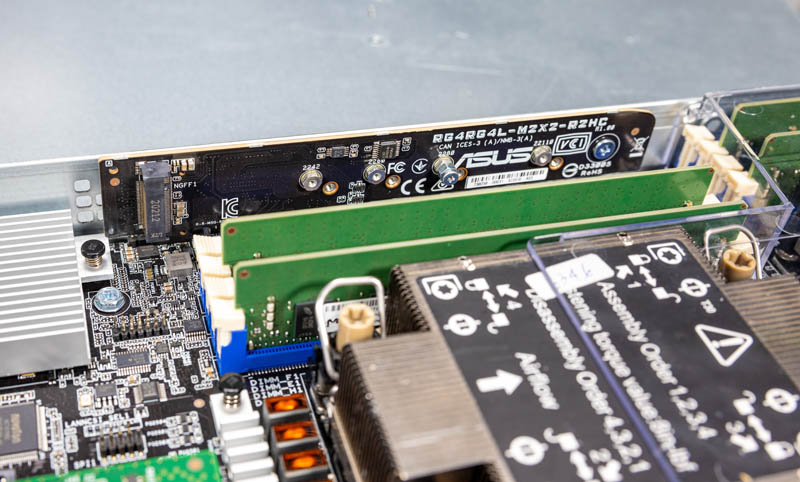
One very interesting feature that you may have spotted is the M.2 riser card. One can install a boot M.2 SSD on this card. In older generation systems this was underneath the airflow guide so this is significantly easier to service.
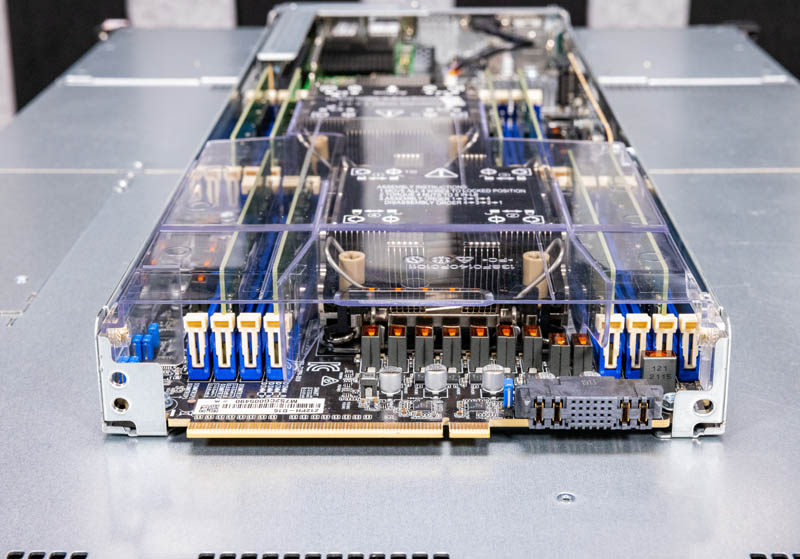
Looking at the front of the unit we can see the clear plastic airflow guide in place. This is a rigid unit that is one of the more secure units we have seen. ASUS has one of the most secure mounting solutions to ensure that the airflow guide does not get caught on the chassis or another node when inserting it.
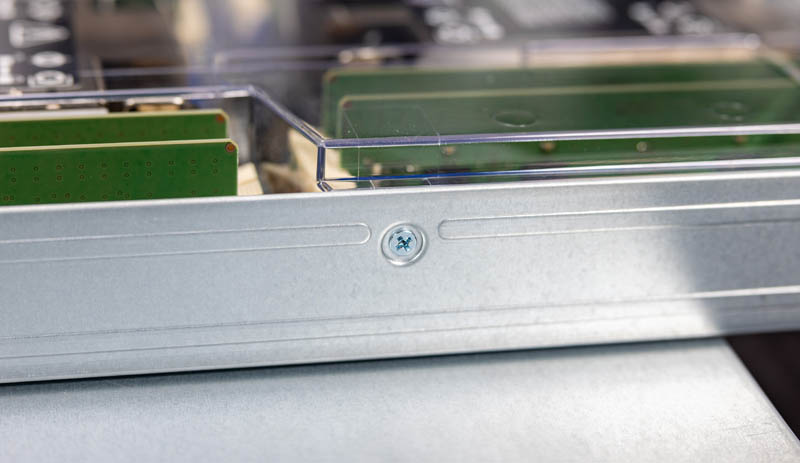
Securing the airflow guides is done in a similar manner to how ASUS has done this for many generations. There are four screws and these screws secure the plastic airflow guide.
All told, this is a system with a very simple design principle: to get four dual-socket nodes online as inexpensively as possible.
Next, let us get to management and performance before getting to our STH Server Spider and our final words.

