Today we are looking at the ASUS P9X79 motherboard for Intel’s LGA 2011 Sandy Bridge-E processors. It is quite likely that this board gets paired with one of two types of chips, first the Intel Core i7-3930K or a lower-clocked Xeon E5 CPU. As we have covered previously ASUS does a great job of segmenting markets by building a basic board design, then adding features for a slight price bump. The ASUS P9X79 is the entry model for ASUS, but it still has a ton of functionality as it should being a Sandy Bridge-E board.
Test Configuration
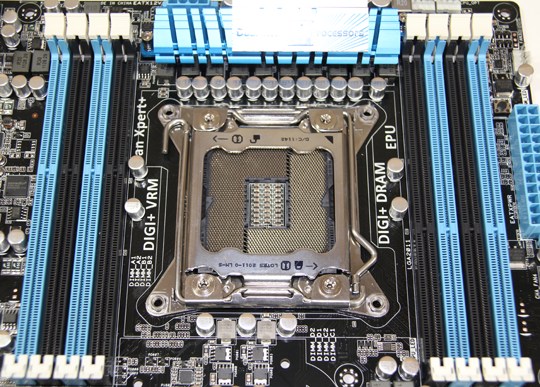
One thing I wanted to do with all LGA 2011 reviews was to test stability using the maximum number of DIMMs. Frankly, one of the most compelling features of the LGA 2011, single socket Intel Core i7 desktop platform is the ability to utilize up to eight DIMMs, which is something a user would have previously needed a dual socket system or a single socket AMD G34 platform to do.
- CPU(s): Intel Core i7-3930K and Xeon E5 8-core 16 thread CPU
- Motherboard: ASUS P9X79
- Memory: 32GB (8x 4GB) G.Skill Ripjaws X DDR3 1600
- Drives: Corsair Force3 120GB, OCZ Vertex 3 120GB
- Chassis: Norco RPC-4220
- Power Supply: Corsair AX850 850w 80 Plus Gold
Features
One thing that should be called out Overall, the ASUS P9X79 has a great list of features for a “low-end” board in a given platform’s lineup. Frankly, I expect better features on an ultra-high-end LGA 2011 platform versus a FM1, AM3+ or LGA 1155 platform simply because the overall costs are much higher.
Software
Probably the most interesting piece of software is the UEFI interface that ASUS provides. For those accustomed to standard BIOS that have been used for decades, the ability to use a mouse is welcome. I did find though that using a mouse was almost necessary as navigating by keyboard was not as slick as old AMI, Phoenix, and Award BIOS implementations. The UEFI interface provides a simple mode (called EZ mode) that shows things like boot order, and lets a user change profiles between a power saving profile, balanced profile, and performance profile.
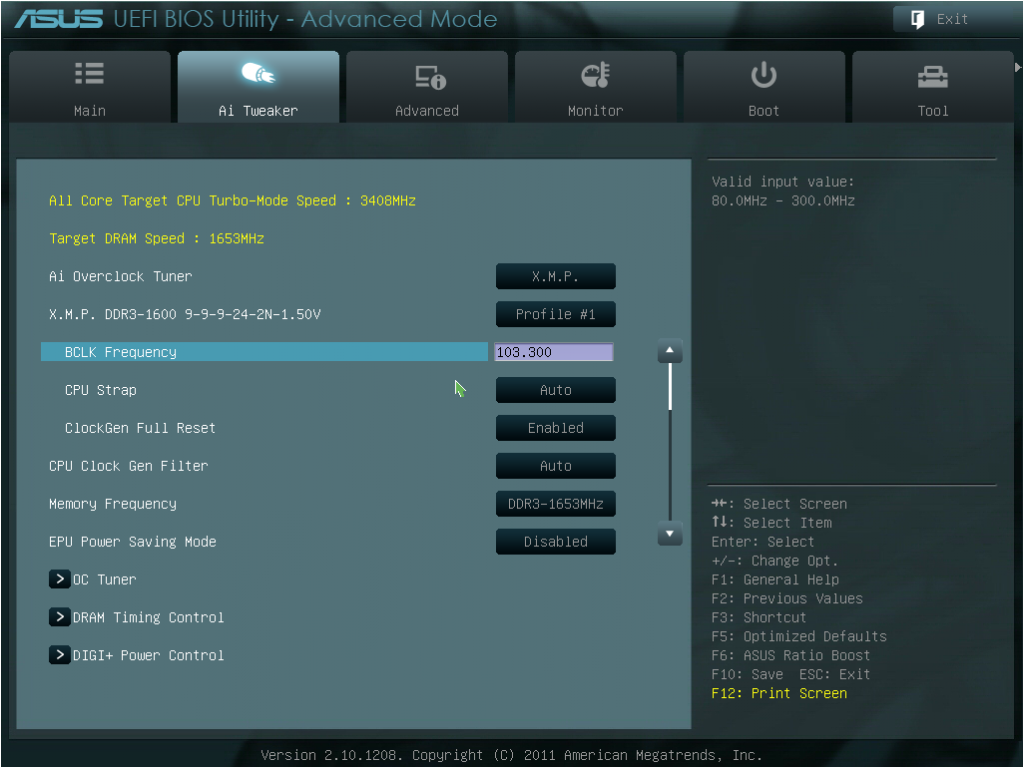
Beyond the UEFI interface, ASUS provides a suite of software including AISuite II and ASUS Fan Xpert+. Plenty of details can be found on ASUS’s site, but the highlights from this software are the abilities to:
- Monitor system information from fan speeds, temperatures, voltages, clock speeds and etc. and set alerts.
- Overclock the CPU if desired either manually or using a CPU auto tuning feature. The base clock can be increased too by a small amount as 100MHz to 103MHz base clocks are generally obtainable from a 100MHz base. One cannot change the multiplier with K series CPUs on the C206 chipset much like the Intel H67 chipset.
- Set the EPU power saving profiles and features. The EPU is a feature of ASUS motherboards meant to intelligently reduce power consumption.
- Set and test fan speeds using Fan Xpert+. This can be useful if one wants to set thresholds and test them for quieter idle fan speeds ramping up as the workload increases.
Overall I found these utilities to be fairly useful and given the minimum of 8 threads one has with the LGA 2011 platform, performance is not an issue with these having fairly low CPU requirements. One should note that best practice will be to install each utility and driver individually as ASUS does include a small amount of bloatware with their automated installation.
Looking at the “next step up” from ASUS
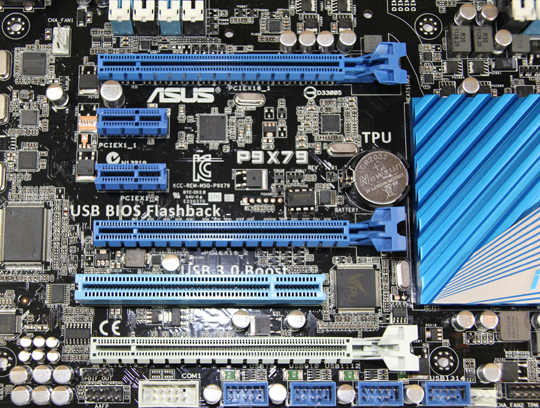
As mentioned previously, ASUS has a great product strategy of offering a base board, like this P9X79 and then adding additional functionality at higher price points. That strategy always invites looking at the next step up in price and features. Upgrading to the ASUS P9X79 Pro version costs about $50 more gets you a few nice upgrades, especially at this class of board:
- A heat pipe plus heatsink design for cooling VRM and PCH
- The Pro version trades a PCI slot for a PCIe x16 physical slot
- Internal power and clear CMOS buttons
- Debug LED display
- A front panel USB 3.0 header
- Losing the PS/2 port for additional USB ports on the rear I/O backplane
- Two more SATA III 6.0gbps ports that allow one to use SSD caching
- An additional powered eSATA port on the rear I/O backplane
- ASUS’ bluetooth feature
Conclusion
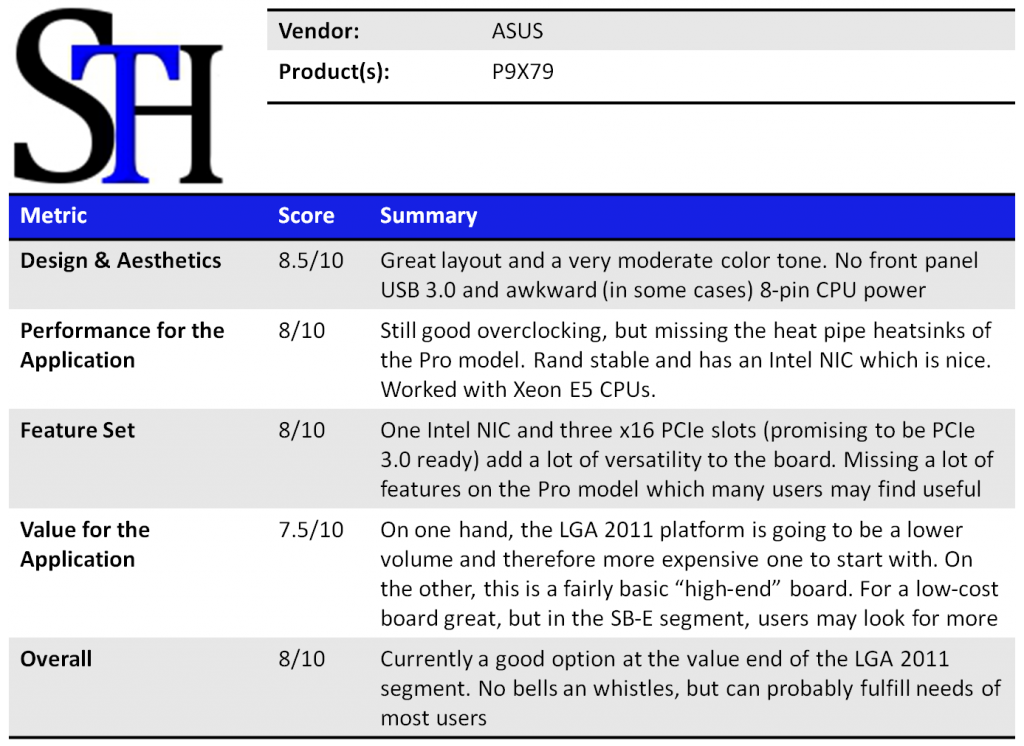
Stating the obvious, I ran the ASUS P9X79 through a few tests like Folding@Home multi-day number crunching exercises and it did not flinch which I think is a necessity at this class of motherboard and platform. I expect stability from a $280 board and the ASUS P9X79 delivered even filled with eight DIMMs. I also really liked the fact that the board was able to take Xeon E5 CPUs with up to eight cores and think that is a really compelling use-case for them. Most of the Xeon E5 motherboards will be server oriented with few consumer features. The P9X79 is a relatively low cost X79 platform with some awesome features that would be great for someone looking to purchase an 8-core 16-thread Xeon CPU just as much as someone on a budget with an Intel Core i7-3930K. I think this is a solid board because it works, and has a nice set of features, including a PCI slot for those still concerned with backwards compatibility. One thing I would strongly urge users to do is to look at the $300+ tier for LGA 2011 motherboards also if looking at getting in this platform as vendors do offer a bit more “nice to have” features at that price point. Still, with a sub-$300 price, the P9X79 performed well and was very stable for me making it a good option in that price category.




Will you get to look at other ASUS boards???? I need 64GB DDR3 for some CFD programs I run but want more from a board if it costs that much
i just like the colors of the board. wish it had more pci-e
Needs second lan, usb 3 front panel and bluetooth :-( good review and suggestion on upgrading to the pro and deluxe models
More SNB-E motherboard reviews please Patrick. Also, any more info on xeon performance?
he posted some info on xeon performance although didn’t say what board was used.
I don’t get the point of saving 50 bucks on this versus a pro or deluxe when ur spending more than 1k on the board processor and memory. asus should have just made the pro their base model.
looking at new egg reviews of this board versus the better ones right now is like 1 for this board and more than 12 for the pro so peeps aren’t buying these as much
Will this board work with VMDirectPath?