We get feedback that some users have issues flashing Supermicro X9SCM-F, X9SCM, X9SCL, X9SCL-F, and X9SCL+-F BIOS. This is especially important since these boards share the same BIOS file and have been around for awhile. These Supermicro motherboards that came out with Sandy Bridge need a BIOS update to support Intel Ivy Bridge based Xeon E3 CPUs. The first step is ensuring that if one is using a v1.x BIOS motherboard, one must use a Sandy Bridge generation CPU to flash, such as the Intel Xeon E3-1230. Beyond this, even having done this process to several motherboards just as the Ivy Bridge Xeon E3-1200 series CPUs were launched, I still was left scratching my head at some times. I decided to write something up to help folks.
The common way to flash BIOS these days is to make a bootable USB drive. I was on my Macbook Air 11″ and frankly did not feel like going through that process. After making the BIOS flash USB drive, I would then have to go to the lab to perform the BIOS flash. With onboard IPMI 2.0, there had to be a better way. After downloading the BIOS zip from Supermicro, I realized it was too large for a floppy disk. By the way, who has a Supermicro X9SCM-F based Intel Xeon E3 server and a floppy disk anyway? CD-ROMs are almost out of fashion at this point and the floppy died years ago. Alas, there was my answer, I decided to make a bootable DOS ISO with all of the items I needed for the BIOS flash. You can find information on the Supermicro BIOS Flash LiveCD here.
Common Errors During the BIOS Flash
I saw a few common errors when working on this guide. Here is a quick list:
Error: BIOS doesn’t support process ME information.
Error when sending Enable Message to ME !!
File not found – AFUDOSU.SMC
Follow the guide, and you will not have to worry about these.
Supermicro X9SCx BIOS Flash Quick Guide
There are a bunch of pictures on the Supermicro BIOS Flash process for the Supermicro X9SCM-F, X9SCM, X9SCL, X9SCL-F, and X9SCL+-F motherboards. For those looking for a quick guide, here are the twelve steps:
Supermicro Motherboard Flashing Steps:
- Download ISO
- Mount ISO through IPMI
- Boot from IPMI CD-ROM
- Wait until you get to the A:> prompt
- Type C:
- That should take you to the C:> Prompt, now type cd FLASH
- Type ami.bat X9SCM2.608
- Reboot
- Wait until you get to the A:> prompt
- Type C:
- That should take you to the C:> Prompt, now type cd FLASH
- Type ami2.bat x9scm2.608
Yes, it is that easy. I also had my LSI BIOS on that for various LSI SAS 2008 and SAS 2108 RAID cards and HBAs I am constantly flashing. One ISO, lots of uses.
Supermicro X9SCx BIOS Flash Pictorial Guide
For those like me that like pictures, I decided to add a few in the second part of the Supermicro X9SCx BIOS flash guide.
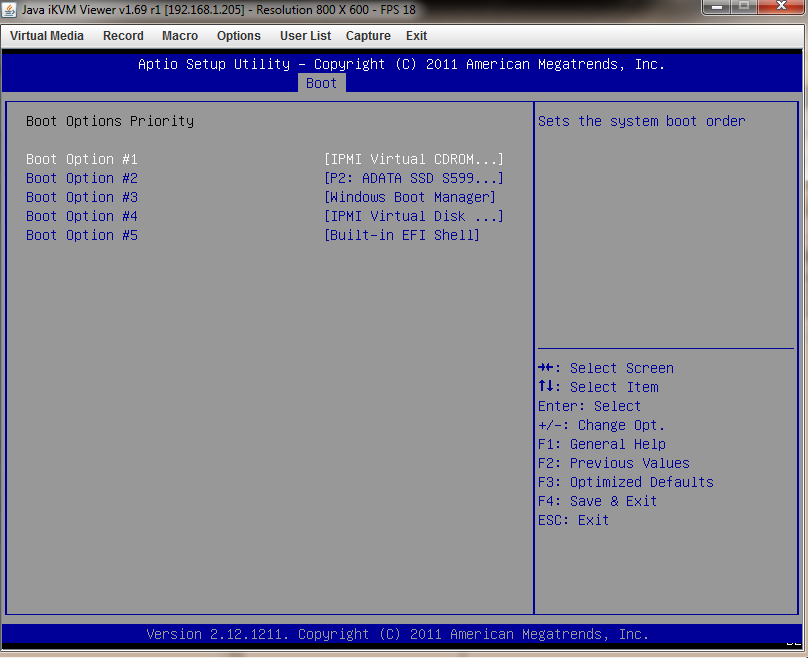
After getting the ISO and mounting it via IPMI (steps 1 and 2 above), the next step is to ensure you are booting to the ISO. This is important because the guide is based off of a DOS flash. Go into the BIOS and ensure that your IPMI Virtual CDROM is what you will boot to.
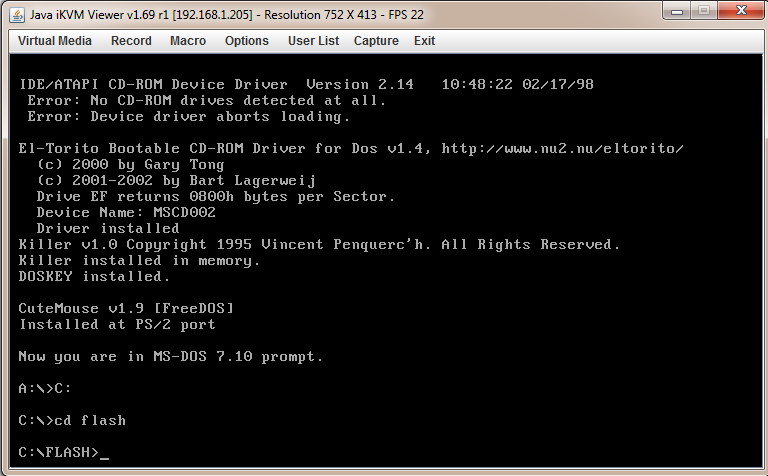
After the ISO boots, you need to move to the C:\Flash directory (steps 4-6 above.)
Once this is done type ami.bat X9SCM2.608

Wait for the process to stop. Then reboot the server.

Navigate back to C:\flash (steps 9-11 above) and type ami2.bat x9scm2.608 and wait for that to finish before rebooting.
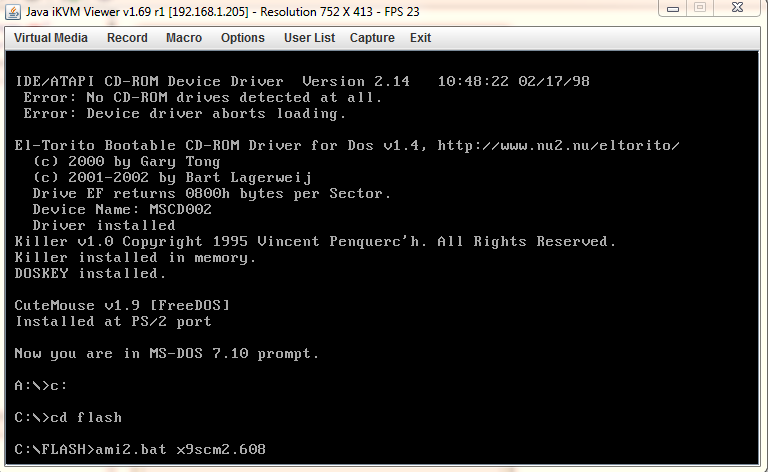
You may be wondering what that ami2.bat is, because it is not in the standard download. Because the CD-ROM is not writable, I created a one line batch file to do the second part of the flash, the ME update.
Conclusion
For all of those wondering how to quickly do a Supermicro X9SCx BIOS flash, this is a simple way to go about it. I decided to make this guide because I needed it myself. If you do happen to see a new BIOS come up, please let me know on this forum post and I will update the ISO for my own personal use.

I did not know that the Supermicro IPMI could mount a remote ISO image. I’ll be downloading the ISO you built very soon. Thank you!
No ISO, I register for nothing
The ISO download link is bad and redirects to the forum home. For anyone else looking for it, you can now find it here:
https://forums.servethehome.com/index.php?threads/new-project-supermicro-ipmi-2-0-bios-update-live-cd.851/